On the tool panel, click the brush icon or the Edit assets button.
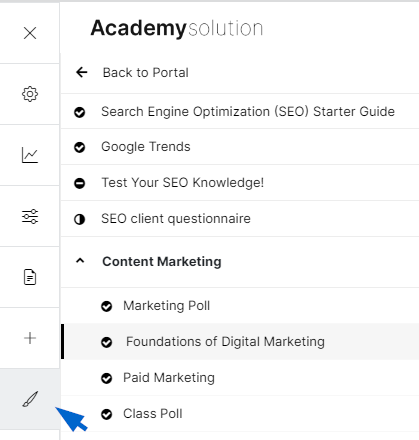
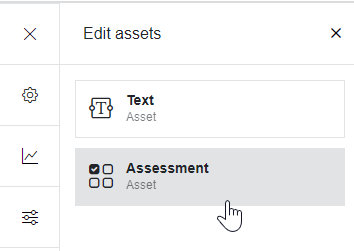
Once clicked, you’ll be able to see the different assets contained on a page. Hover over an asset to highlight its container. Take the Assessment asset, for example. Select a page with an Assessment asset, and then Click Assessment.
Under the Assessment settings, you have two primary tabs: Questions and Settings. You can change the Assessment type on the Questions tab and add another question or pool.
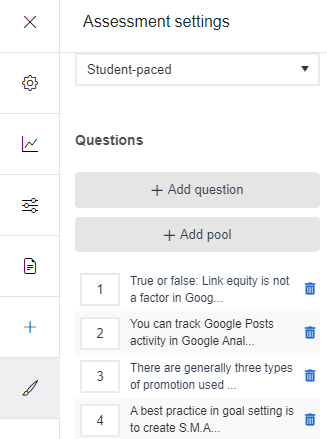
To add a question, for instance, click Add question. Like in the Control Panel, the system will ask you to select a specific question type (e.g., multiple-choice). Upon selecting, click Next. Enter the question on the following page, including the answer options. Click Save when done adding a question and setting up the necessary configurations.

On the other hand, the Settings tab provides additional options to configure your question, especially how it appears on the user’s end. These settings include navigation, time and attempt limit, and other functionalities related to reviewing or showing assessment results.
If a question requires a more complex configuration, you can click Advanced Settings to have instant access to the Assessment settings in the Control Panel.
Note: See related article to learn more about the question pool or the assessment asset.
Editing Texts
The same principle applies when editing an asset like text. Using the tool panel, click Text to edit a Text asset. Otherwise, click the pencil icon on your window to apply changes to your texts. Above the text box is a text editor.
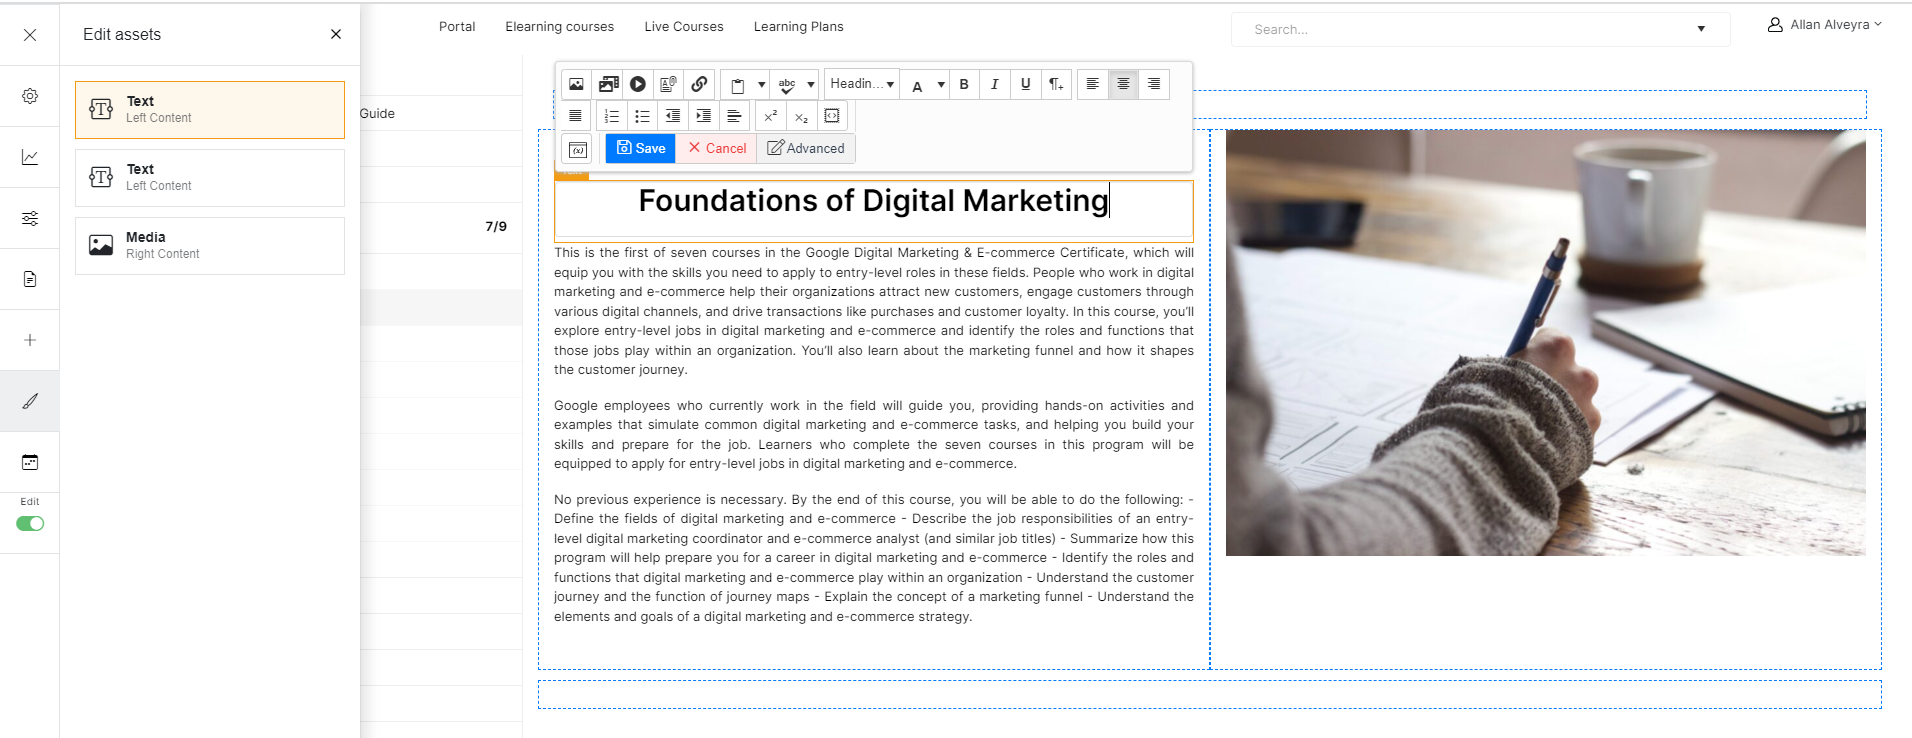
You can use both the Save and Close (Cancel) buttons on the text editor and container to keep or discard changes to your texts.