Add a Task List Asset to a Page
Updated 2 years ago /
3 min read
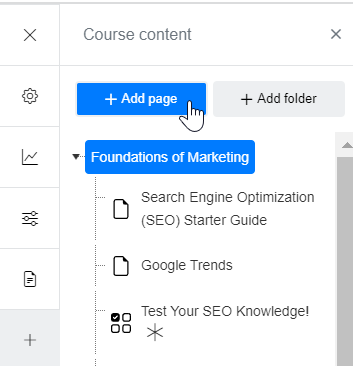
1. Go to the tool panel in client view and click the + icon or the Course content button. Click Add page. Select your preferred template and enter a page title.
Enabling the Track as learning objective button will make the page a learning objective. Once done, click Save.
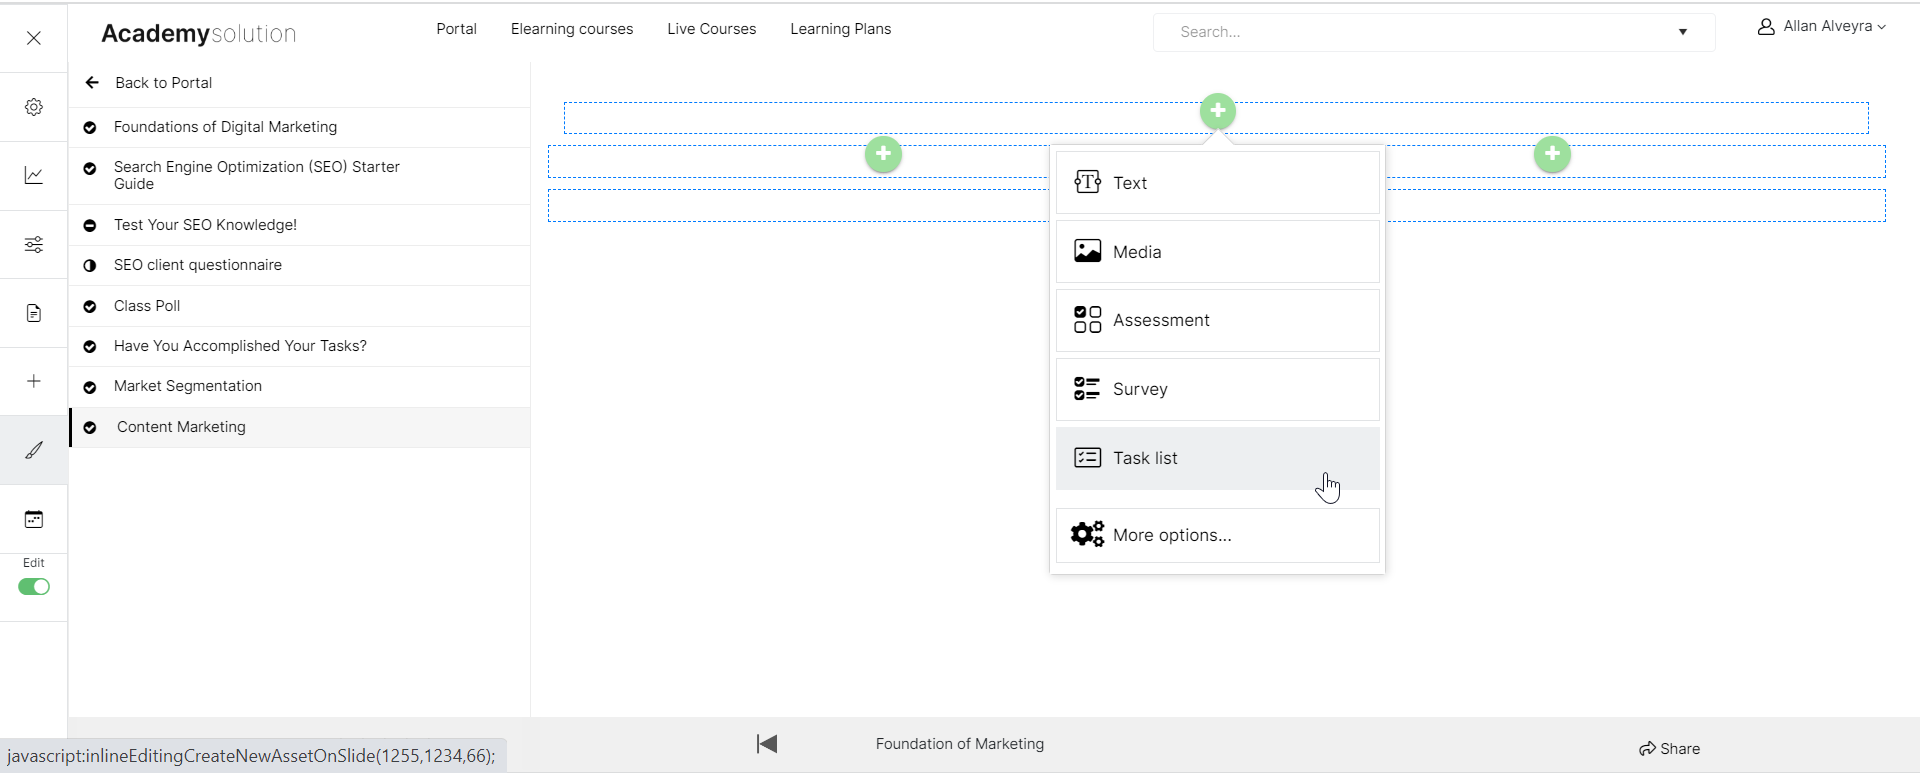
2. To add the asset, click on the + icon and then select Task list. Enter the following details:
- Title – the main headline that identifies or introduces your task list
- Task list title – this is the title of your task list asset.
- Description – you can use this area to explain what tasks are included in the list or which category or course session they belong to.
To start creating your task list, follow these steps:
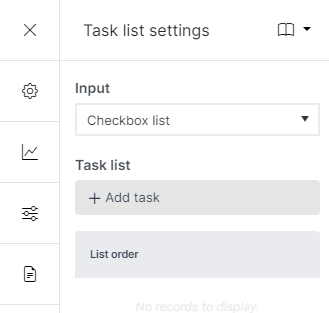
Step 1: Select an input type (e.g., Checkbox list). Turn on the "Require validation" button if you want administrators or instructors to validate task completion. once done, click Add task.
Step 2: Add the title of the task and its description. Categorize your task by entering the category tile inside the "Category" box. 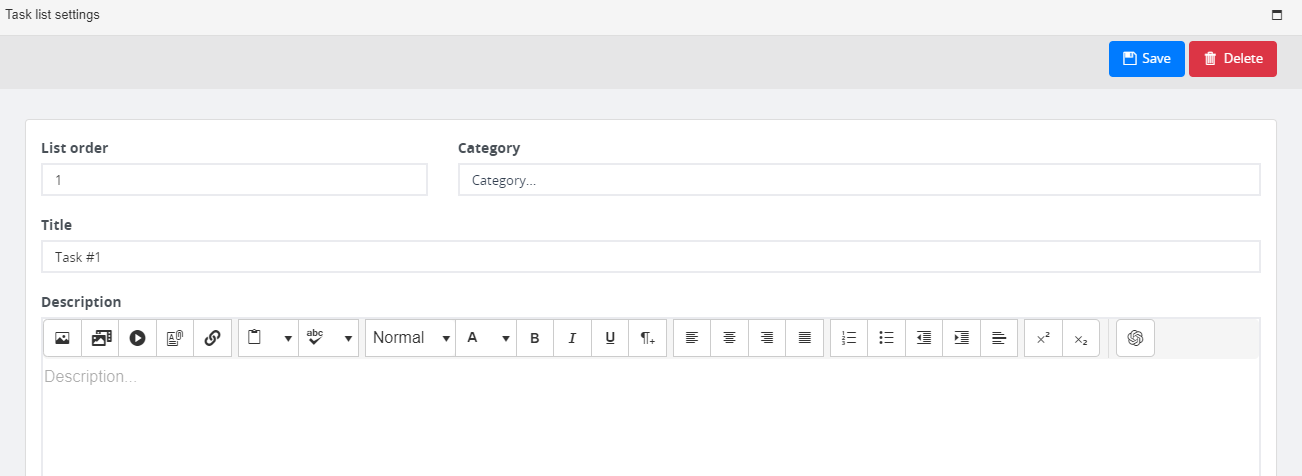
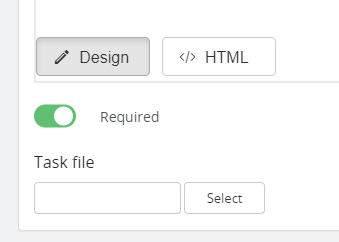
If you or the user needs to upload a file as part of the task, click on Select.
Step 3: Once all the necessary details or files have been set up, click the Save button on the popup and on the Tool panel.
Note
If you want notifications sent when the task has been completed, select Validation required, specify the type of validator, and the email that the notification is sent to.