Adding a text asset to an existing page
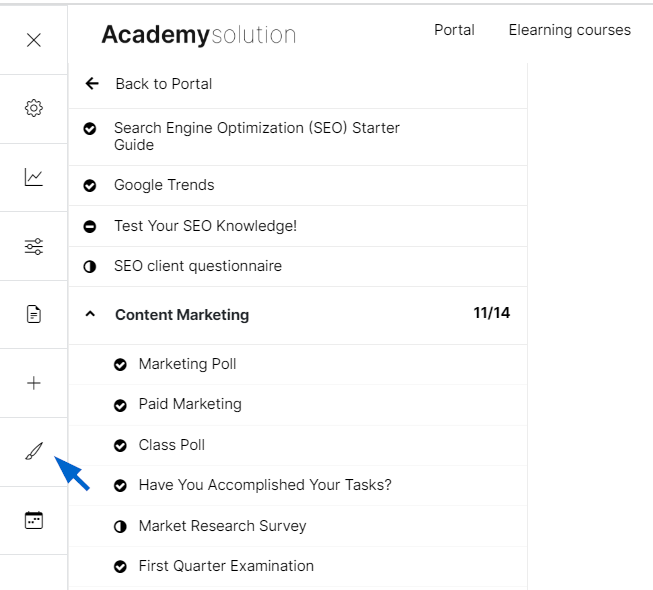
On the tool panel, click on the brush icon to change the page to edit mode.
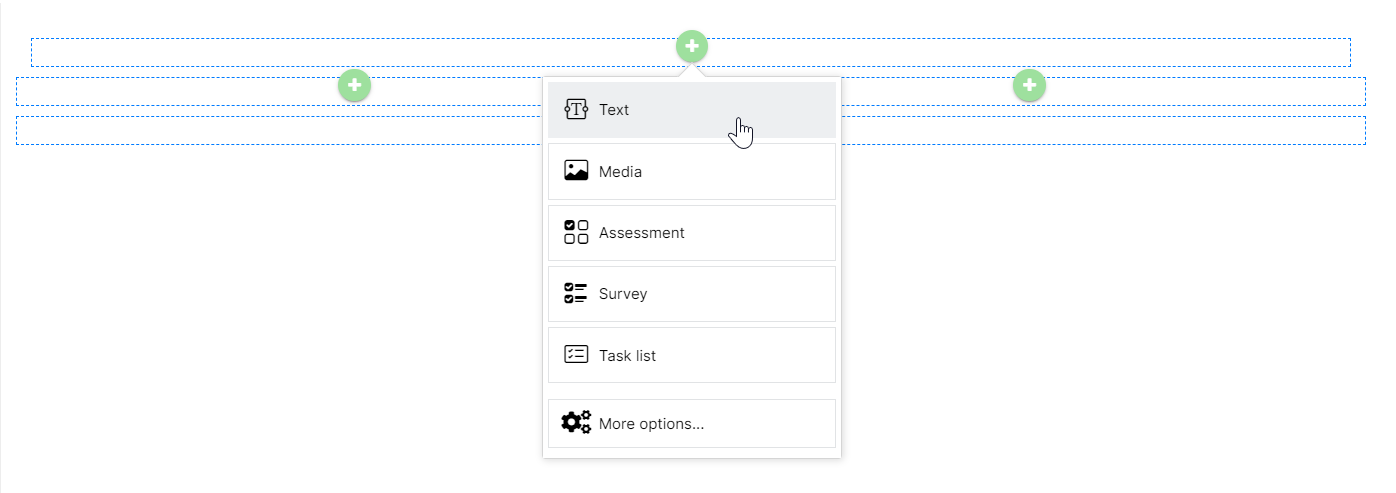
To add a text asset, click the + icon and select Text.
Use the text editor to input or make changes to your texts. Once done, click Save.

To make changes to your text directly on the client view, hover over the text container. Click the pencil icon to edit your text. To delete the asset, click the delete icon. You can also use the yellow button to move the position of your text container.

Adding a text asset to a new page
Go to the tool panel in client view and click the + sign or the Course content button. Select Add page.

Select your preferred template, and then input the page’s title. If you want to set it as a learning objective, turn on the “Track as learning objective button.” Click Save once finished.
Click on the + icon and then select Text.

Use the text editor to input your desired texts. If you wish to add text with an image, click on the image icon to go to the Image Manager or select Import image.
Like in other assets in the Control Panel, you can select the Advanced settings to edit your asset’s template, learning objective, and lifespan settings. Click Save once you’re done.
