Rooms
Updated 2 years ago /
2 min read
About Rooms
Rooms provides a hub for all your teamwork, enabling an open and fluid environment for collaboration. With Rooms, you can work efficiently across external tools, projects, and documents. Rooms can be accessed from the My Rooms module in Full Admin.


With My Rooms, you can share information, updates, files, schedules and so on with relevant users in a few easy steps. The following list describes what you can use My Rooms for:
- Post your news feed with important announcements and updates.
- Display the course catalog and launch courses relevant to a particular group.
- Socialize with your room members through the room wall.
- Upload files where members can co-edit documents.
- Track important schedules such as meetings and deadlines.
- Create relevant notes for your room.
- Display an image gallery where you can upload and share photos.
- Import spreadsheets to organize data into a logical format.
- Organize conferences to discuss relevant details with your room members.
- Display the Gantt chart to track project schedules.
- Assign tasks to other members through the board in your room.
Set up and customize a room
You can set up and customize a room in Full Admin in the My Rooms module. To create a room:
- In Full Admin, on the toolbar, click the Go to My Rooms icon.

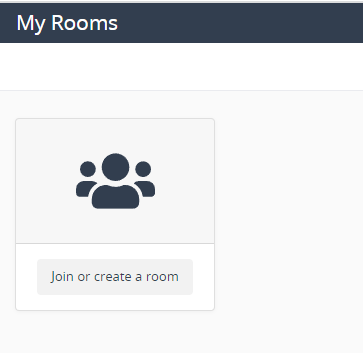
- On the page that appears, click Join or Create a Room
.
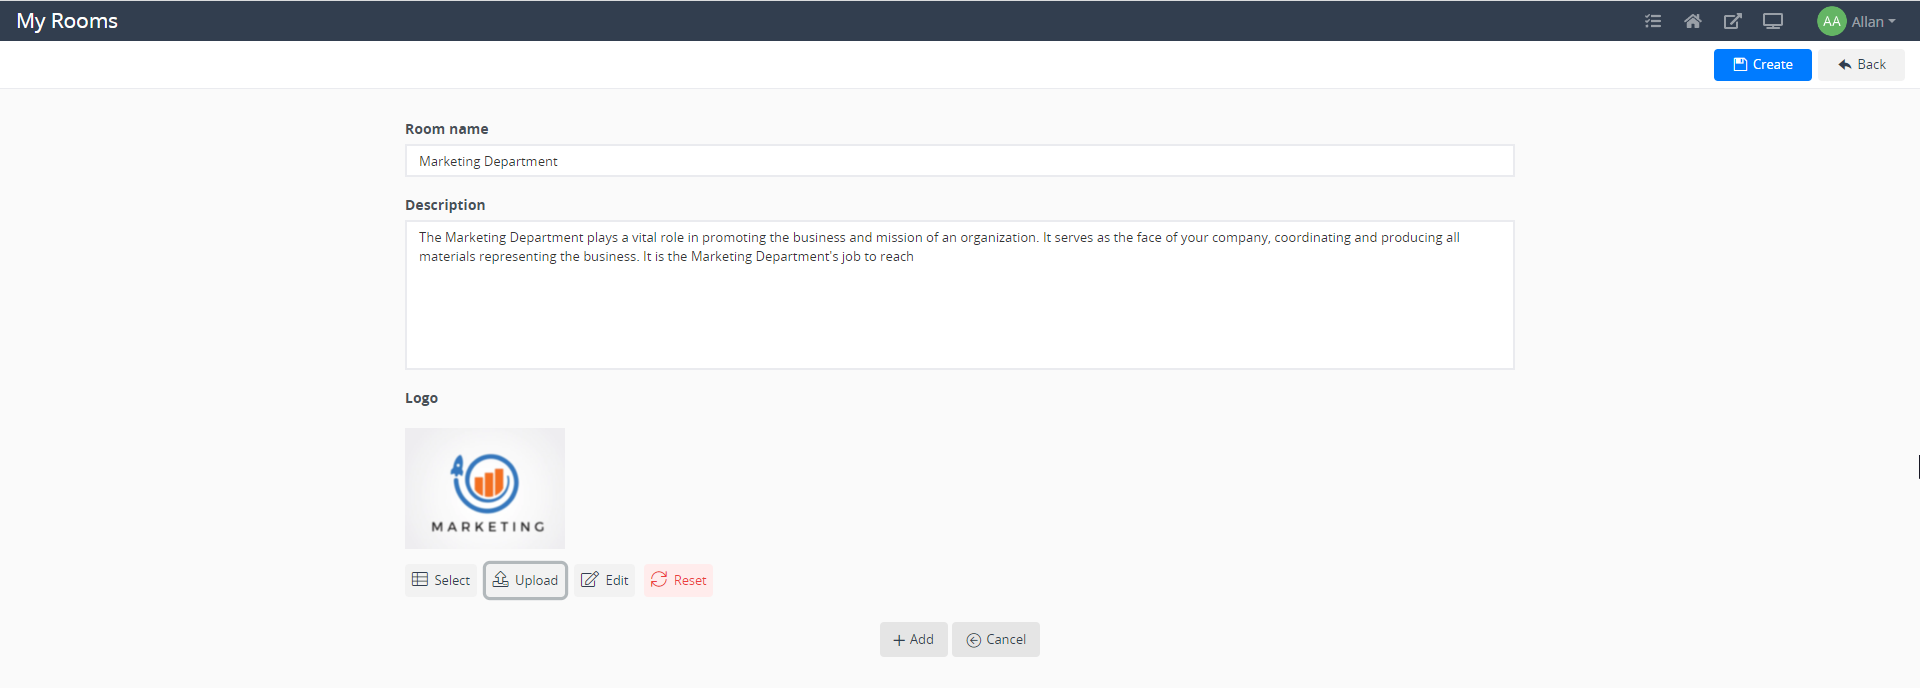
- Click Create New Room.

- Enter the relevant information, and then click Add to save your new room.

5. To add members, click the Members tab. Search for the people you want to include in your room, and then click Add Selected.

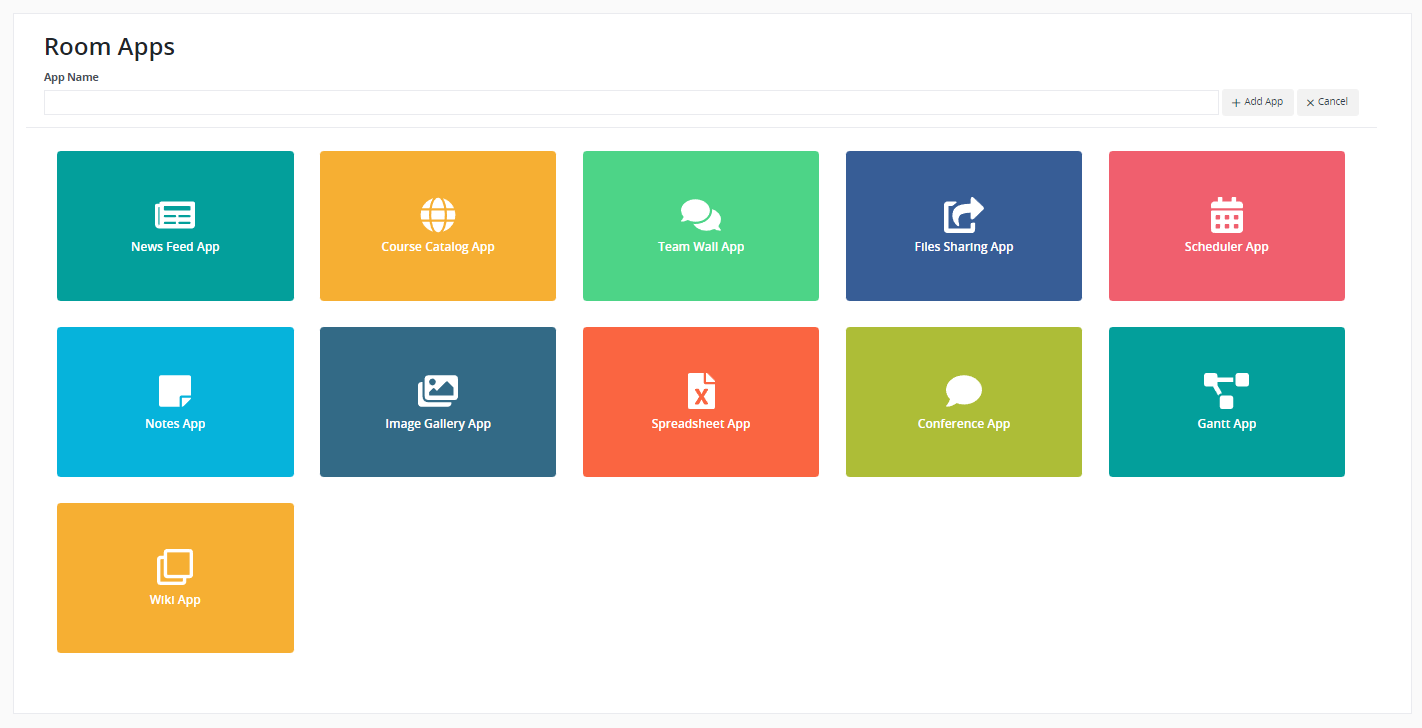
6. To add an asset, select a channel then click Add Rooms App.

For example, you can add the Course Catalog or Notes.
