Enable the domain invite module in Registration form asset settings
Updated 3 years ago /
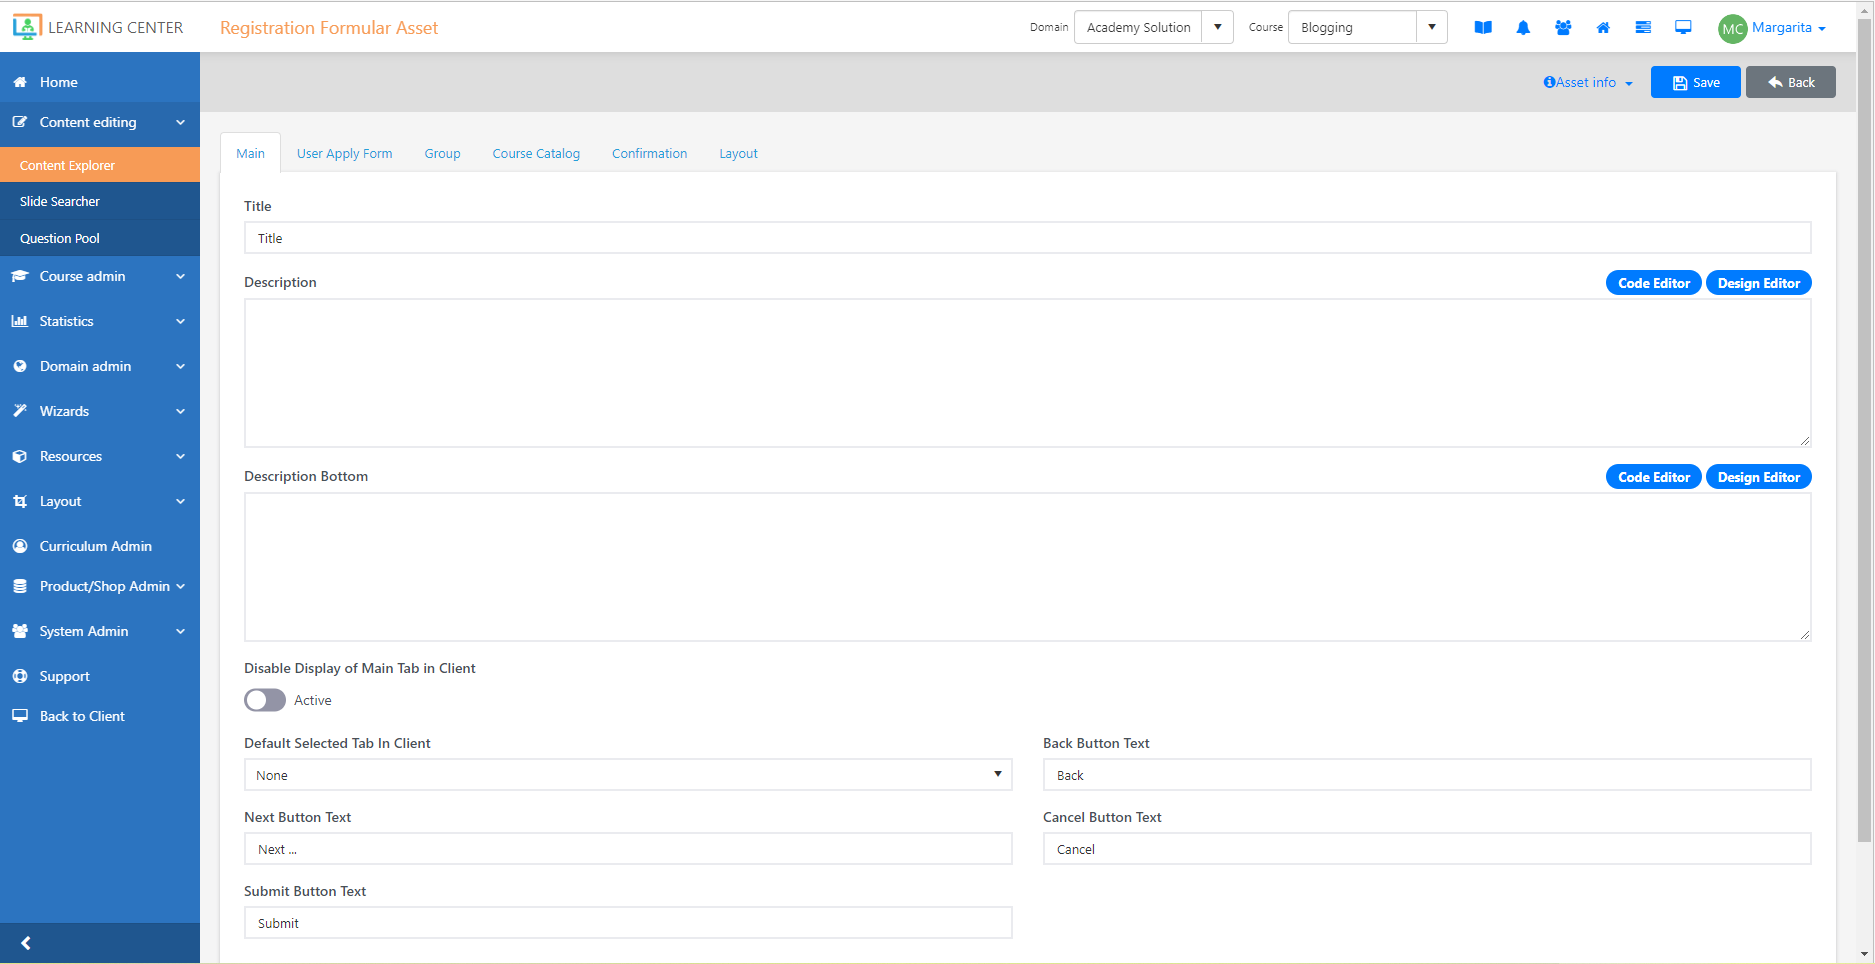
Use the Registration form asset settings to enable and use the domain invite system. To do this, go to Content Explorer in Full Admin and then add a Form Registration asset to a new page.

On the Registration form asset settings, go to Use Apply Form Tab, and then enable Use Apply (User Registration) Form. Under Settings, enable Use Activation Codes. When the additional options appear, turn on Enable Domain Invite System, then click Save.

Note: To allow access to Enable Domain Invite System on the Registration Form asset settings, enable Allow Invite Module Access in Domain Settings.
Select the domain list created above under the “Registration Form Invite Lists” setting and enter a valid “User Activation Code Label.”

Apply relevant settings under the “Registration/Invite Module Settings” section. And make sure to use a valid URL for the “Default Sign Up URL” setting.
 Note: Depending on the scenario, it’s recommended to enable the “Group settings” under the group tab.
- Make sure to add default groups like the “all users” type of groups to give the user access to the default courses like the portal etc.

- Enable “Use Group Tab UI v2.”
- Set the correct type under the group collections – e.g. “Hidden list - use for domain invite system as look up list for valid groups” for letting the actual invite populate the list
- Disable the course catalog settings on the course catalog tab. Set relevant settings for confirmation.
