Set up a room using the Control Panel
Updated 2 years ago /
2 min read
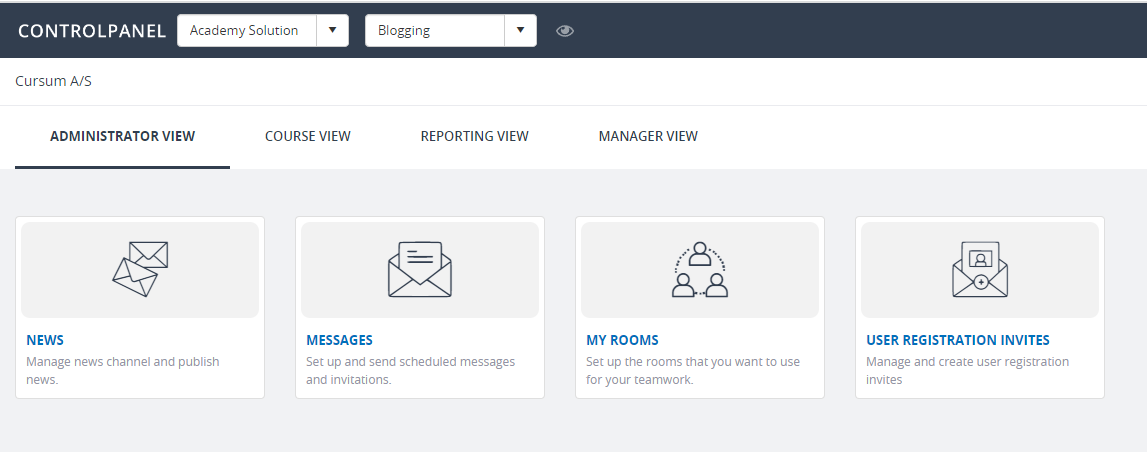
Rooms provides a hub for all your teamwork, enabling an open and fluid environment for collaboration. With Rooms, you can work effectively across external tools, projects, and documents. Rooms can be accessed from the Control Panel.
To set up and customize your room:
- In the Control Panel, click Communications, Rooms.


- On the page that appears, click Join or Create a Room, Create a New Room.


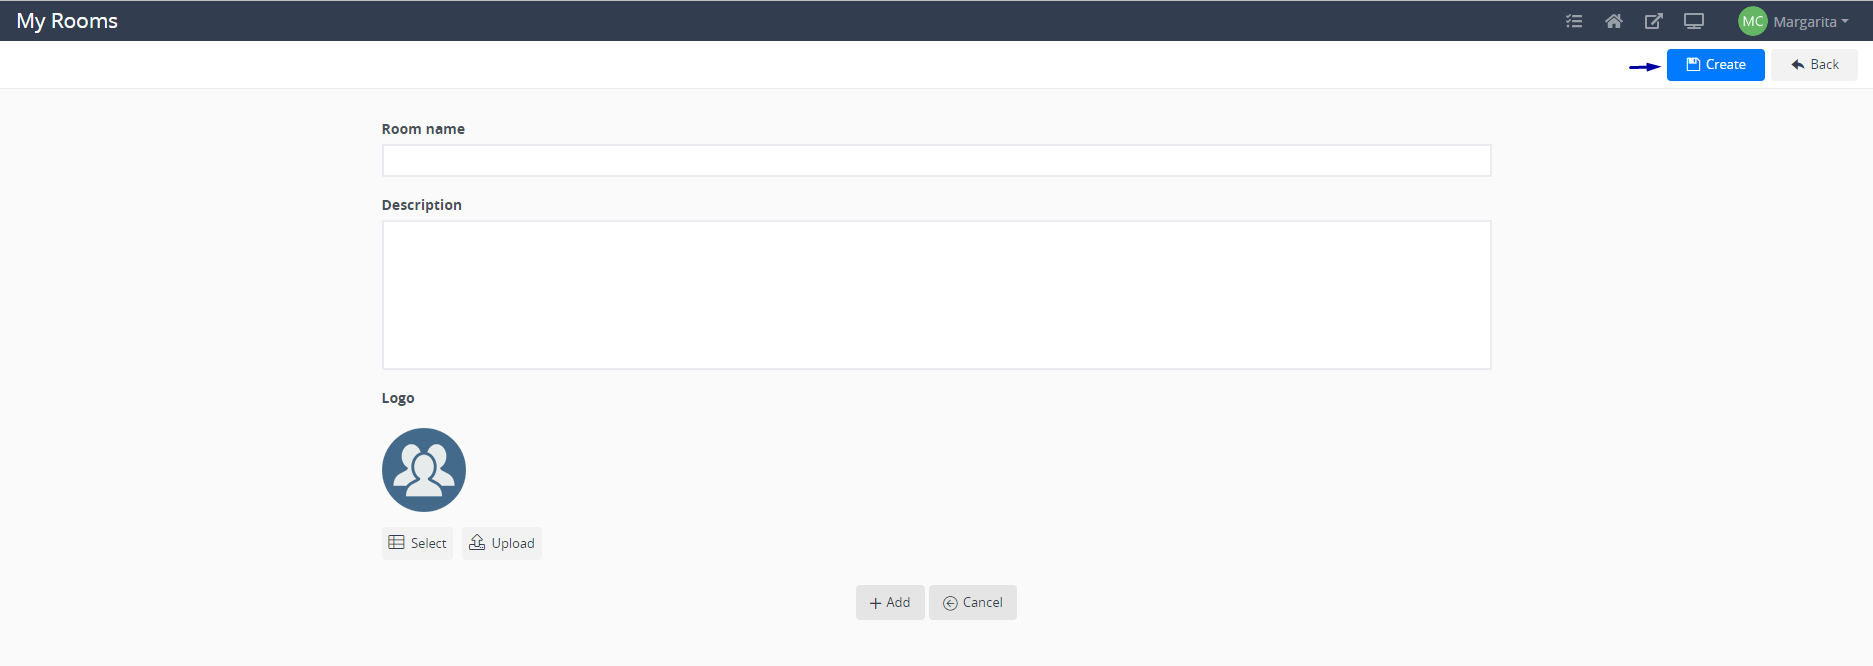
3. Enter the relevant information, and then click Create to save your new room.
 4. To add members, click the Members tab. Search for the people you want to include in your room, and then click Add Selected Users.


5. To add an asset, select a channel then click Add Rooms App. For example, you can add the Course Catalog to publicize relevant courses for your room that they can launch directly from Rooms.