Send automated/recurring messages
Updated 3 years ago /
4 min read
You can send scheduled notifications and invitations to course participants, create templates of these messages, and log them in the system. These can be delivered instantly or scheduled for a particular date and time. You can use the filtering options to specify targeted groups, for example, you can send automatic messages to all participants who haven't completed courses on a daily basis, until they do.
To create a new message:
- In the Control Panel, click Communications, Messages.
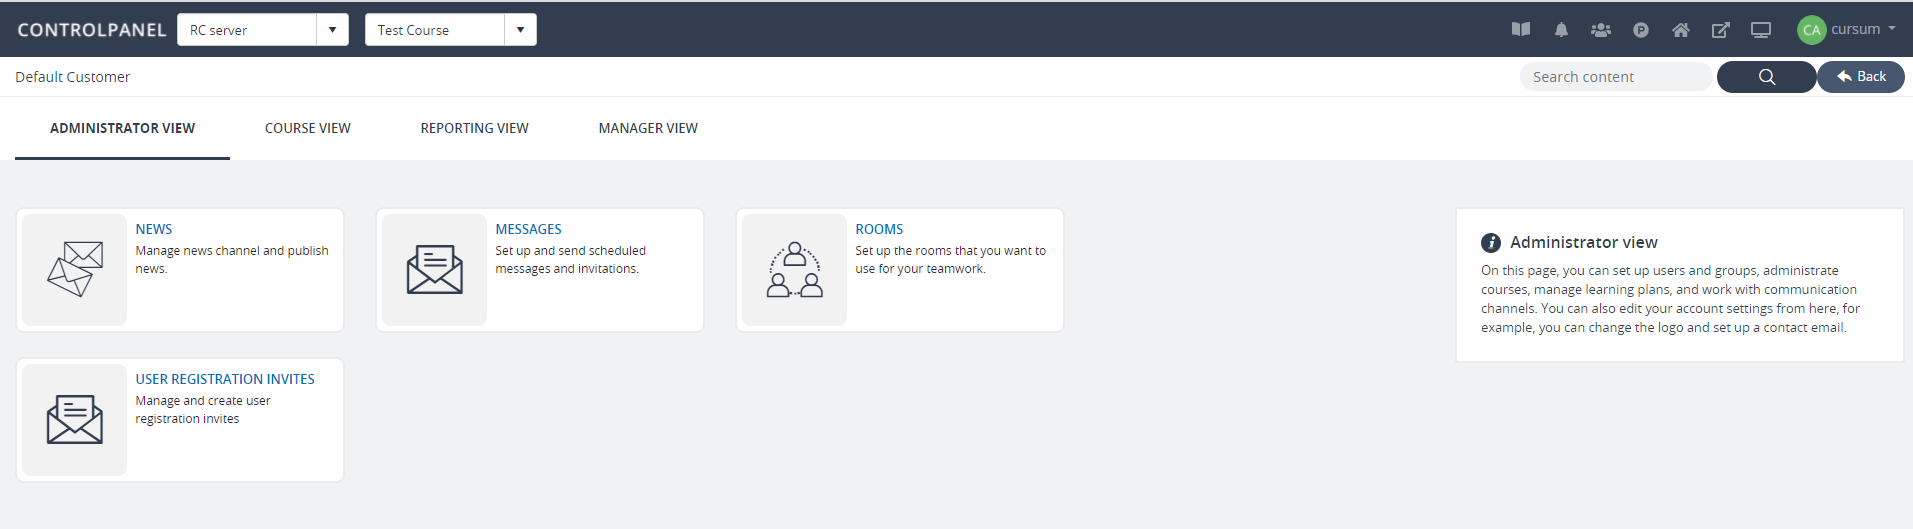
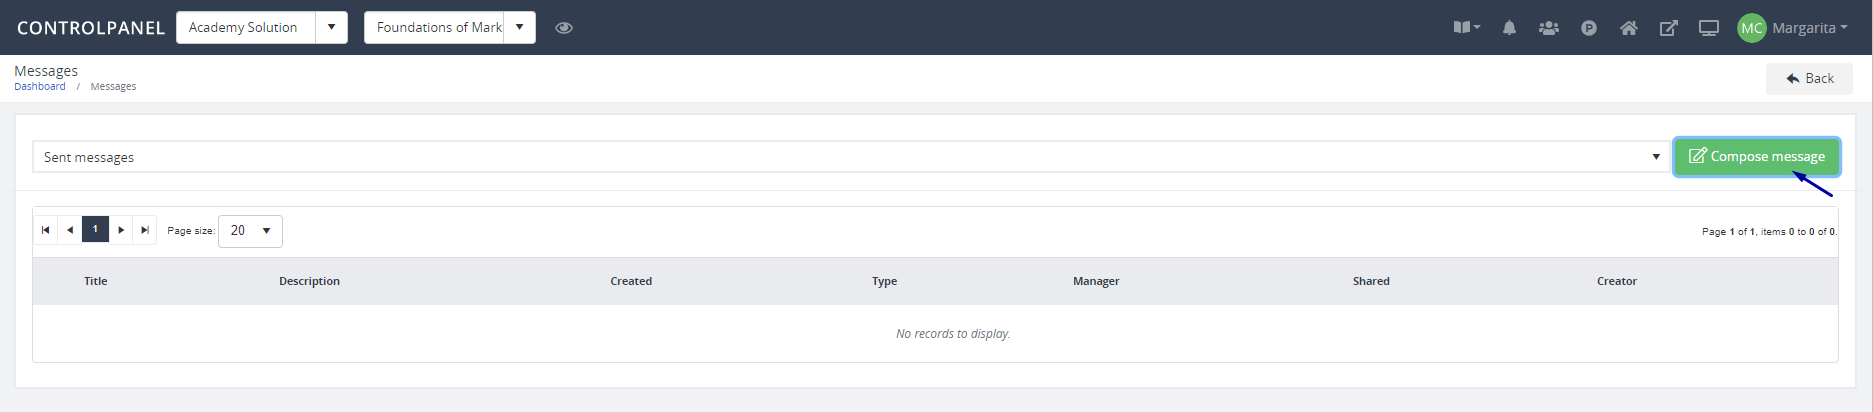
- On the Messages page, click Compose Message.

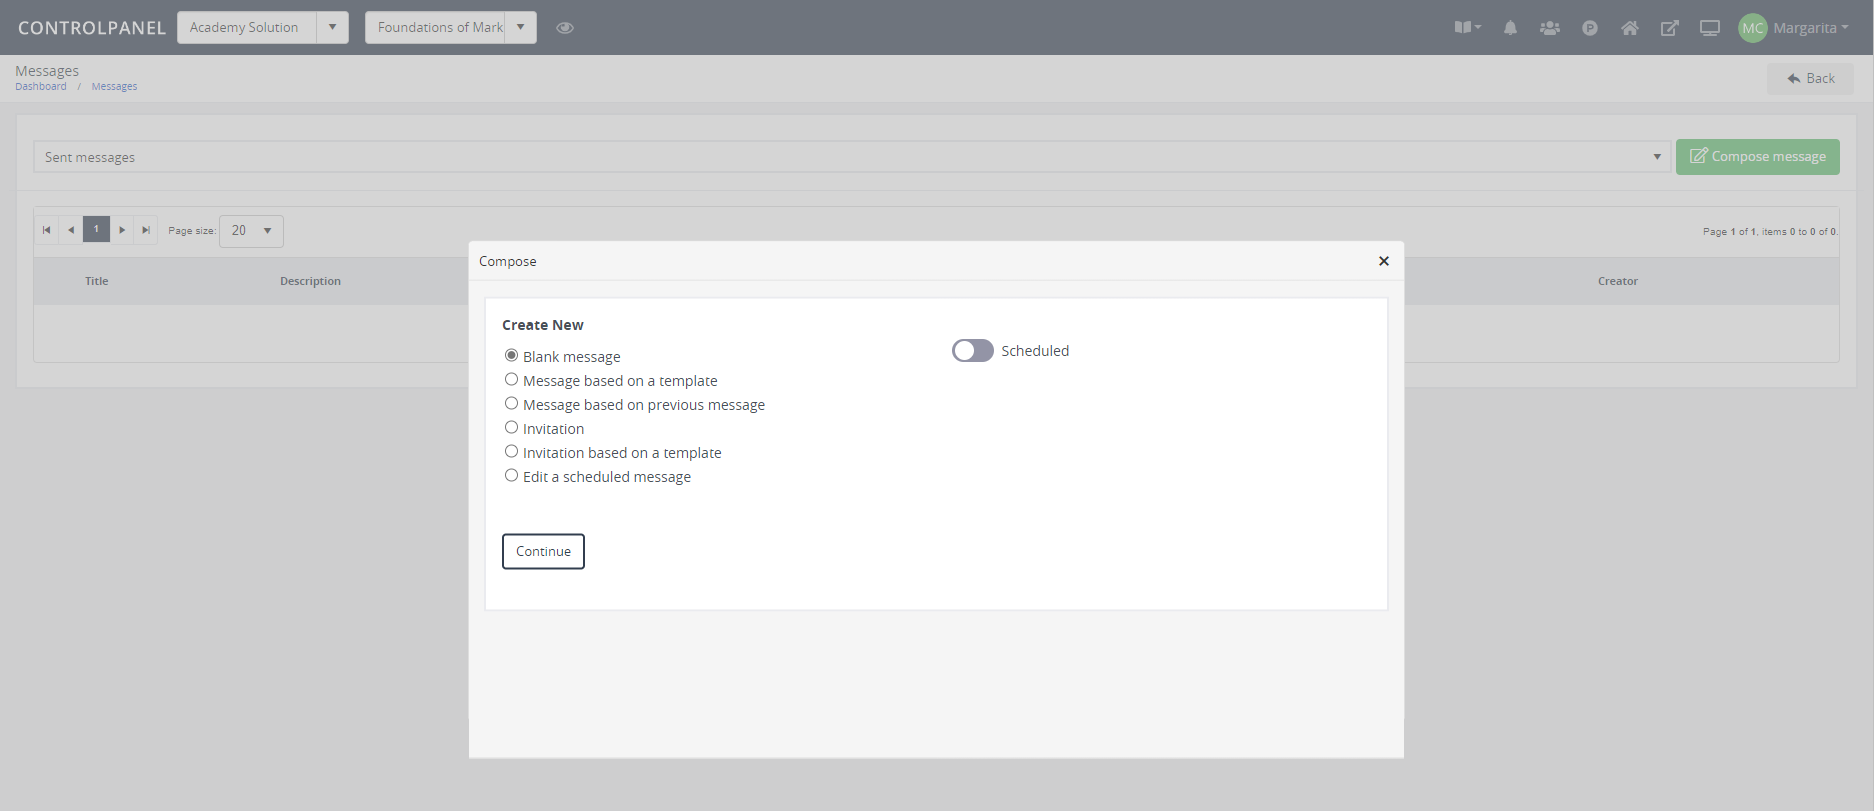
- Choose whether you want to create a new message or base your message on an existing message or template and whether you want to schedule the message, and then click Continue.

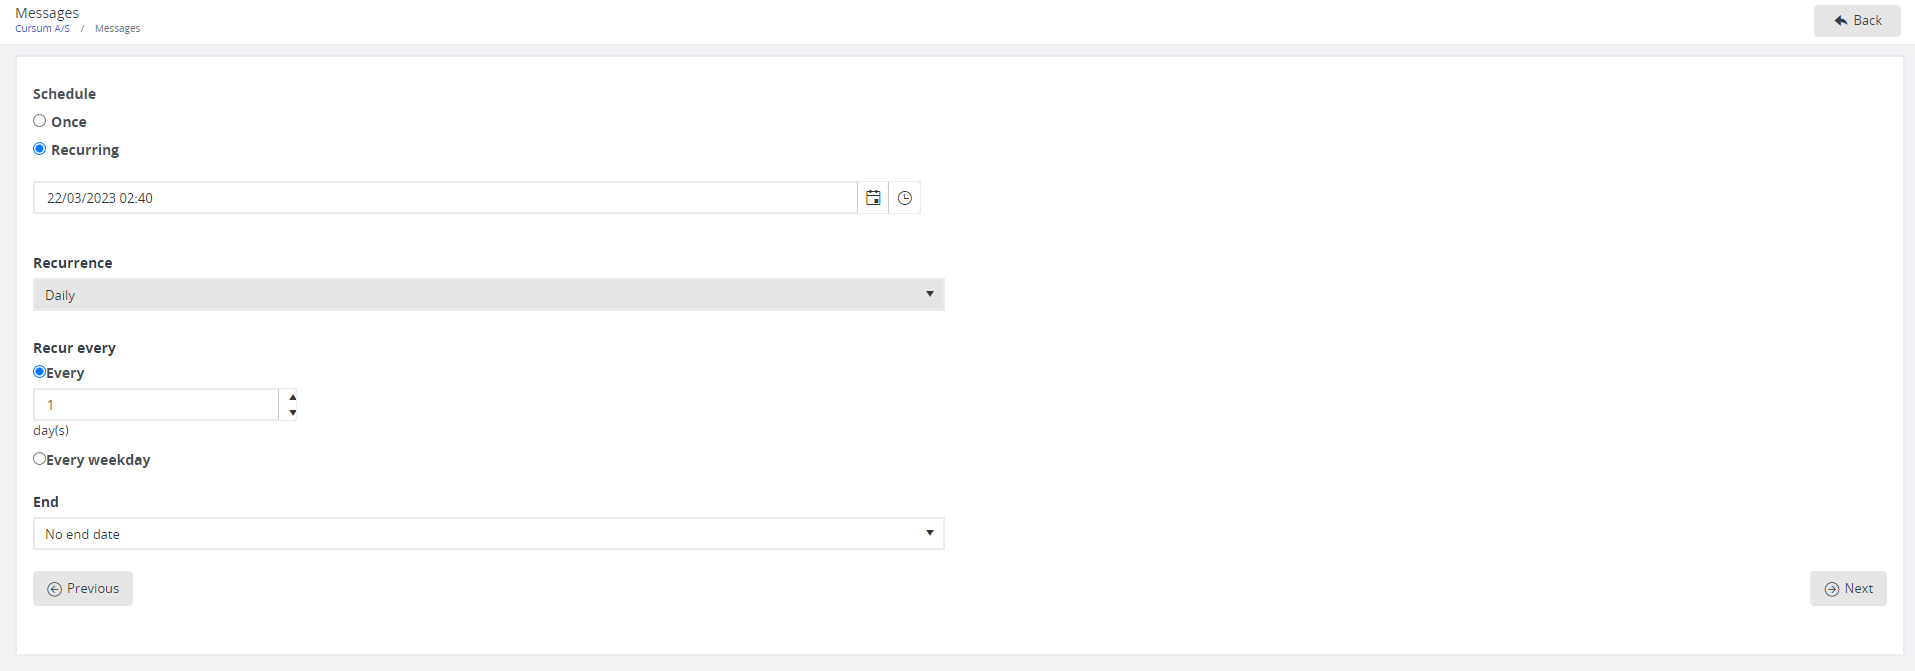
- If you have selected that your message is a scheduled message, specify when you want to send the message and whether you want it to be a recurring message, and then click Next.

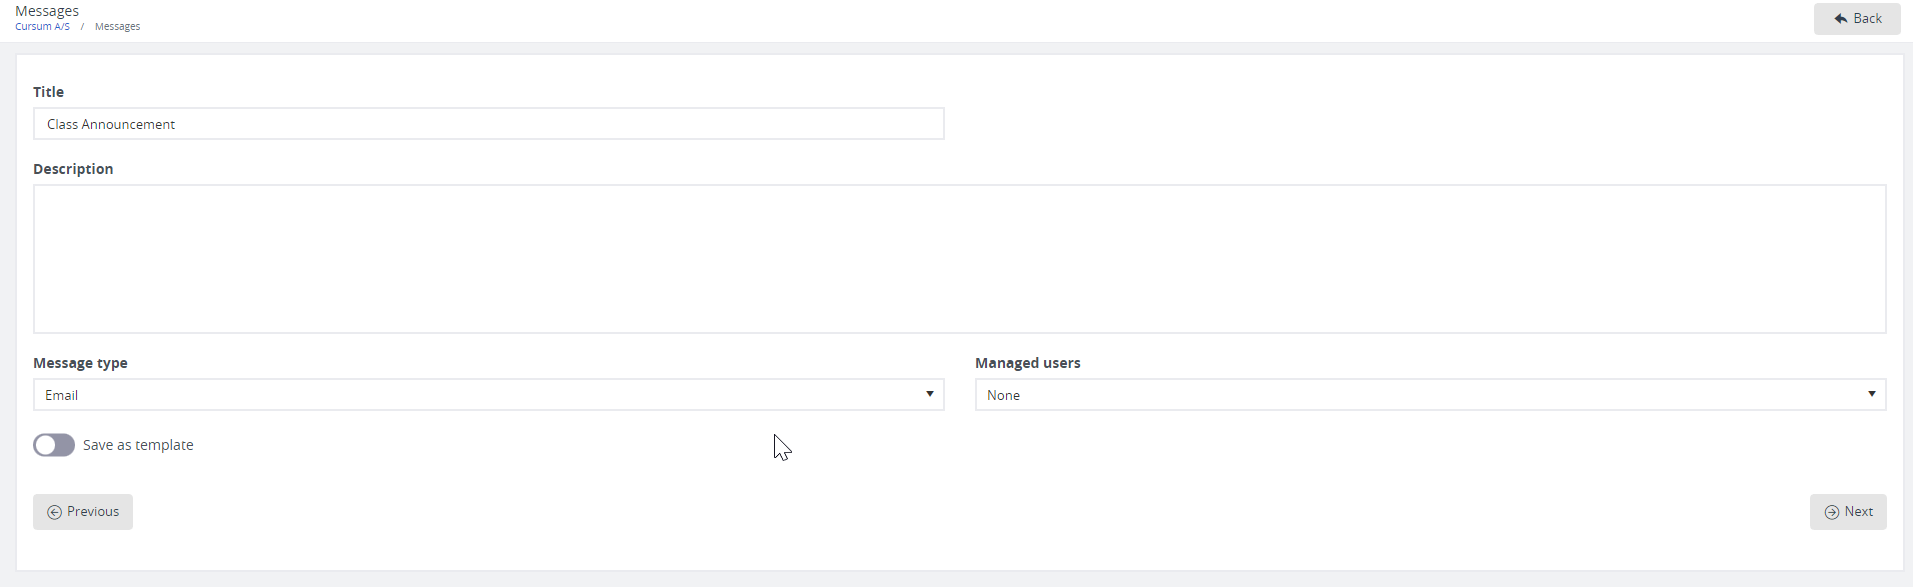
- Enter a name for the message (this only appears in the system as a reference) and choose the message type, for example, SMS or email, and specify whether you want to save it as a template for reuse. Click Next.

- To determine the audience for your message, click the first dropdown to choose a filter, for example, has Course Status, and in the top field on the right, select the course.
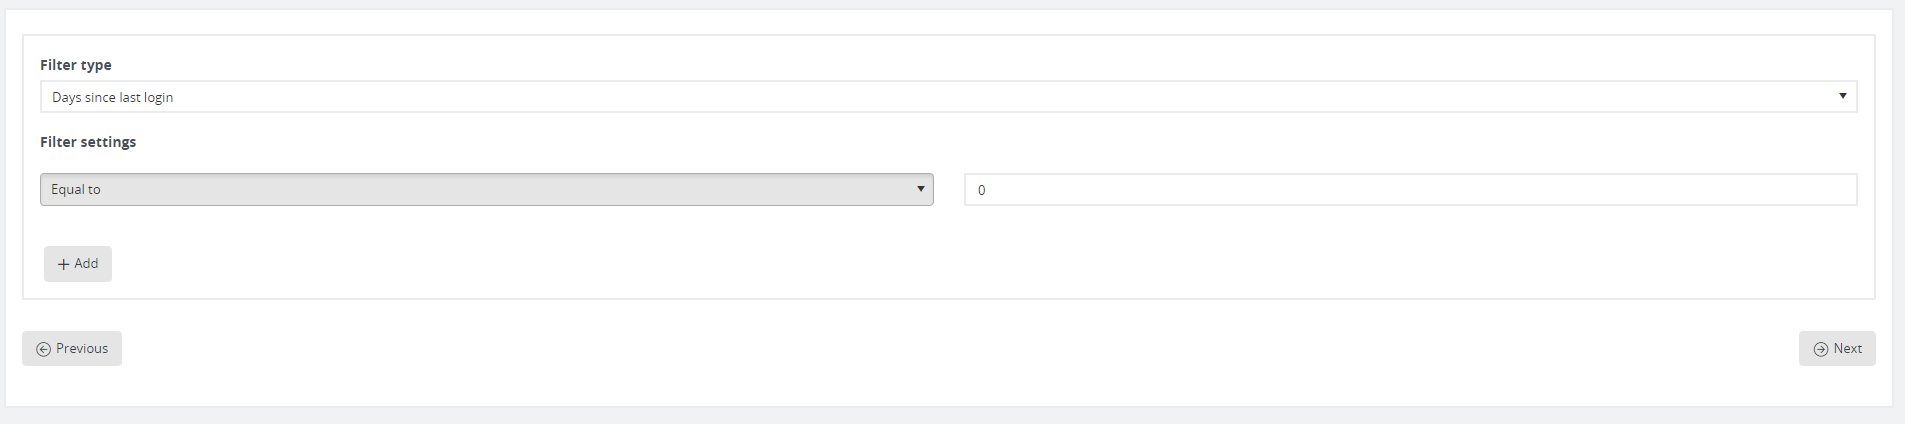
- Specify the values for the filter, and then click Add.
You can add several filters and courses to get a very specific group of users for your message. Click Next.
- On the page, specify the display name that the user sees as the sender of the message and add a subject for your message.

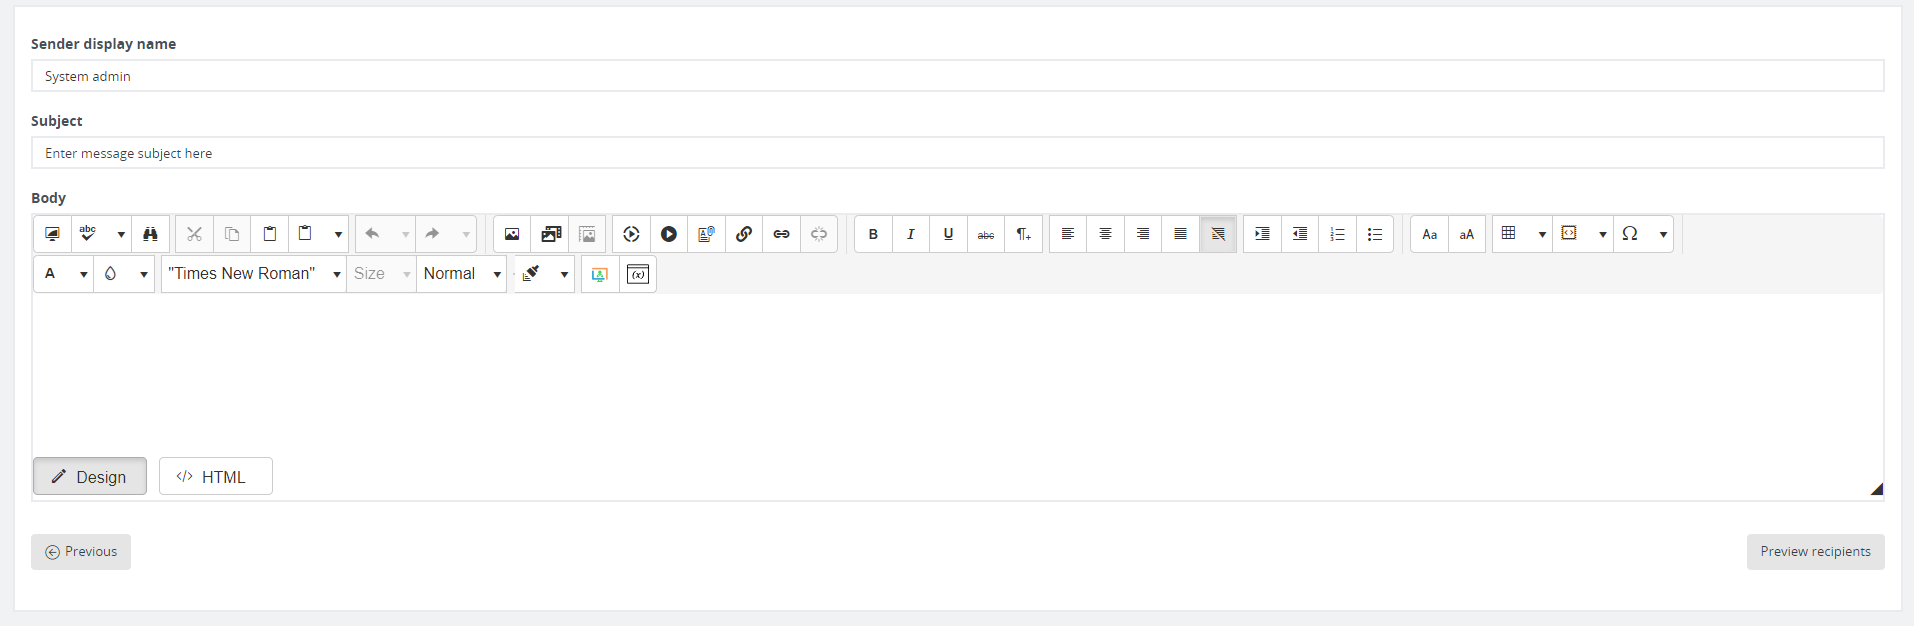
In the body of your message. You can format your message with images, links, or embed the content using HTML.
Note
To use variables to have the system automatically enter relevant settings in your message, for example, to add the name of the recipient to the message, click the
Insert variable 
icon, and choose the ones you want.
Before you send, you can click Preview Users to check that the recipients are the ones you want to send to.
- Click Finish/Send to send the message.