To import a list of users from an Excel spreadsheet:
1. Save your Excel spreadsheet as a .csv file(comma separated value).
Note:
Check your file for any empty headings in the first line of your file and get rid of any leading and trailing spaces – these can interfere with fields such as usernames and passwords.
2. In the Control Panel, click Users and groups, Users.
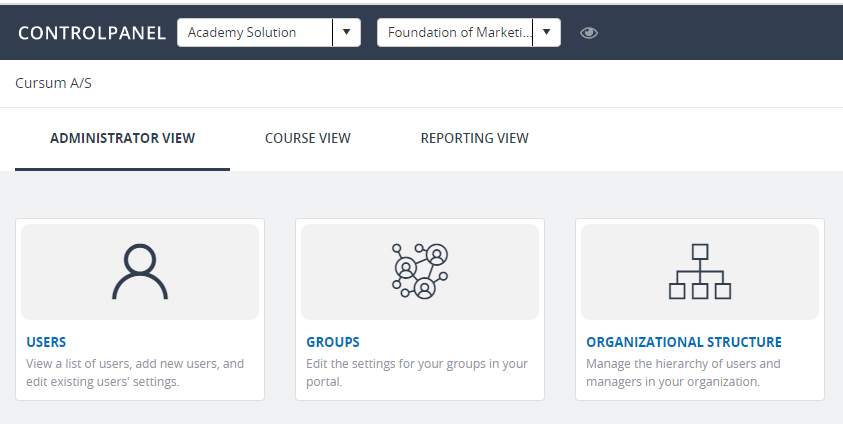
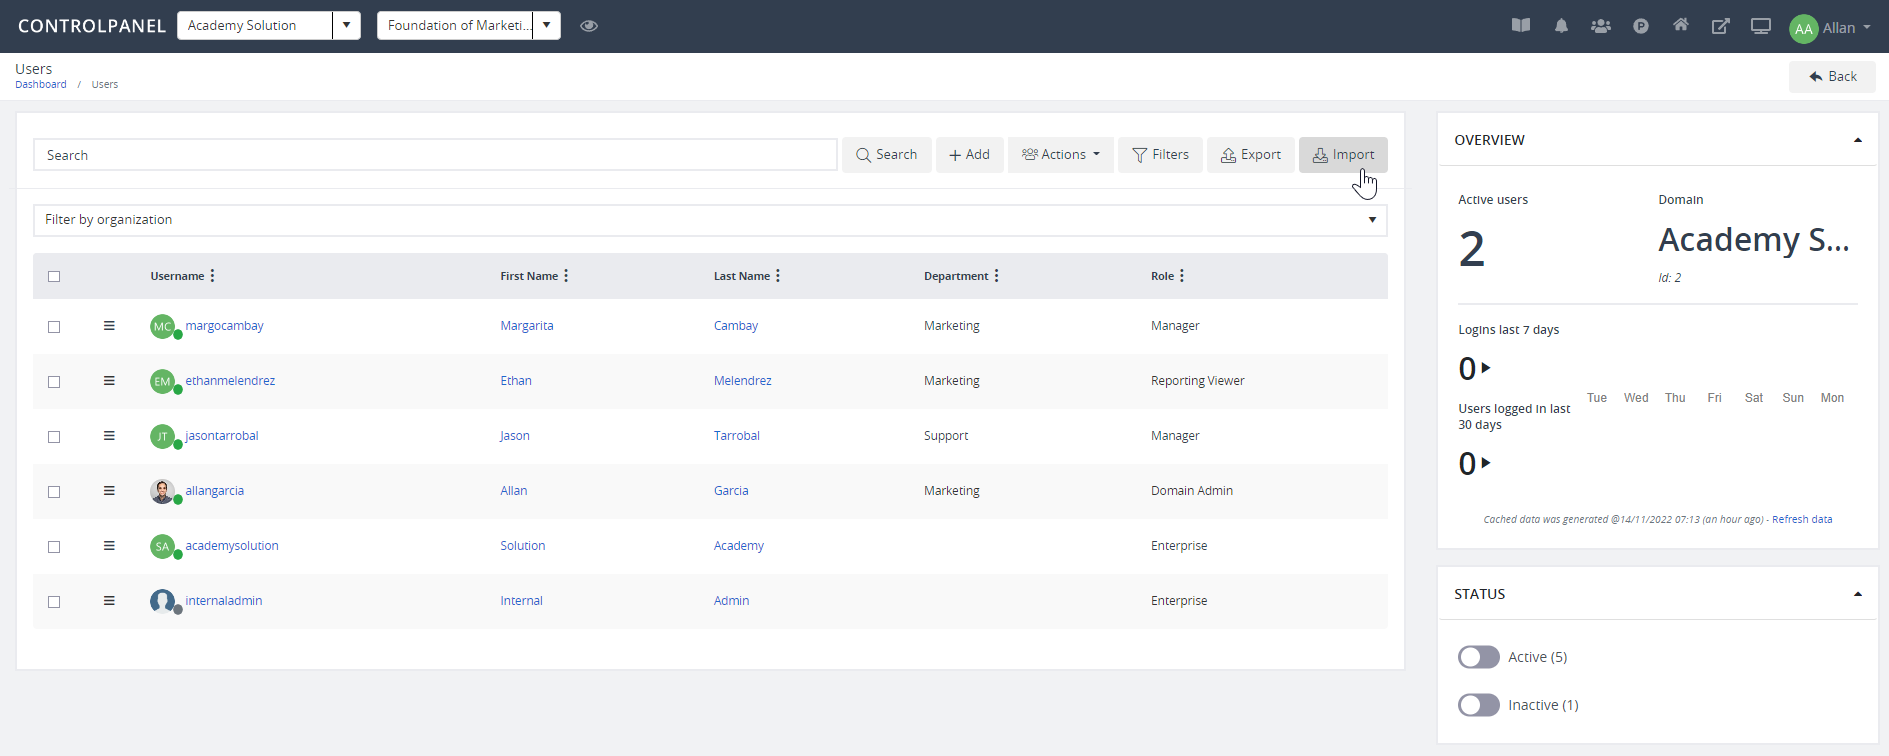
3. On the Users page, click Import.
4. On the Upload file tab, specify a comma or semicolon as the separator which must be the same as the one specified in the .csv file. In the Upload field, select the relevant file, and when it has uploaded, click Set mappings.
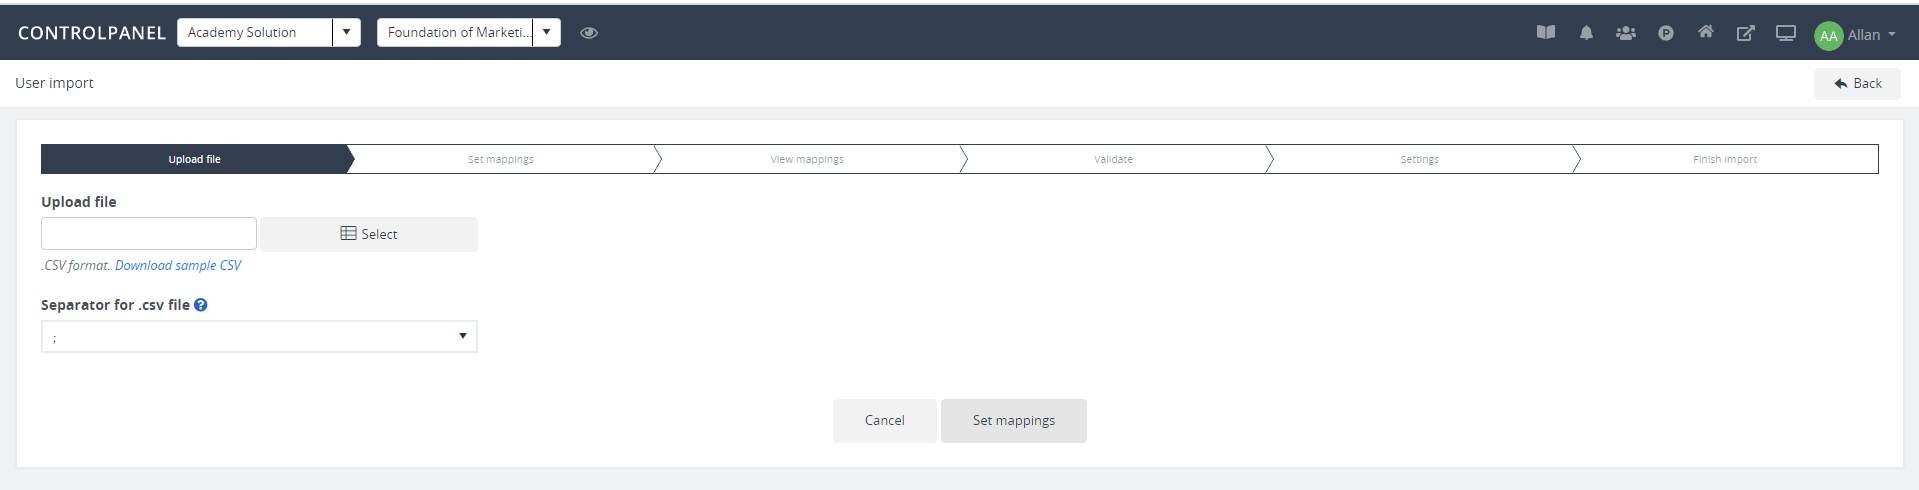
Note
You can specify that you want to import the list as external, for example, the system gets the information from Office 365, so your users don’t need a separate username and password but can use their Office 365 credentials to sign in.
5. On the Set mappings tab, in the Column name dropdown field for each column in your imported file, choose the name in your file that maps to the appropriate field names in the system. Click View mappings.
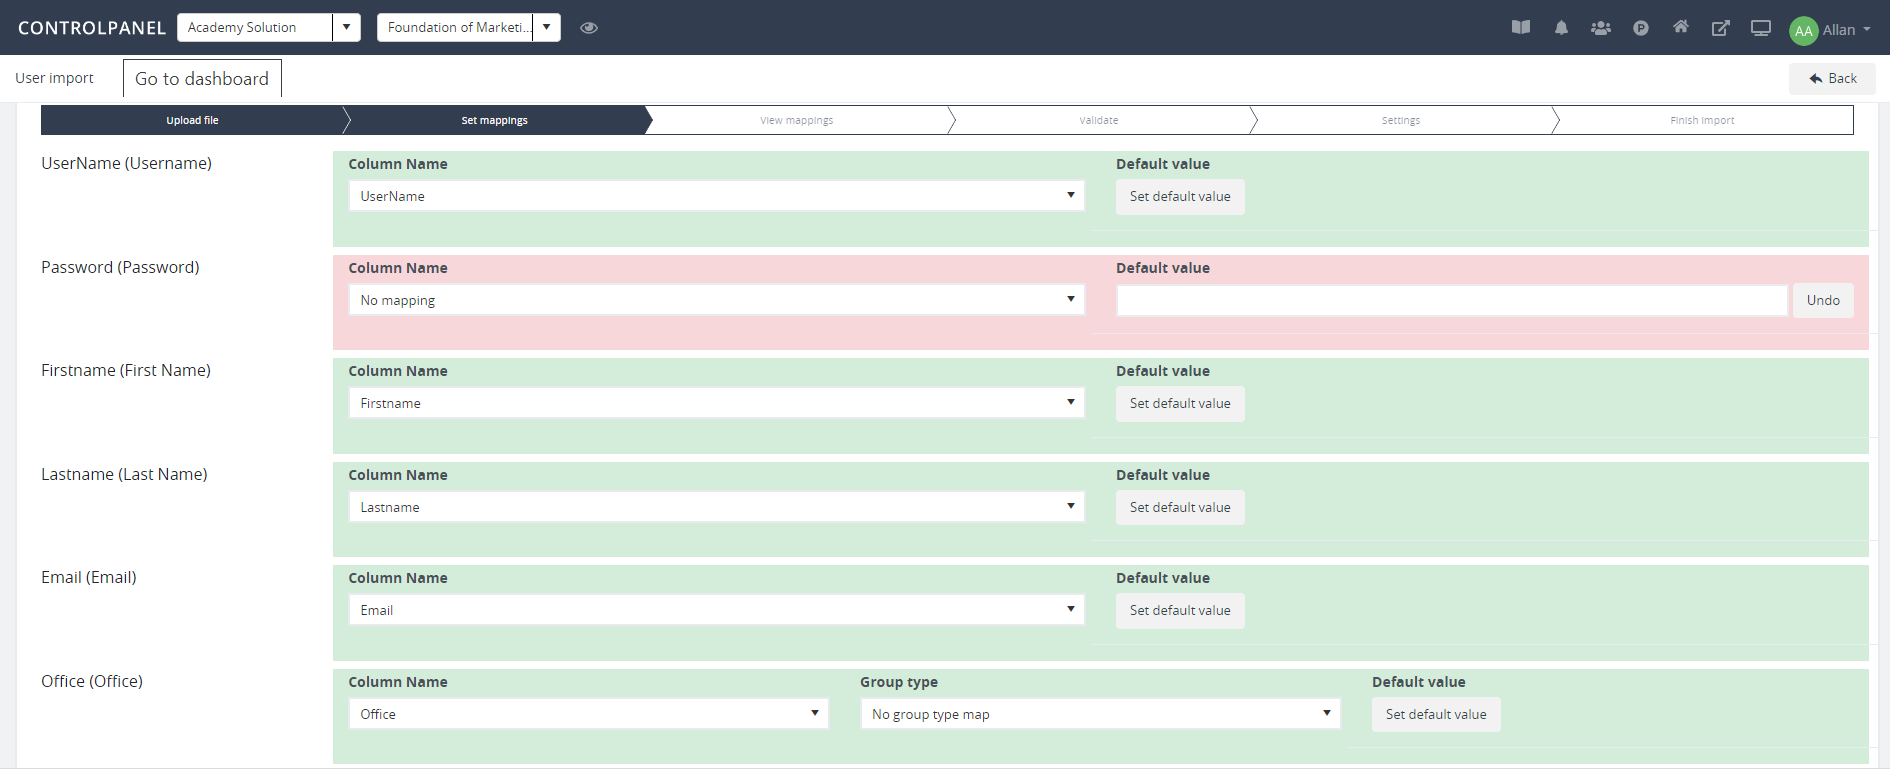
Note
If the import has identified successful mappings, these are highlighted as green. If there are missing mappings, these are highlighted as red. Other fields that aren't highlighted, for example, PersonalSkinID, are system generated which you do not need to fill in.
6.On the View mappings tab, below the field mappings, you can see the list of users and their mapped settings, so you can see whether the mappings are correct. When you are satisfied with the data, click Validate.
7. On the Validate tab, below the field mappings, you can see the list of validated users with a green Approved in the Feedback column. Click Settings.

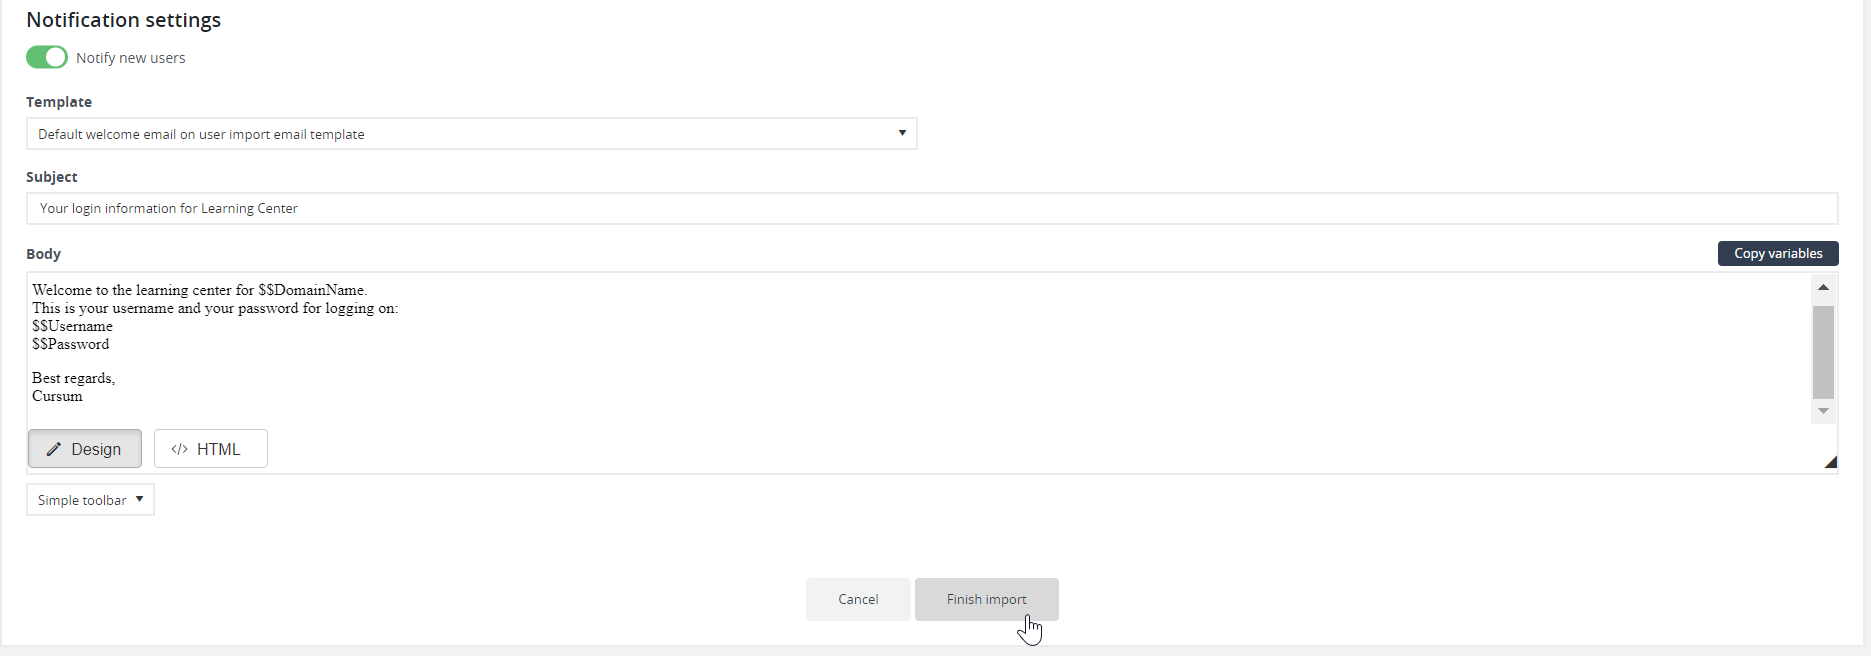
8. On the Settings tab, specify any groups that you want users to be part of or create a new one during the import process. You can also specify that you want users to create a new password and whether you want to notify them that they have been assigned to the group. Click Finish import.
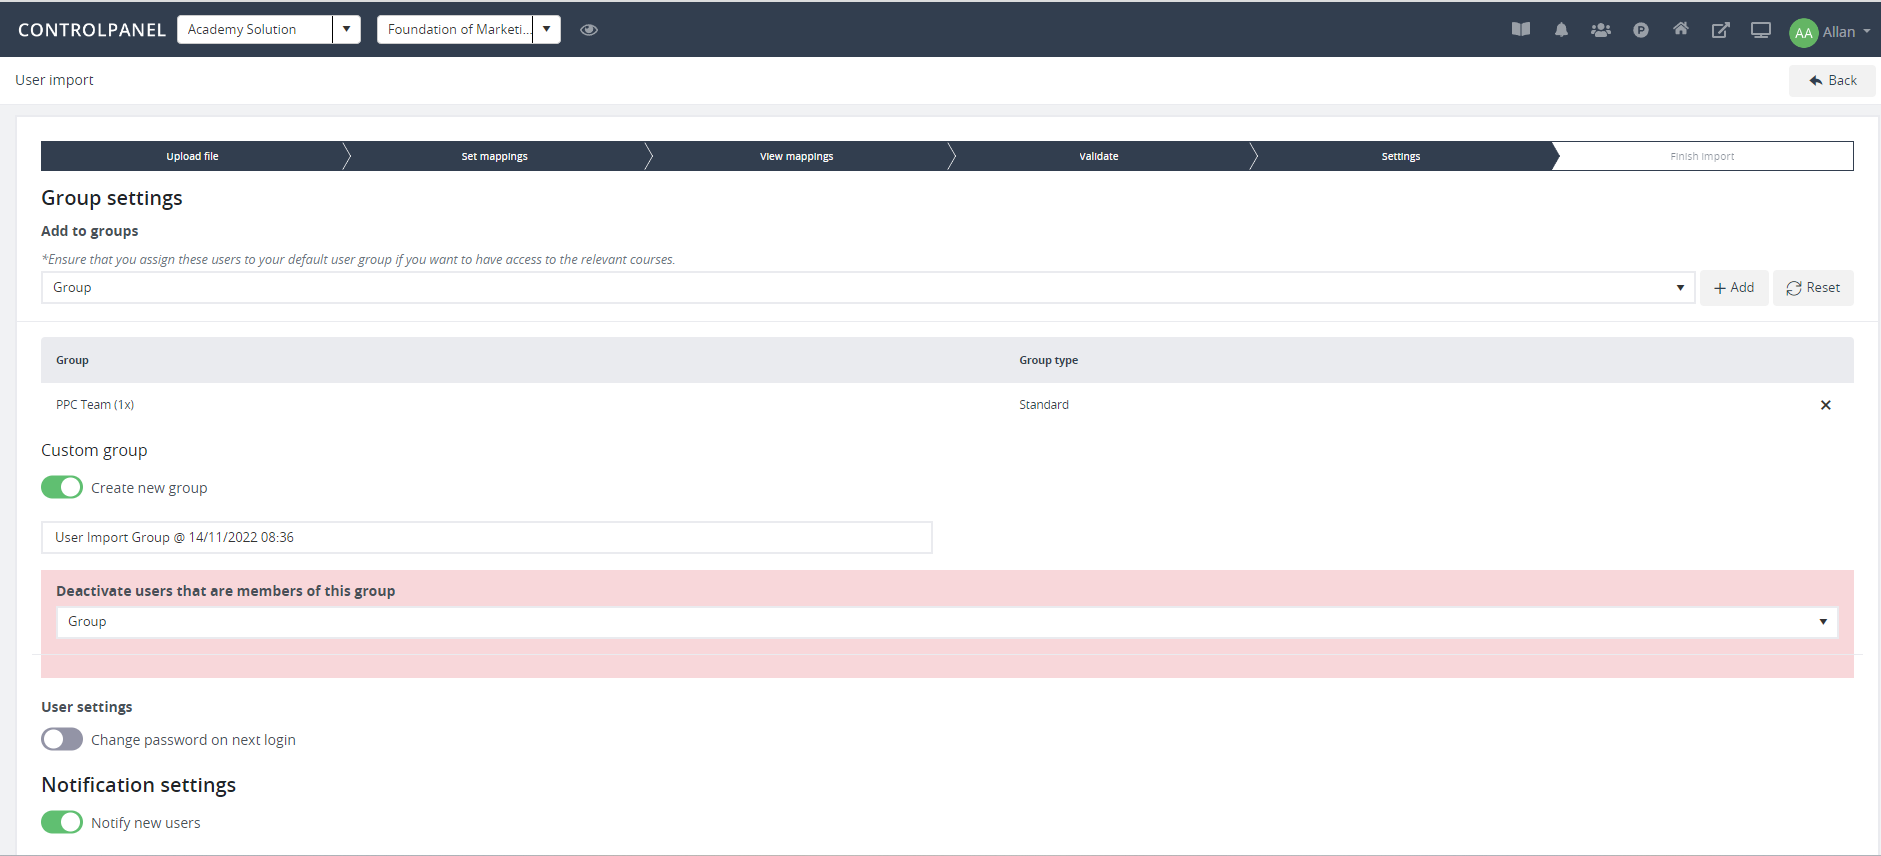
Note
To add the imported users to an existing learning plan, under User settings, enable the Add users to selected learning plan button and search for the learning plan that you want these users to be part of. If you want to save the settings as a template, select the Save as template button.