Adding a note-taking feature to your course page can offer several benefits to your users.
It allows for personalization and retention, as learners can quickly create study guides specific to their needs and review important information. For video pages, for example, users can jot down their thoughts, questions, and insights. By doing so, users can easily review and recall important information.
Users can also access their notes from anywhere, anytime, if they have an internet connection. This makes it easy for them to review important information before tests or assignments.
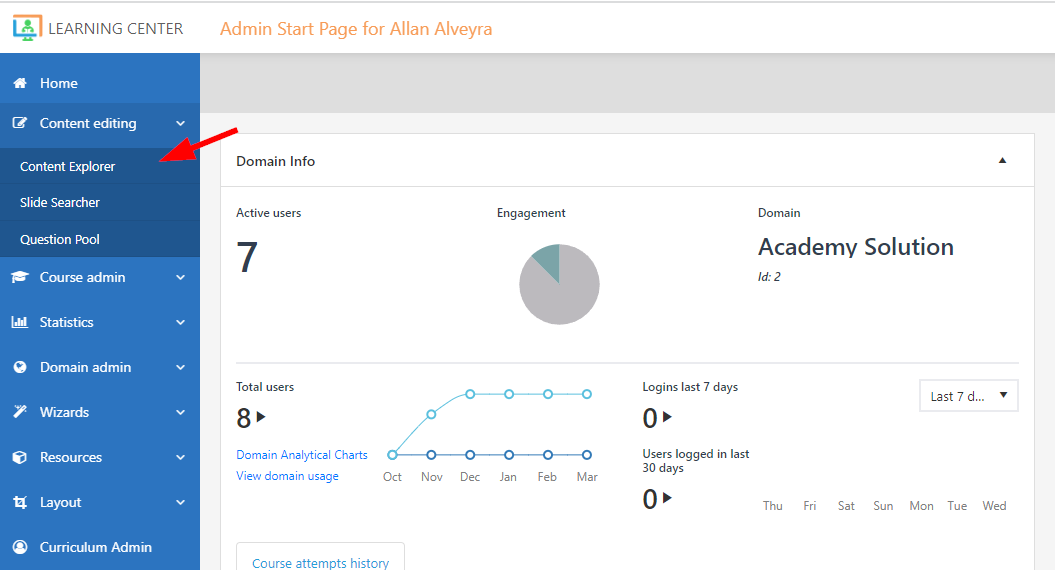
To use this functionality in Full Admin, go to Content Explorer. Select a relevant page in which a note list or note editor feature will be added.
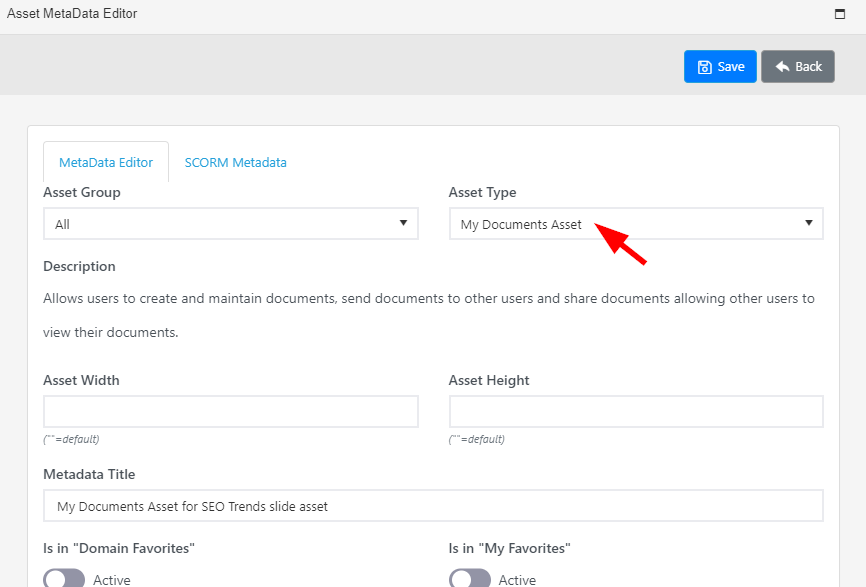
On the chosen page, add a My Document Asset.
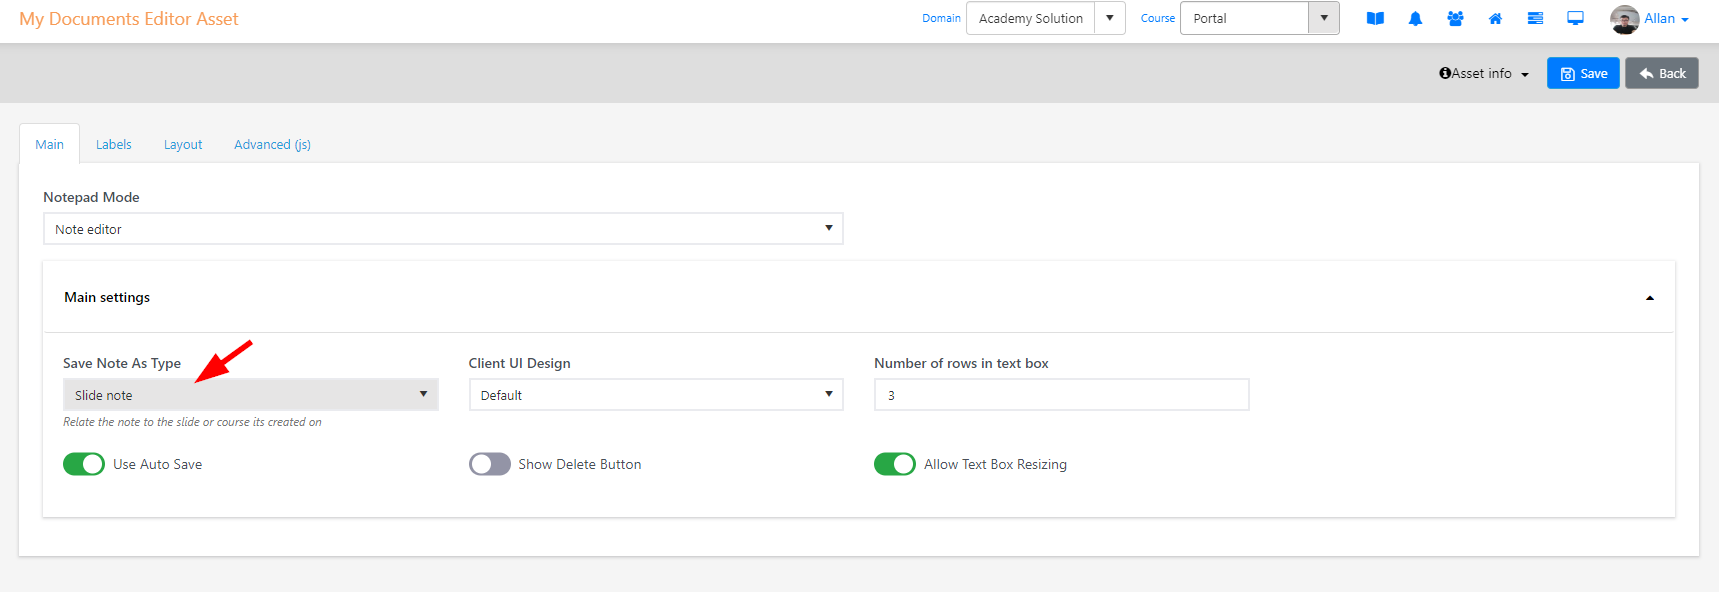
On the My Documents Editor page, select Note editor under Notepad Mode.
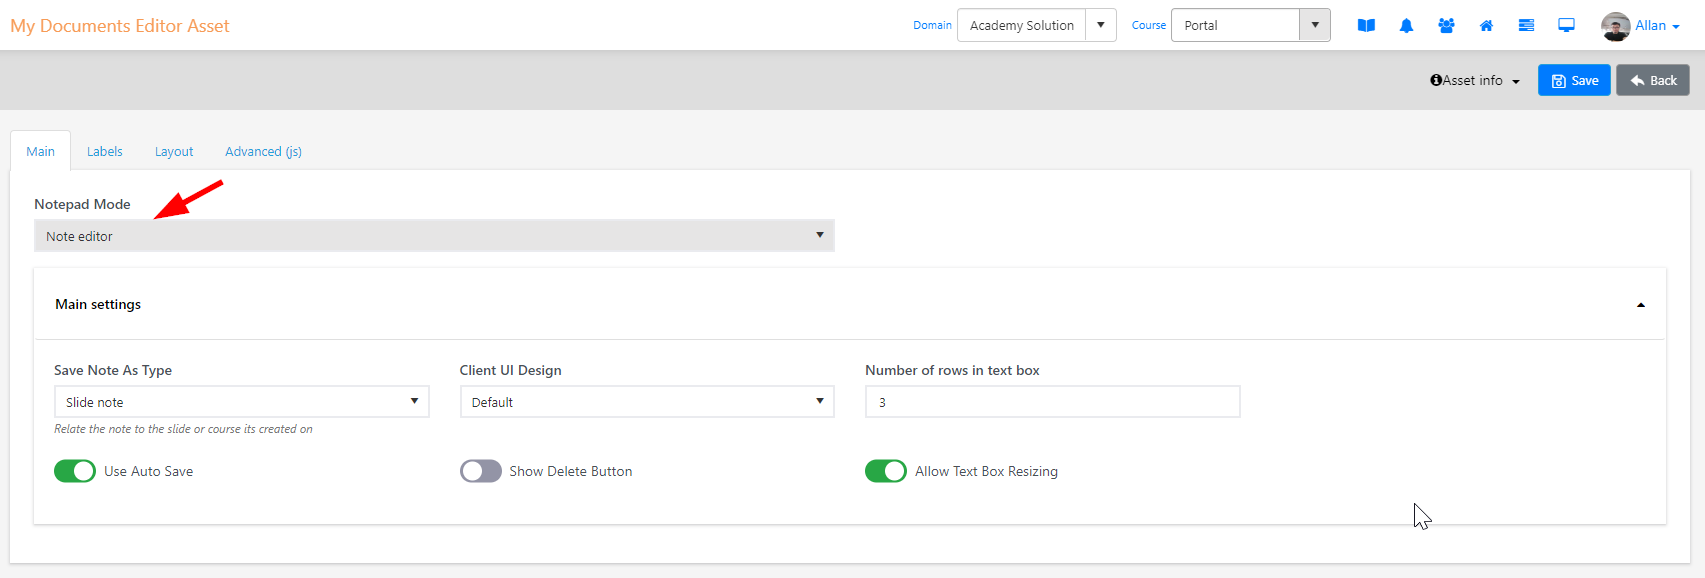
When you add a notepad, you typically relate it to a slide or course where it is created or saved. Doing so lets users determine which slide or course a specific note was added to.
Selecting Slide note, for example, lets you associate the note to the slide in which the note was created or added. Otherwise, choose Course note if you want to relate the note to a course. When the “Use Auto Save” button is enabled, any changes in a note will be automatically saved.
To show the delete button, enable Show Delete Button. Once done, click Save.
The other Notepad mode is a Note List. Selecting Note List allows you to group and display a list of all the notes created on a slide or course.
For instance, choosing Group by slide under the Notes View Mode dropdown will group the all the notes within the slides of your course.
All related slide notes will then be shown to users so they can easily review, edit, or add more notes to a selected slide.
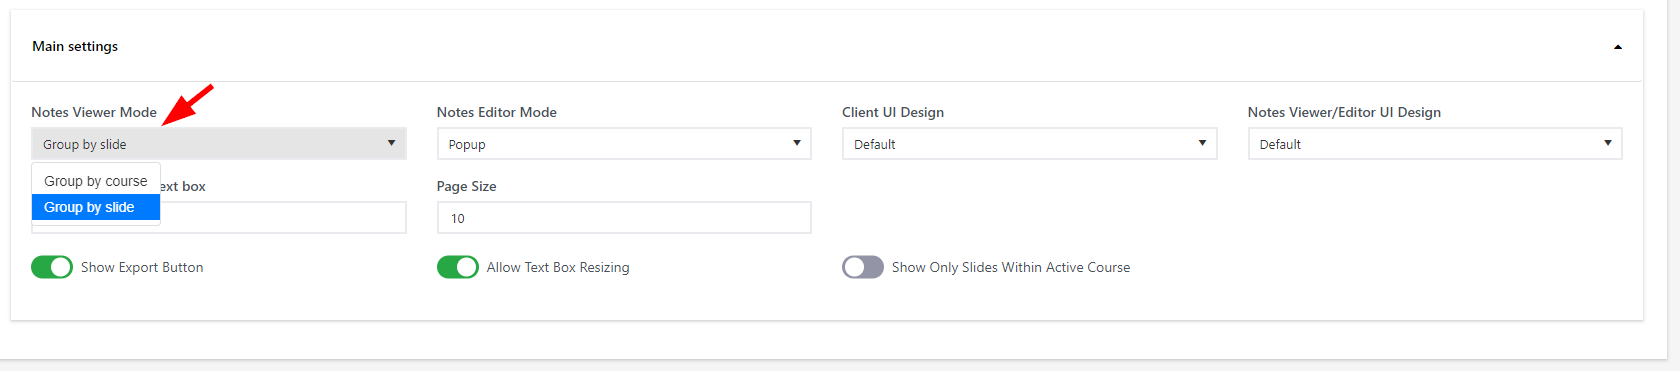
Similarly, selecting Group by course allows you to group all notes based on the courses in which they were created.