You can organize and plan courses (both physically and online) by creating course sessions. A session allows you to set up a time, date, location, and participants for a course within an LMS.
Courses with sessions are instructor-led and can be held at different intervals. For example, an onboarding course could have training sessions every month. Therefore, the course would be onboarding and it would have a separate session for each month.
Here the course session types supported in the Control Panel and Full Admin:
- Single session
- Multiple sessions - (e.g., a session covering a 4-day event where you need sub-sessions)
- Office 365 (Session via Microsoft Teams)
- Zoom webinars
To create a course session:
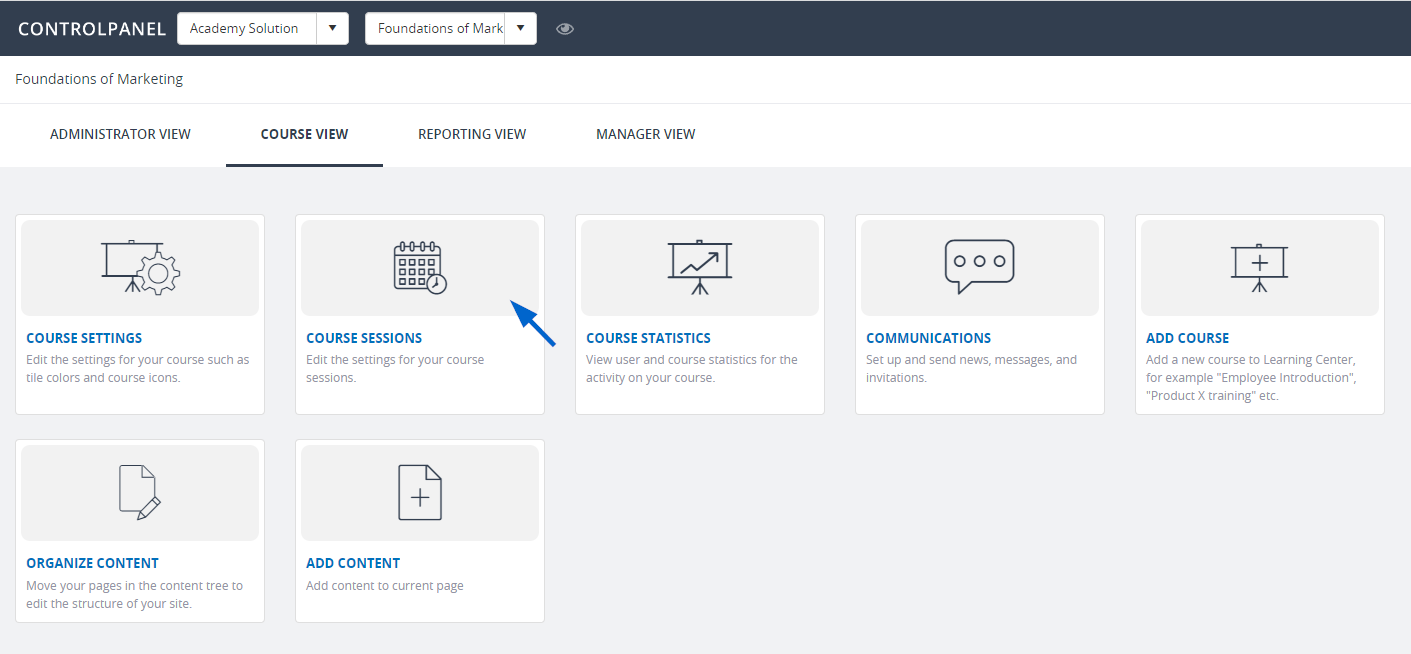
- In the Control Panel, Course View, click Course Sessions.

- In the Course sessions page, click Add to create a new session.

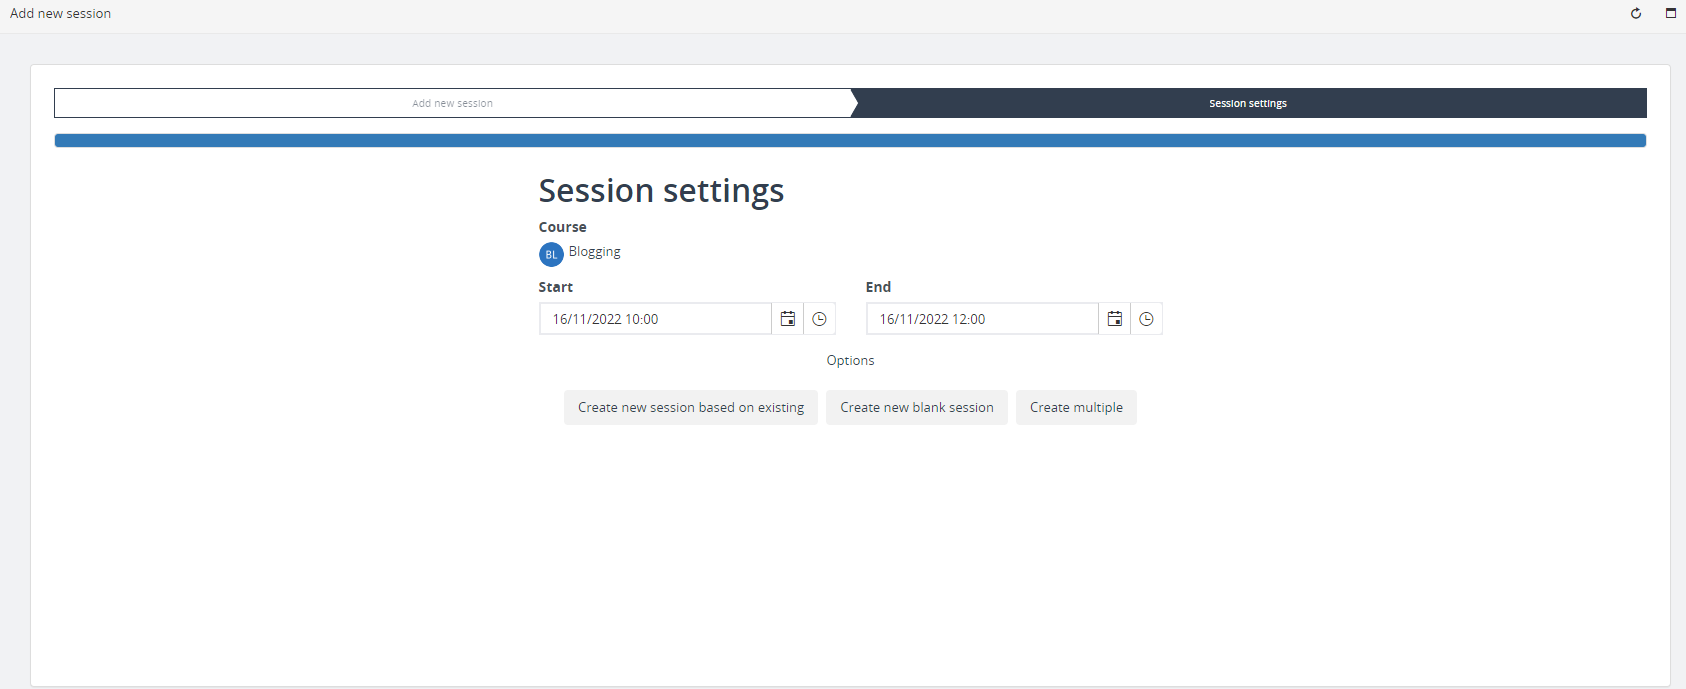
- In the Add new session, select Create new blank session. If you want to create a course session based on an existing one, choose Create new session based on existing. By selecting Create multiple, you're setting up more one session in your course.
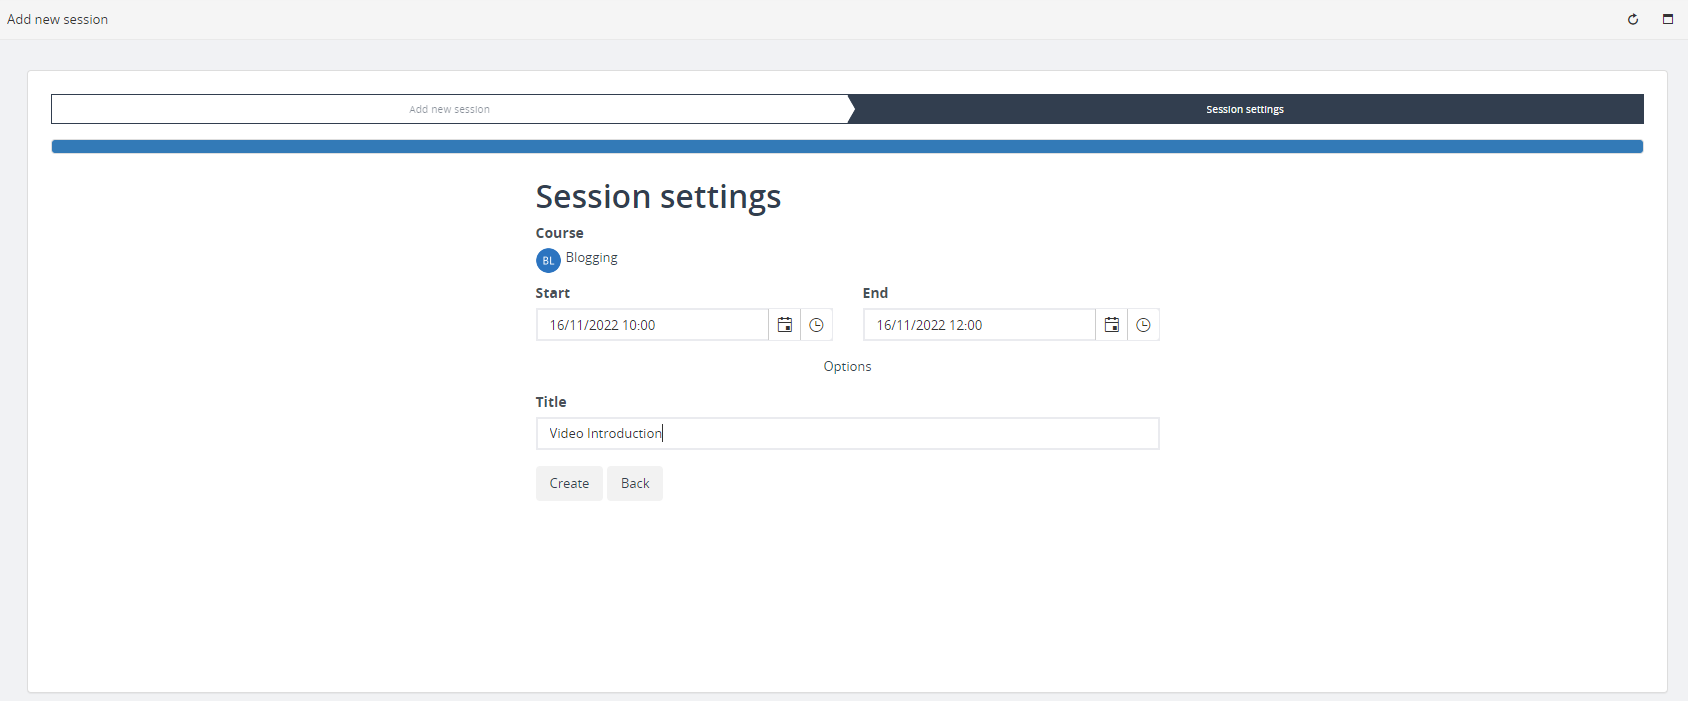
5. In the Add new session popup, enter the title of your session, including its start and end dates. Click Create to proceed to the next step.
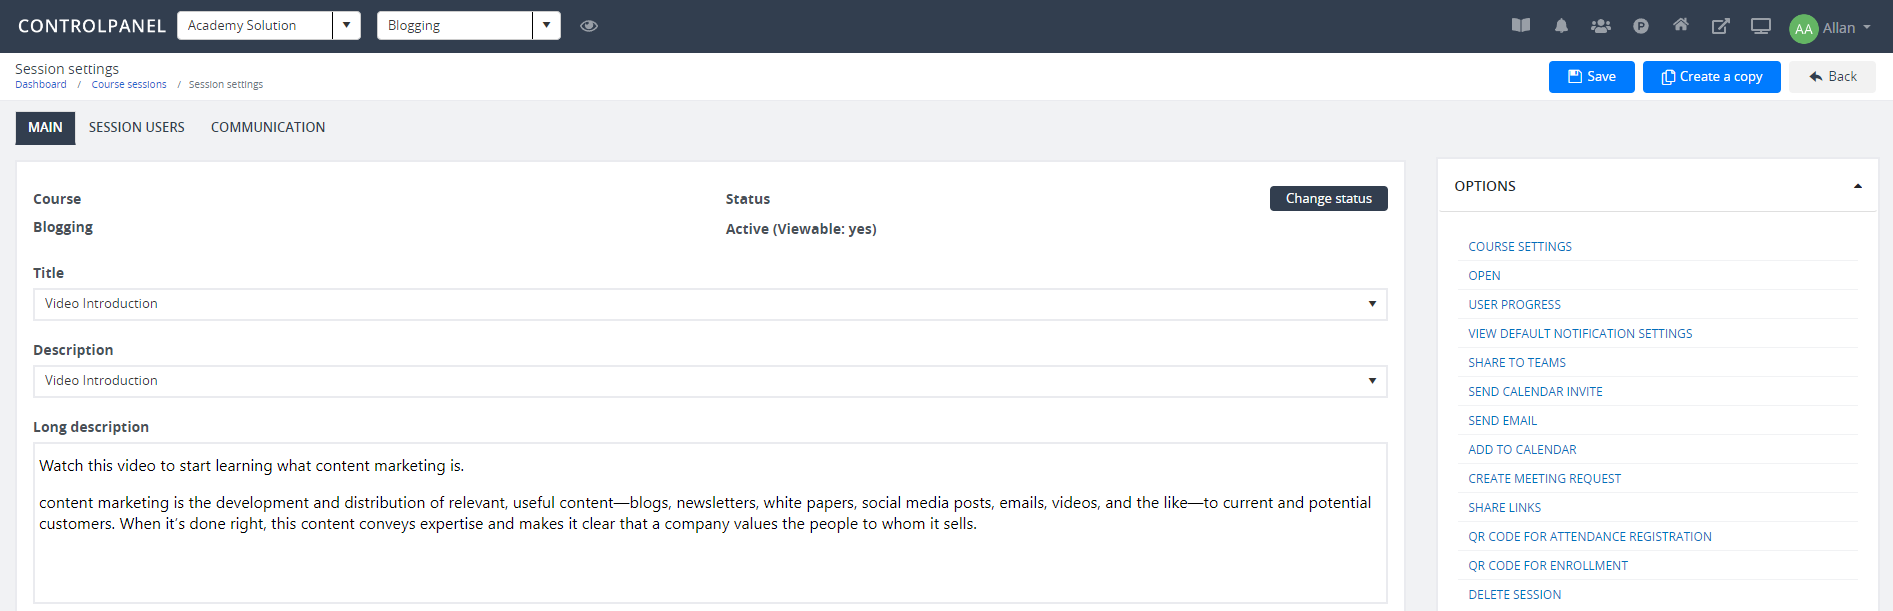
6. On the Main tab, enter the relevant information, for example, the name, description, and the duration of the course session. To make your course session valid, its start and end date must be within the course availability.
7. Set up restrictions to your course session by making it available to a specific group/s. Under Only available for (groups), enter the group you want to give access to the session. Click Add.
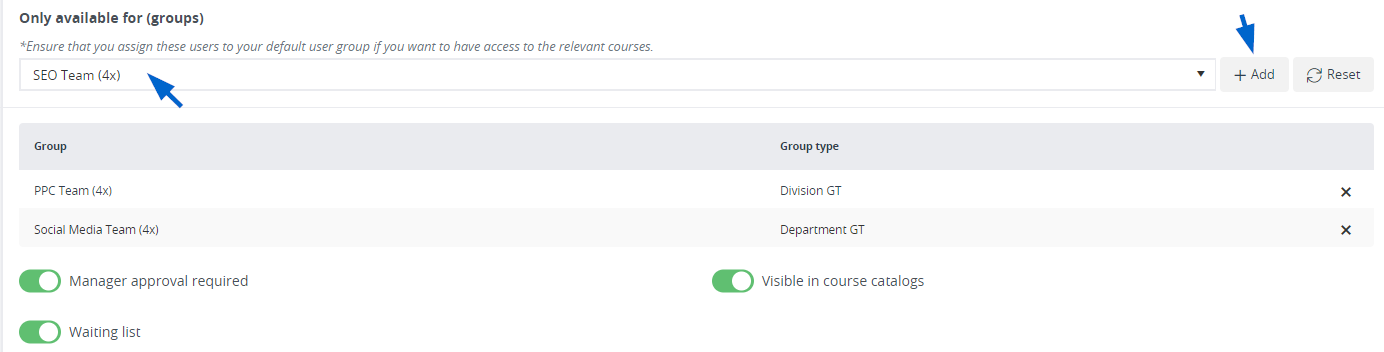
8. You can use the following options for your course session:
- Max participants
This is maximum number of participants allowed for a course session.
- Waiting list
If this is enabled, users can sign up to the course session even if it's full. The course instructor or the admin will get a notification that somebody has signed up, and if the slot frees up, the first one on the waiting list will be enrolled automatically.
- Manager approval required
If this is enabled, managers will receive an email that a user has enrolled to a course session. Managers are the ones who will decide if they want to approve the pending enrollment.
- Only available for this group
This lets you restrict access to a course session, for example, if you want to only make it available to a specific group.
- Organizer
This is the user that sends out invite; the one that's receiving the email.
- Assign instructor
This option searches for existing or new instructors that you can assign to a course session. You can send them a notification saying that they have been assigned as an instructor.
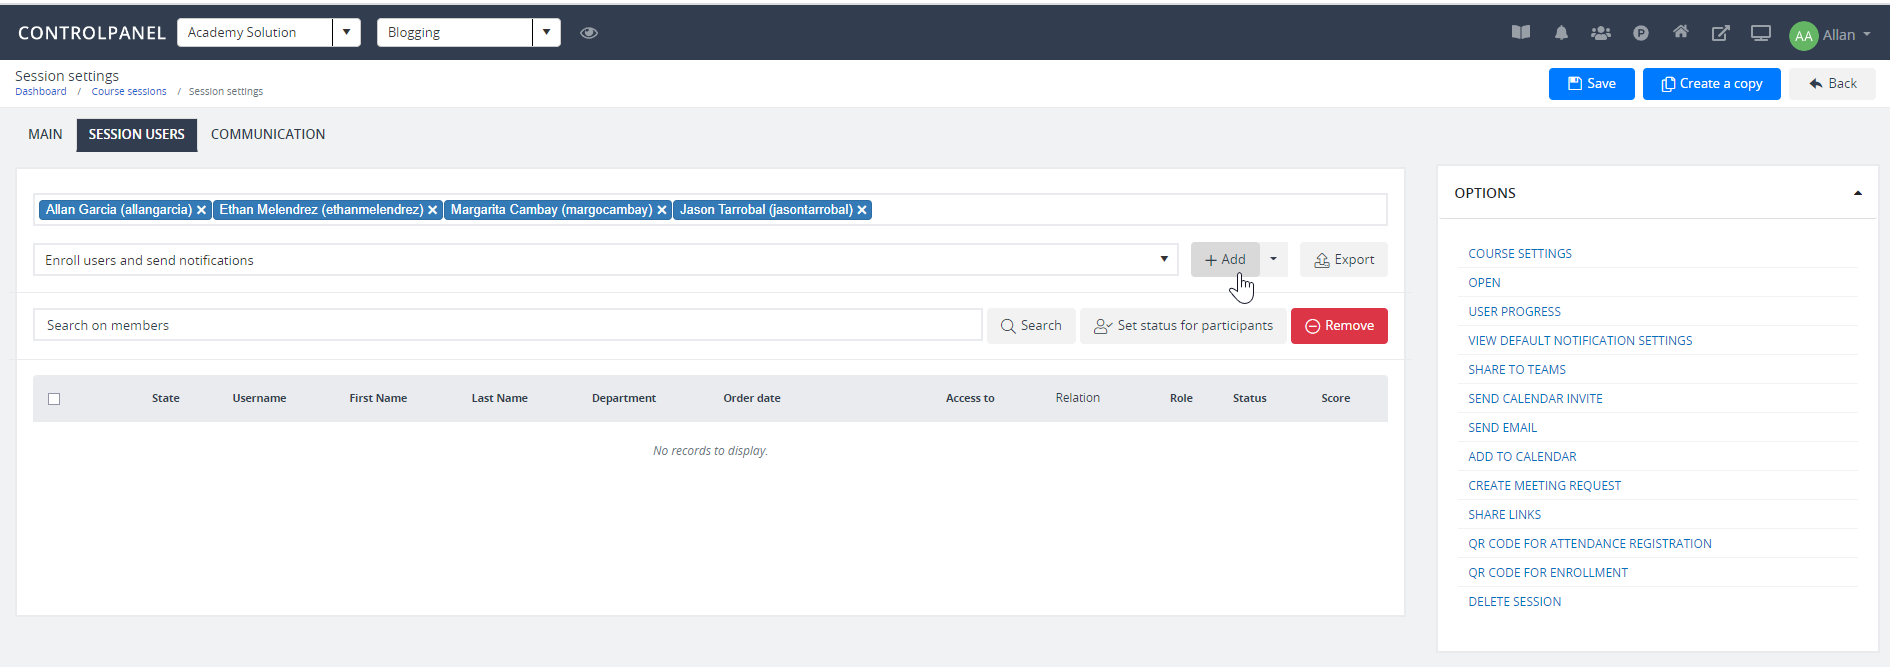
- On the Session users tab, specify the users that you want to add to the session. Using the Add users box, enter the name of the user/s and then click Add. You can also add users based on a list via search. To do this, click on the dropdown list beside the Add button.
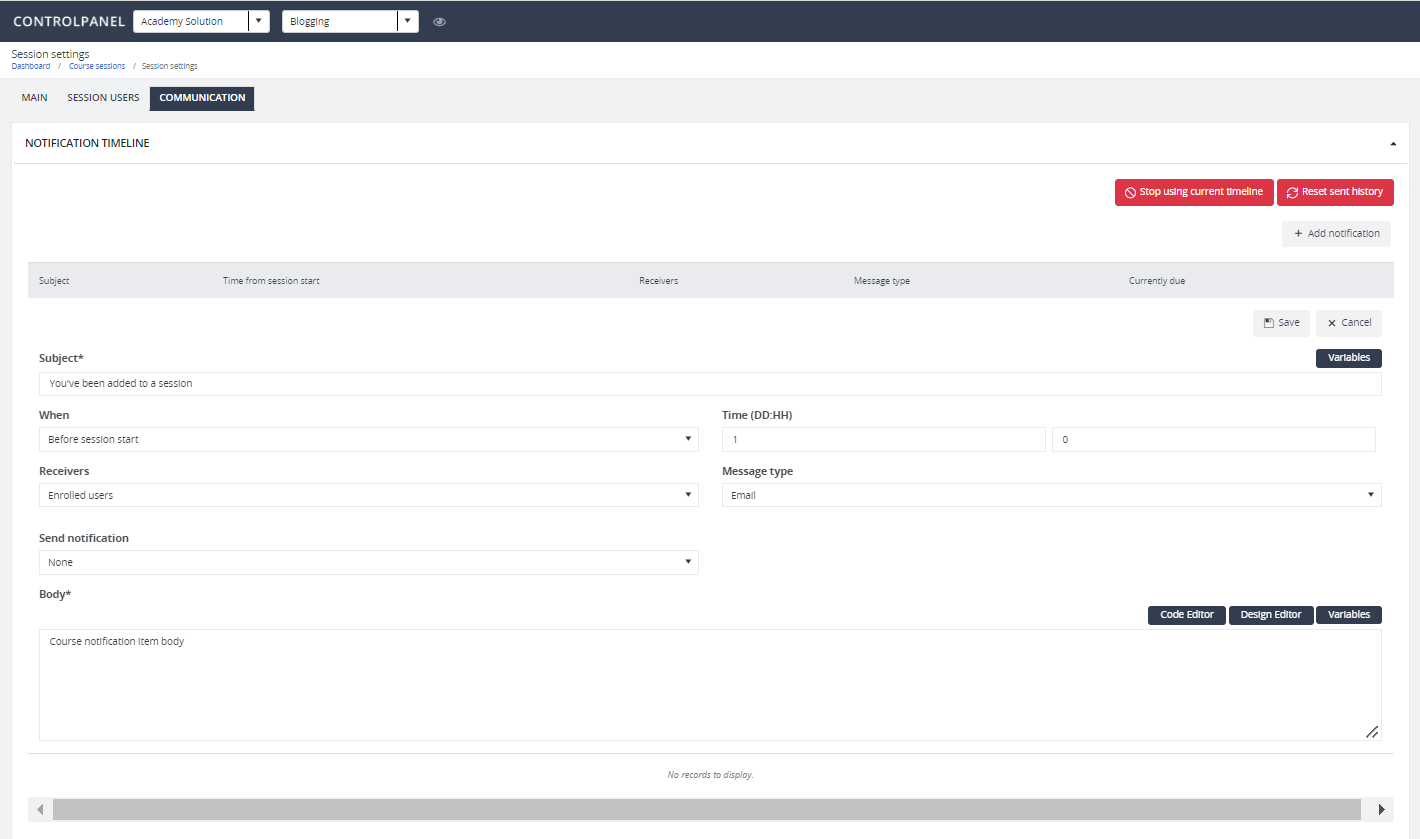
9. On the Communication tab, you can send an automated message to users about the newly created course session by creating a notification template or choosing an existing one. Notifications can be an email, message, or SMS. To select your notification receiver, select one from the dropdown options under Receivers. Save your notification.
10. Click Save to save your course session.