When you create a course in the Learning Center you can choose to create a course:
- As a blank new course where you define all the settings from scratch
- Based on an existing course where you reuse the the assets and resources from an existing course
- Based on a template that has been set up for particular course types
To create a course from an existing course:
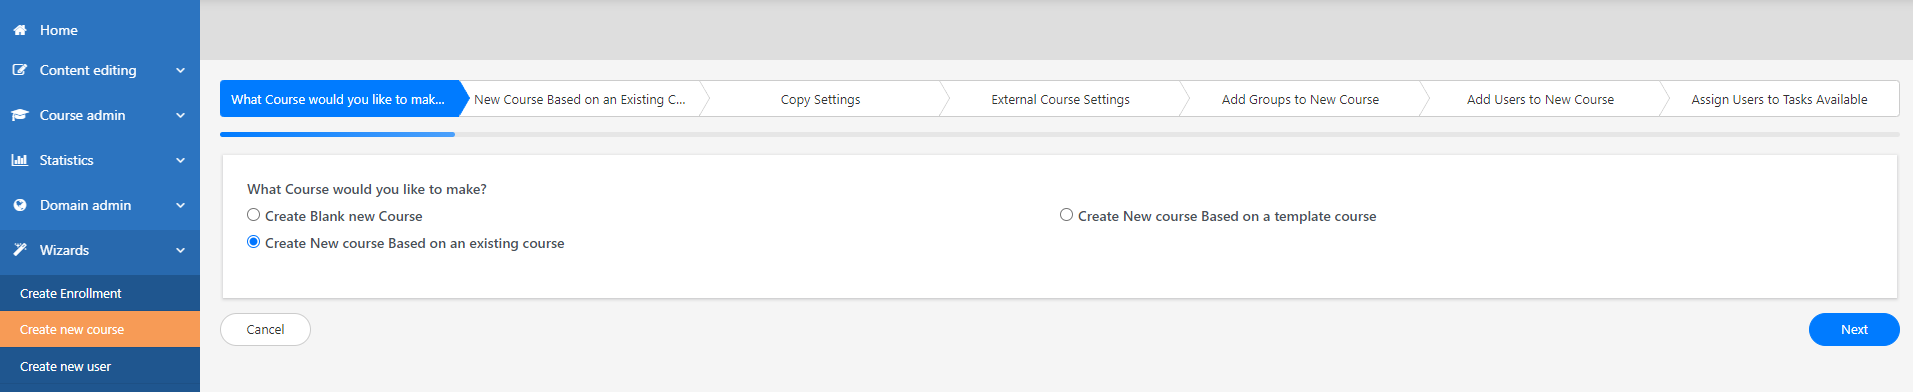
1. In Full Admin, under Wizards, click Create new course and choose Create new course based on an existing course.
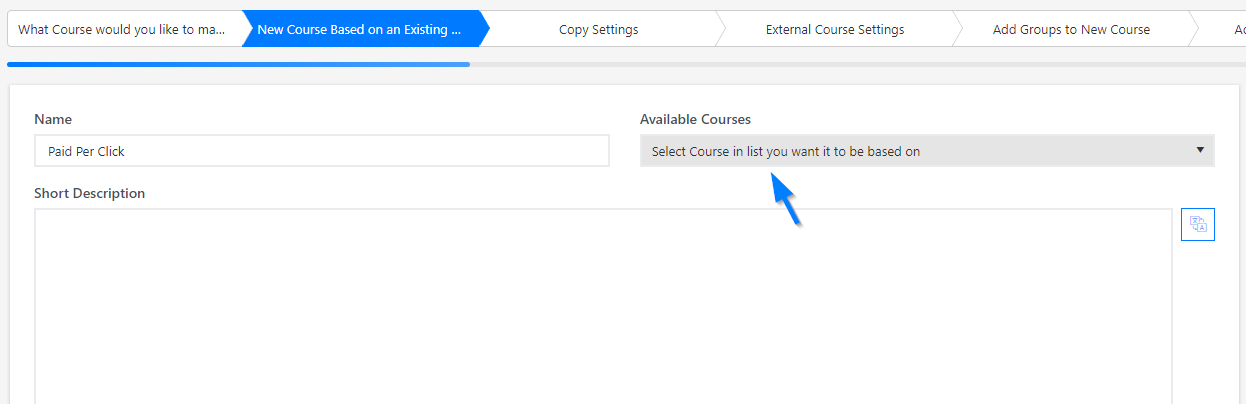
2. Enter a new name for your course and under Available courses choose the course that you want to copy, and then click Skip rest of wizard, save new course on the upper-right corner of the page.
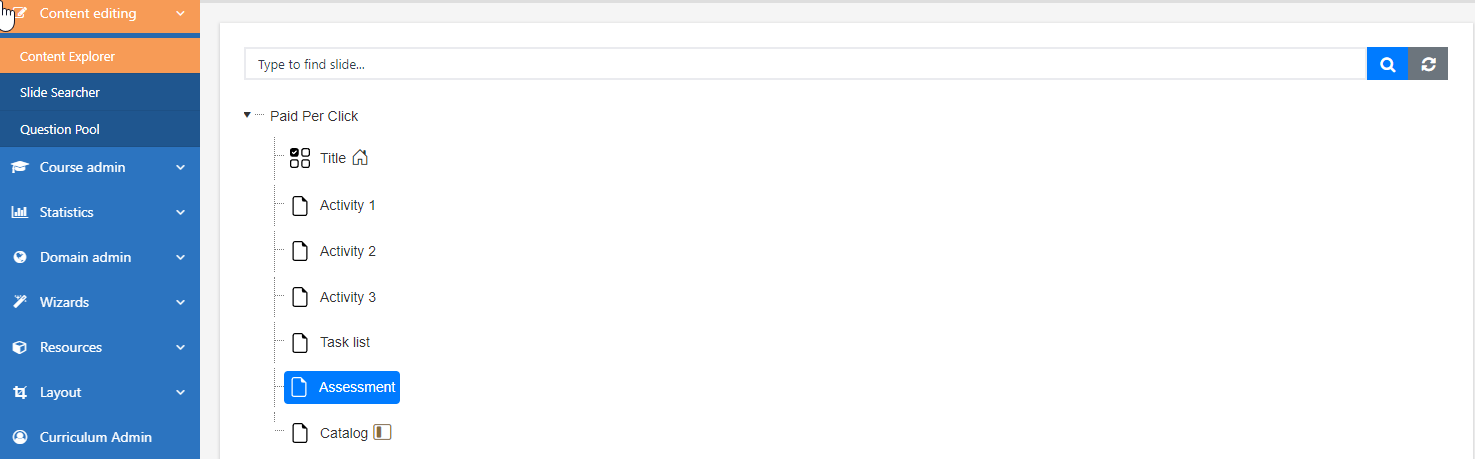
3. Your new course opens up automatically in the Content Explorer and you can add and edit content, reorganize the structure, and delete irrelevant pages and folders.
Rename folders and pages
To rename a folder or a page, on the page or folder, click once to select and then click again to highlight the text. Now, just enter a new name and press Enter.
Change content
To change content on a page/slide:
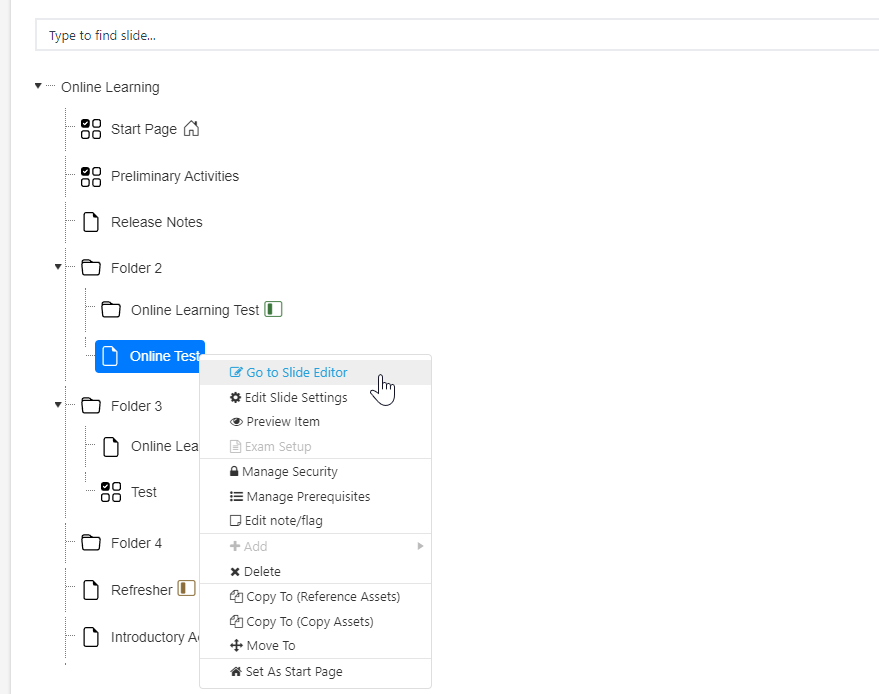
1. Right-click the page and choose Go to slide editor.
2. On the page, right-click the text or image and choose Edit this asset.
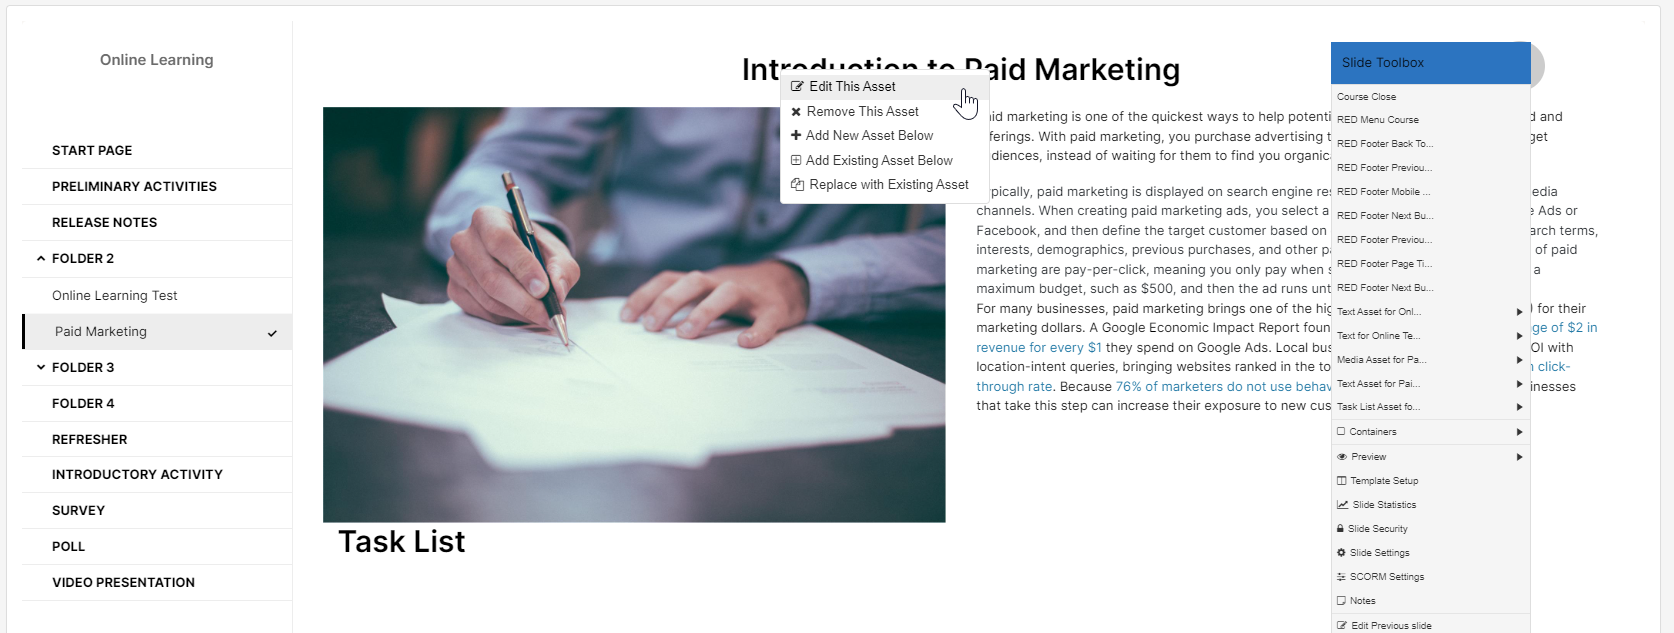
3. Change text, add or change the image and when done, click Save.

Add an image to a text asset
To add pictures to your text:
- In the Text asset editor, place your cursor where you want to add the image.
- On the toolbar, click the Image manager

 icon.
icon.
- You can either:
- Add an existing image from the MyFiles or DomainFiles folders.
- Upload a new image by clicking the Upload button, browsing to where the image file is saved on your PC. Click Upload.
- Click Insert.
Add a video file
To add an embedded video to your page:
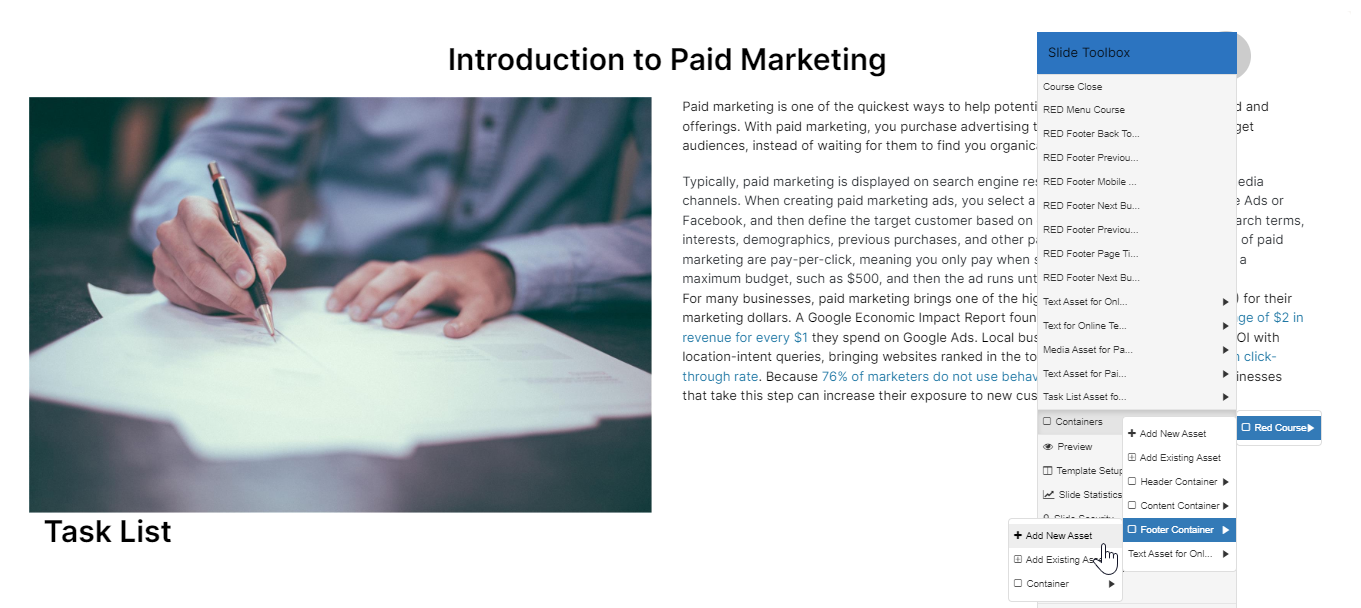
1. On the page, in the Slide toolbox on the right, click Containers and select the container where you want to add the video. Click Add new asset.
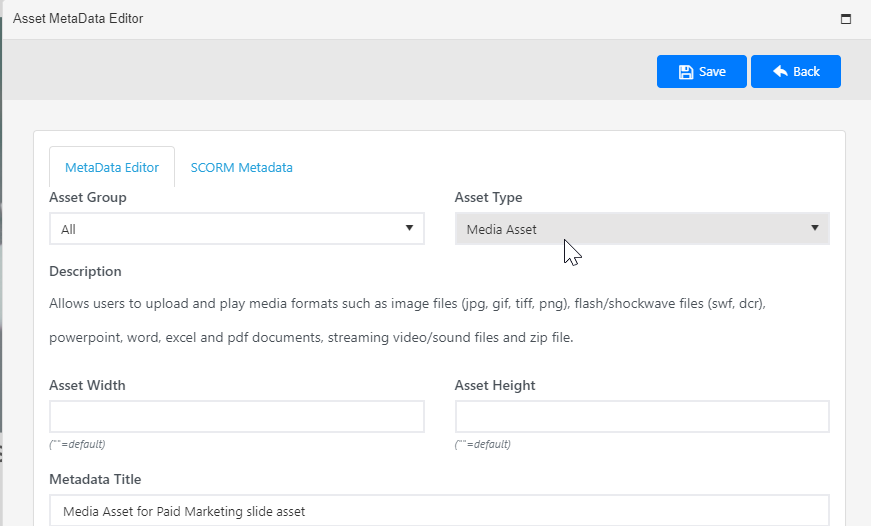
2. In the dialog that appears, under Asset type, choose Media asset, and then click Save.
3. In the Media asset editor, in the Select media file field, click and navigate to your saved mp4 file. When the file is uploaded, this is indicated by a green dot.
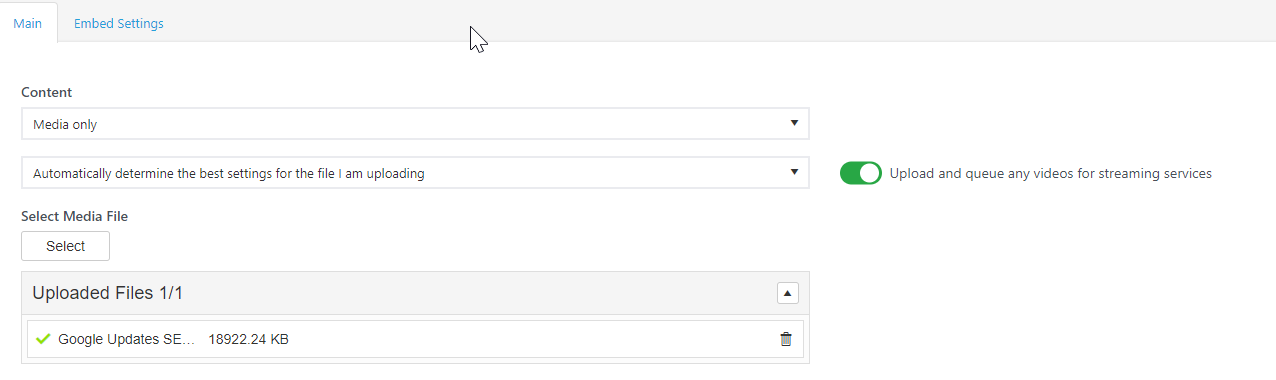
4. Click Save.
Copy pages or folders
To copy an existing slide or page or a folder and all its underlying slides to your course:
- In the Content Explorer, locate the slide or folder that you want to copy.
- Right-click the slide or page and choose Copy to (Copy assets).
- Click the Domain and Course and Slide/Folders to specify where you want to copy it to, and then click the Insert button on the right.
Delete folders and pages
To delete a slide or a folder with all its underlying slides:
- In the Content Explorer, right-click the page or folder that you want to delete and choose Delete.
- In the Delete Item dialog select the item to confirm that you really want to delete it and then click the Delete this item button.