Create a course - Control Panel
Updated 2 years ago /
2 min read
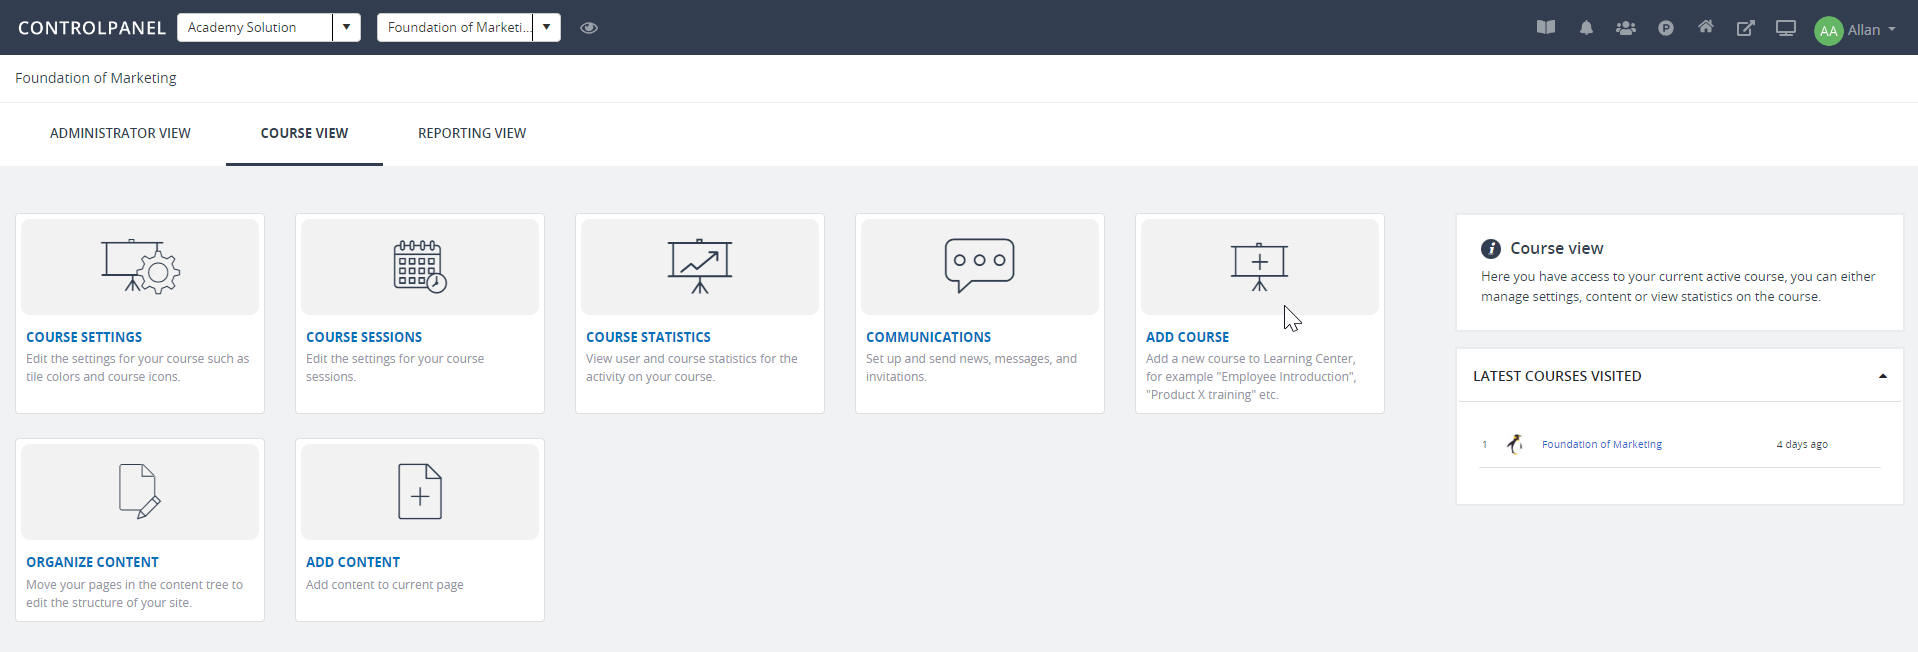
Adding a course in Learning Centers creates an empty container where you can add the structure and content of your course. To grant access to a course, users or user groups must be assigned to it.
To create a course:
- In the Control Panel, click Courses, Add course.
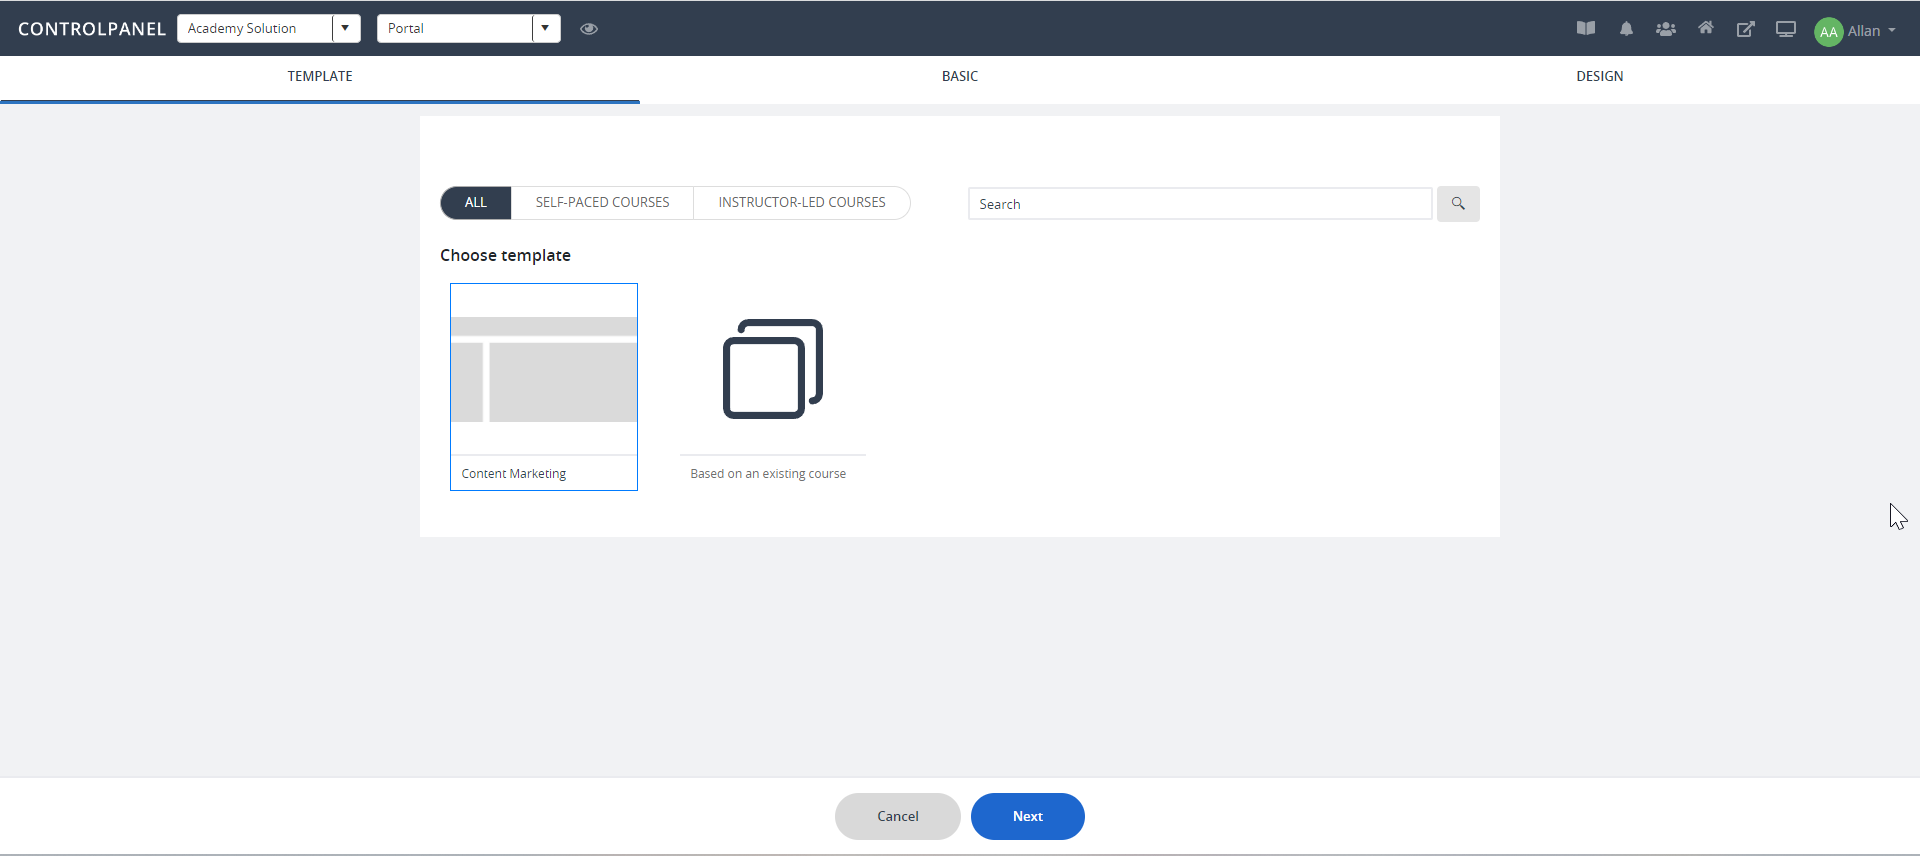
- On the Template tab, choose the type of course that you want to create then click Next.
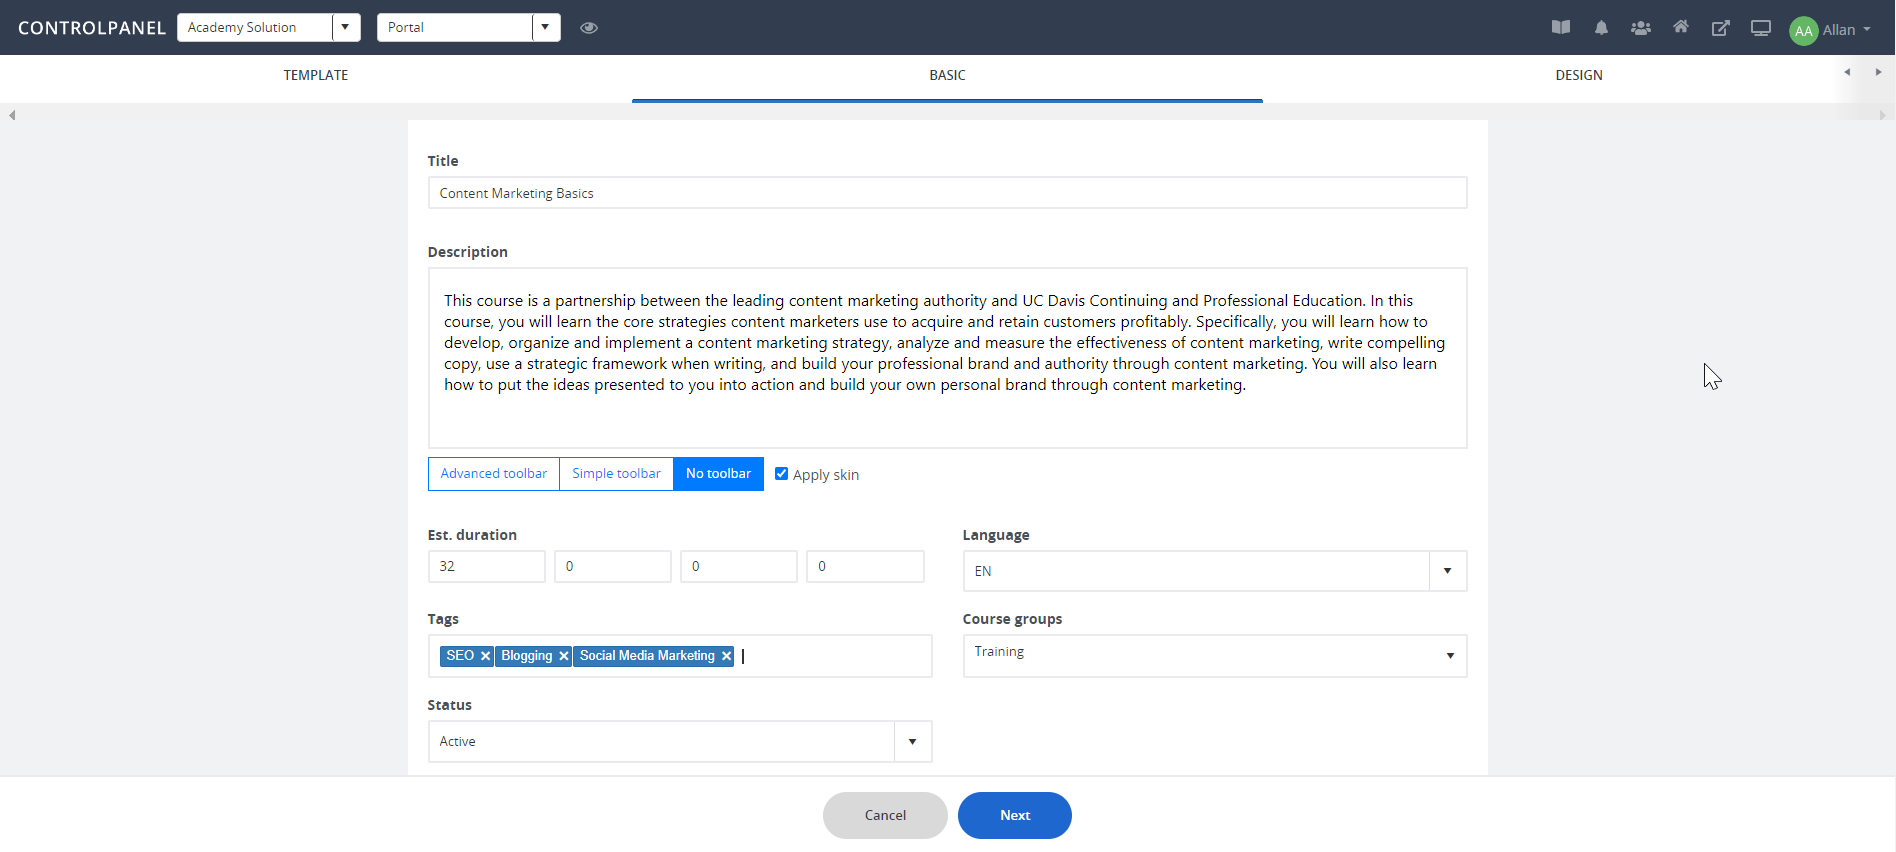
- On the Basic tab, enter a name and a description for your course then set the status to Active. In the Category field, select a category where you want the course to be assigned. Click Next.
- On the Design tab, under Logo and Background image, either click Select to upload an existing image or Upload to use a new one. Click Save and close.

- At this point, you'll see a blank course. Using the tool panel, you can now start adding pages and content to your course. Read the article "Add content to a course" for the step-by-step process.