Typically, updating users’ status on a course session requires going through the course session settings and changing their statuses one at a time. But it can be time-consuming if you’re dealing with hundreds of course users.
You, however, can select and update your course session participants’ status by uploading data from a participant list that you got from the instructor. Let’s say you created a course session type.
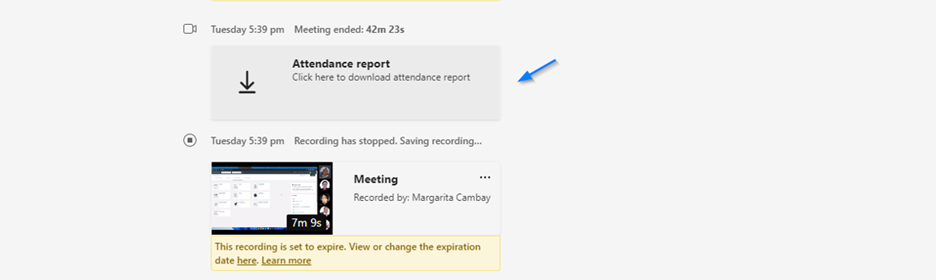
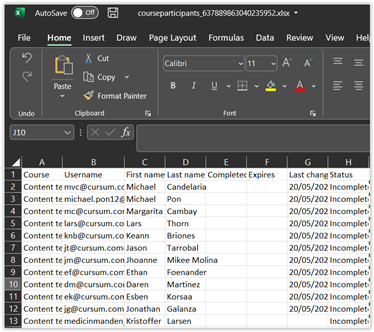
To set the attendance status for your course session participants, you can use the received Excel sheet from the instructor for attendance at physical meetings. For Teams sessions, remember that only the presenter or the organizer can view or download the attendance report.
In the Learning Center, go to Course view, and click Course Sessions.
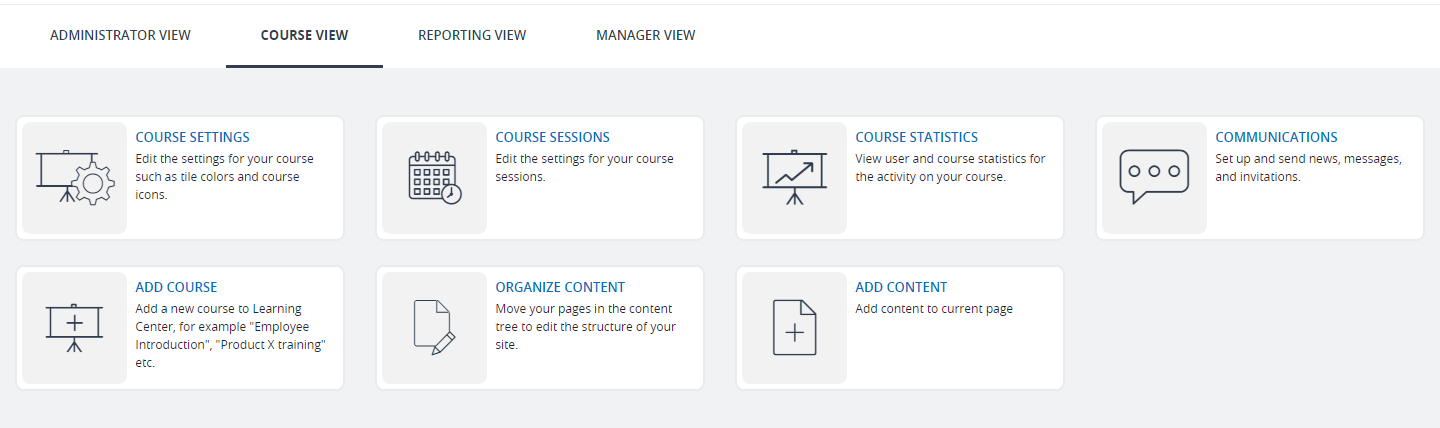
Select the course session you created (e.g., Teams and Design Requirements).

On the Session Settings page, click User Progress.
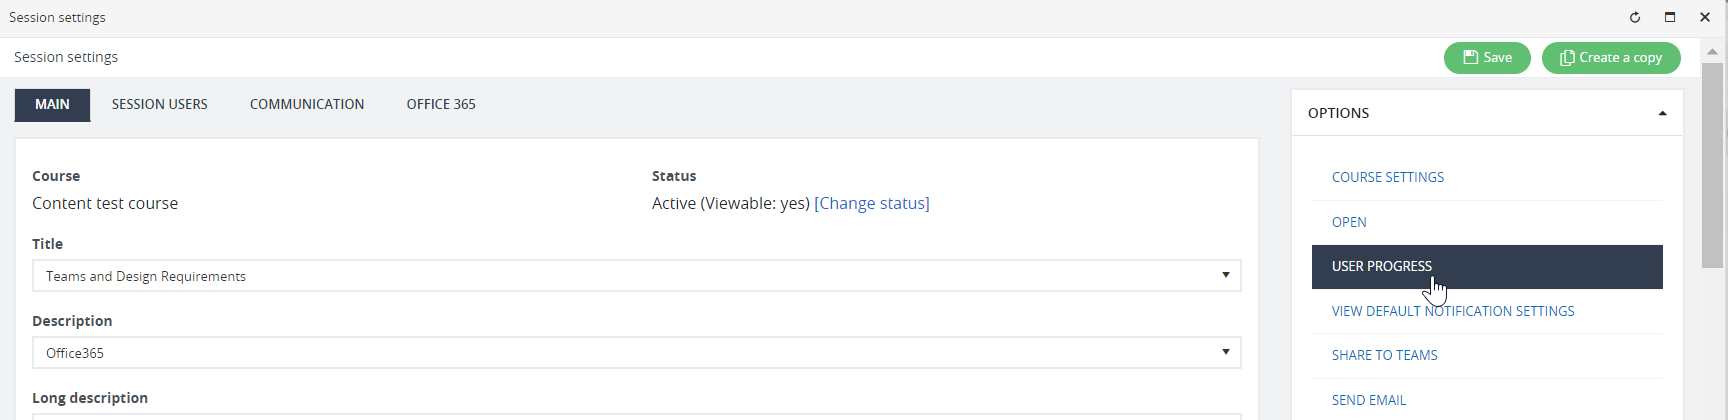
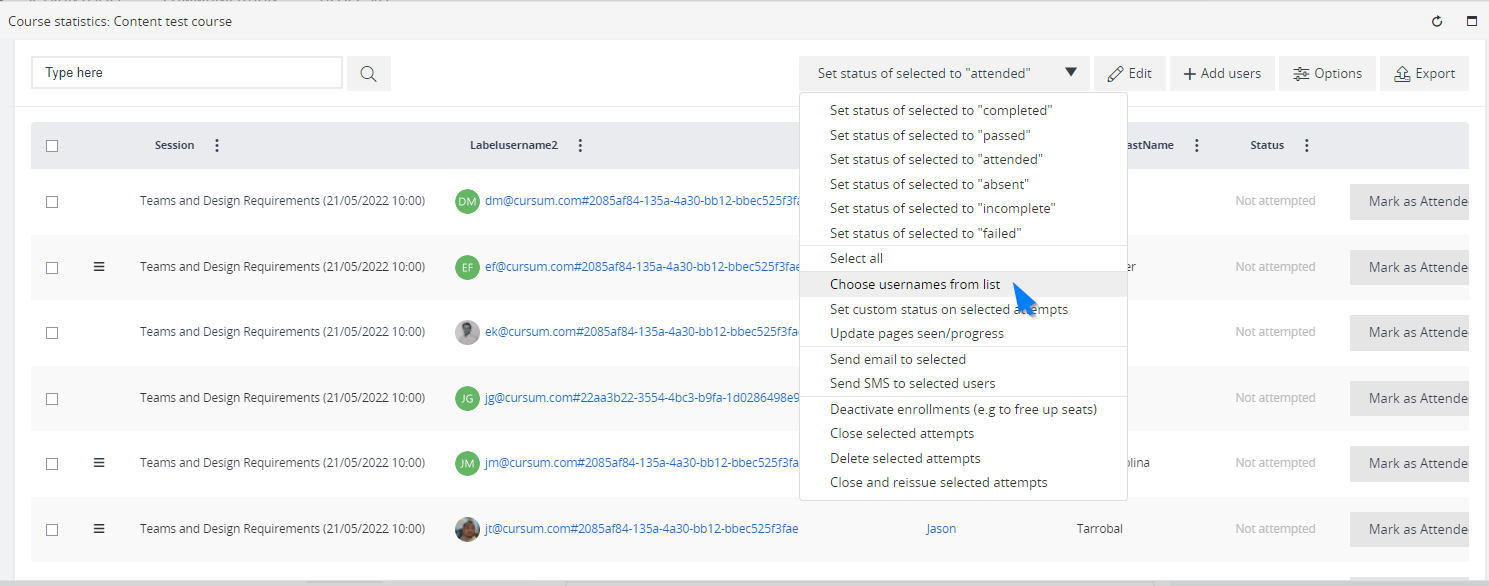
Once clicked, look for the dropdown on the bottom part of the popup and select Choose Usernames from the list.
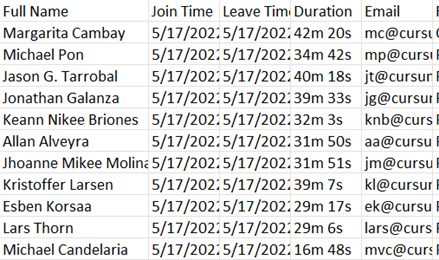
Open the attendance report either from instructor picture 1 under or from Microsoft Teams copy the Username/Email of those who attended the meeting.
Go back to Sessions settings, paste the copied values(email/username) of the attendees, click Parse, validate, and select usernames.
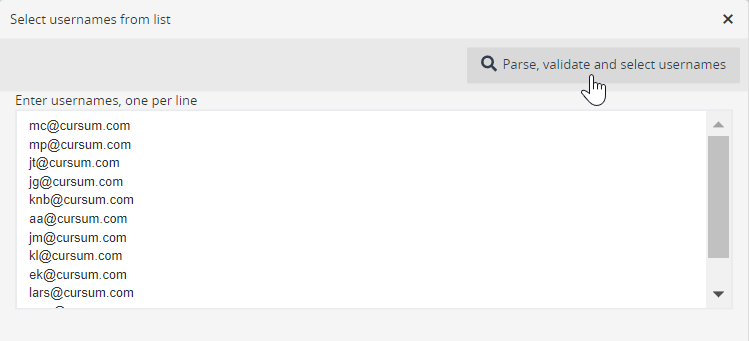
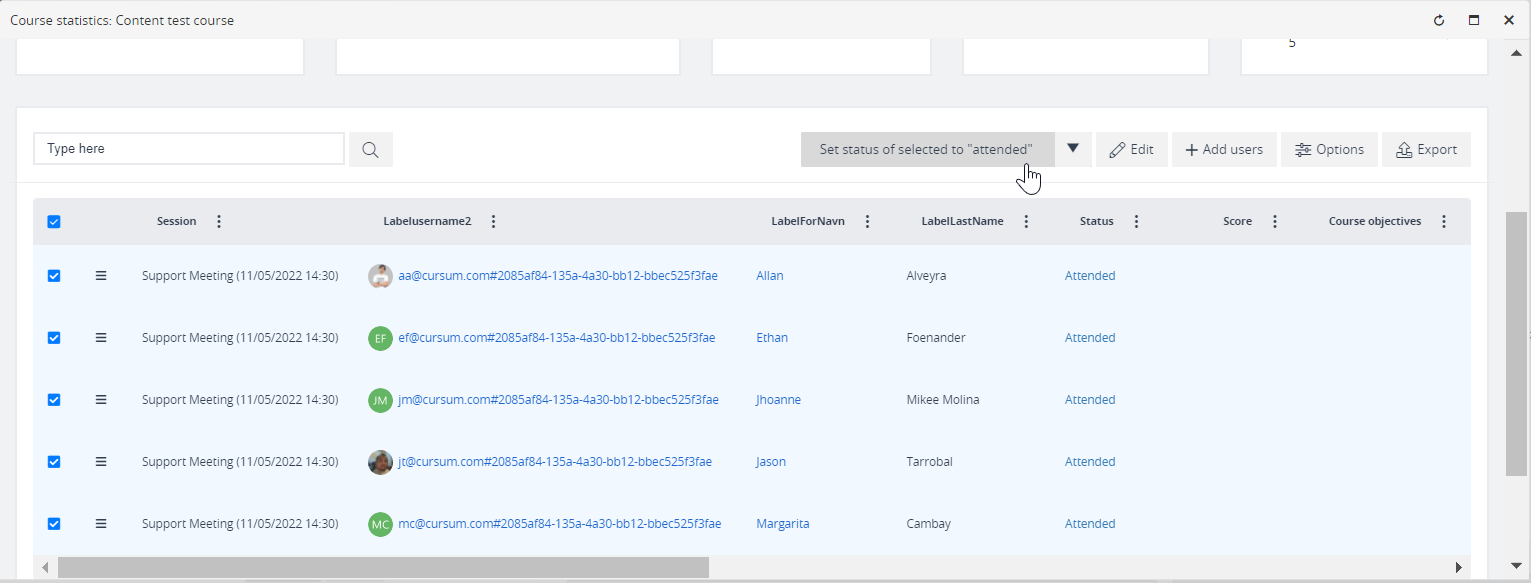
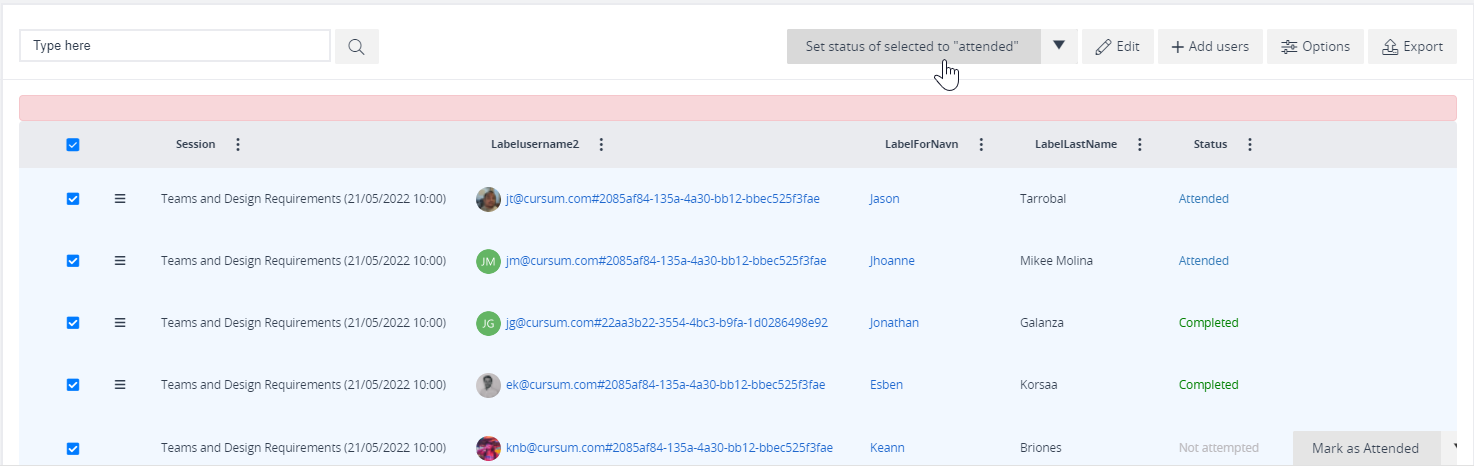
It will then update and show the status of those whom you selected and attended the session.
All you now need to do is to click/select the (set status of selected to “attended”) – please make sure you first use the dropdown to select and then click the button again.
If you have an Office 365 integration and you are the organizer of the meeting, you will see this after the meeting is ended.