It is the Main tab where you add the list of tasks, manage validation settings, input the basic information about the asset, and more.
It is also in the Main tab where you can get statistical data on the total number of assigned and completed tasks. Let’s go over these settings one by one.
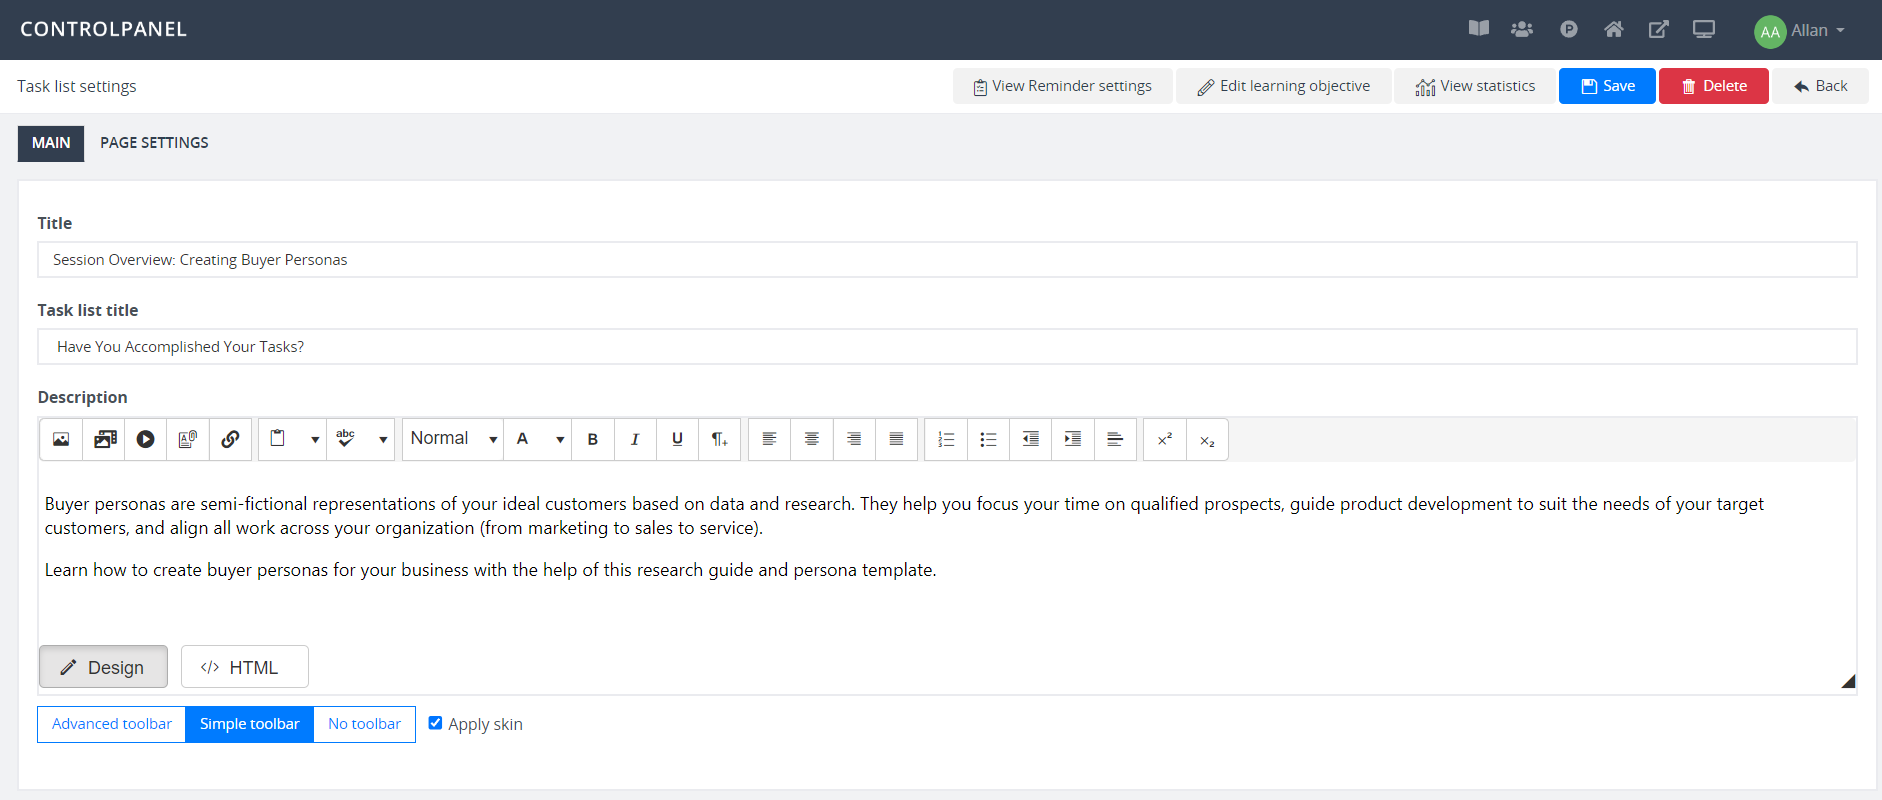
- Title – the main headline that identifies or introduces your task list
- Task list title – this is the title of your task list asset.
- Description – you can use this area to explain what tasks are included in the list or which category or course session they belong to.
- View Reminder settings – click this button to set a specific reminder for your users or managers when a task list is started or finished.
- Edit learning objective – this gives you quick access to the learning objective settings where you can manage learning objectives.
- View statistics – click this button to see the statistics of your task list. These data include the total number of assigned and completed tasks, also those with missing validation.
Input and Validation
You need to set specific instructions on your task list so your users know what to do to confirm task completion. To do this, you need to select a type of input, determining what step users should take if they need to mark their tasks completed.
Here are the different input types you can select from:
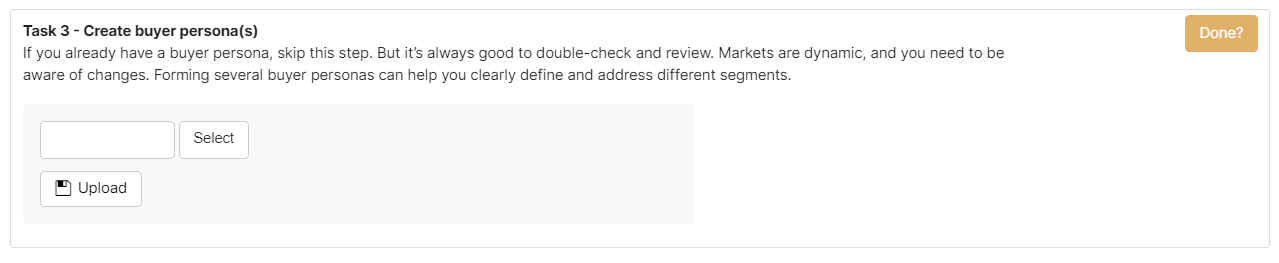
Checkbox list – selecting this type prompts users to click “done” to confirm task completion.

Client file upload – use this input type if you want users to upload a file to confirm task completion.
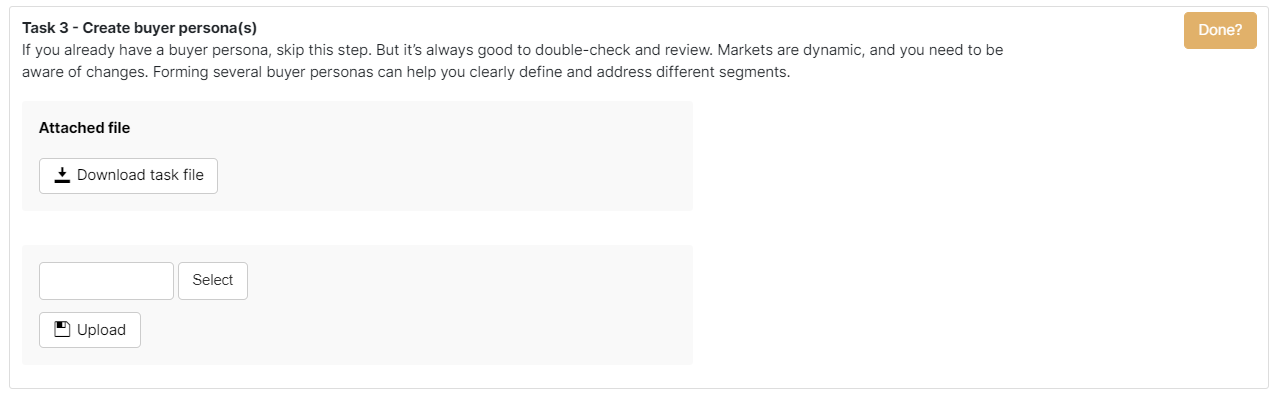
Admin file download – select this input type if you want users to download a file to determine task completion.

Admin and client files upload – choosing this input type allows you to upload a file the user must download and re-upload to confirm task completion.
Client rating – with this type, users need to submit a rating to confirm task completion. You can either use a star rating input or a button group type. You must also input the number of rating items and the value to complete the rating. For example, the default number of rating items is five stars, while the rating value is three.

Admin rating – the administrators or instructors are the ones to rate the task to confirm and mark its completion.

Turn on the “Validation required” button to set up a validation system. Validators can be managers and admins, admins only, or course instructors. Once you select a validator, enter the person’s email address.
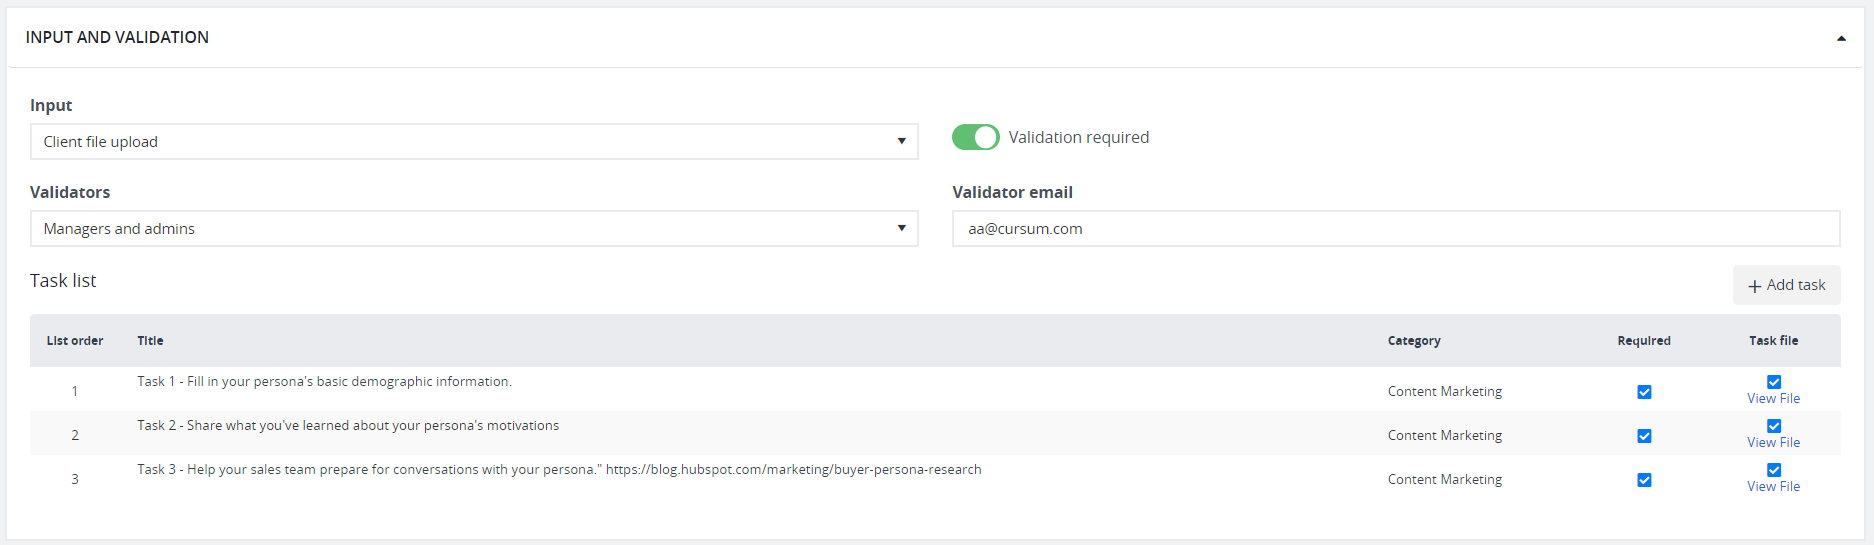
Add Task
Click the “Add task” button to create your list of tasks. For further instructions regarding this process, related article.
Additional Settings
- Assign as course objective – enabling this button will assign the task list as a course objective. Once all tasks are accomplished, the system will set the course as completed.
- Geo tracking – turn on this button to view the user’s location on the statistics page.
- Assign to current page – the task list will be assigned as a learning objective to the current page.
- Allow clients to reissue attempt – enabling this button allows users to access again the assigned task list and mark each task as completed. This can happen when users are given a task list that has already expired.
- Override task files – enabling this button will override current files uploaded in the task list whenever new files are added
- Show when completed – enable this to indicate whether the tasks in the list have been validated or marked as completed.
- Labels - Default labels are set in the task list settings. You, however, can change them depending on how you want these labels to appear on your client’s end.
- Categories – a task list is categorized as a “task list objective” by default. But you can assign it to multiple categories, such as in shared packages course objectives or shared packages external objectives.
Date Settings
Use the Date settings to show users the deadline and expiry date of their task list.
Reminder

- None – no reminder will be shown.
- Days from item assignment – a reminder will be sent (x) days after the task list is assigned.
- Days from item completion – a reminder will be sent (x) days after all tasks are completed.
- Days before expiry date – a reminder will be sent (x) days before the task list expires.
- Custom – choose this option to select a custom date.
Deadline

- None – no deadline will be set.
- Days from item assignment – deadline date will be (x) days from item assignment.
- Days from item completion – deadline date will be (x)days after all tasks are completed.
- Days before expiry date – deadline date will be (x) days before the task list expires.
- Custom – choose this option to select a custom deadline date.