Control access to course pages
A course can have multiple enrolled groups. You, however, can control a group’s access to a specific page in your course. You do this by setting up an access control list on the Page settings. Here’s how it’s done in both Full Admin and the Control Panel.
Full Admin
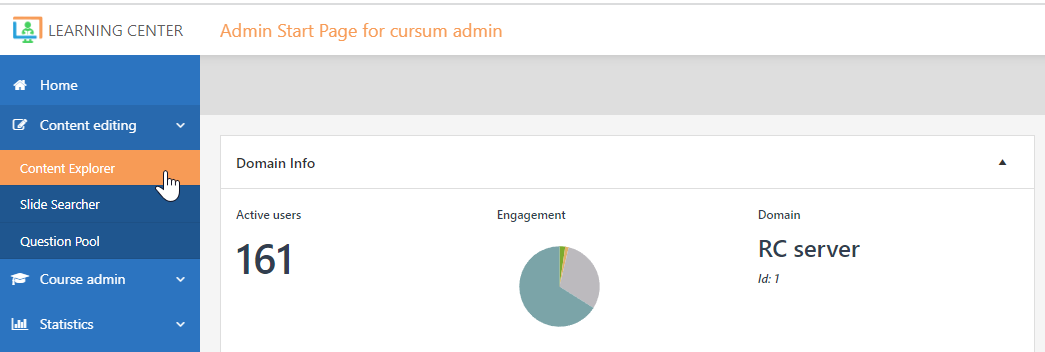
- In Full Admin, Content Editing, click Content Explorer.
2. Right click on the page/slide you wish to set an access control list, and then select Edit slide settings.
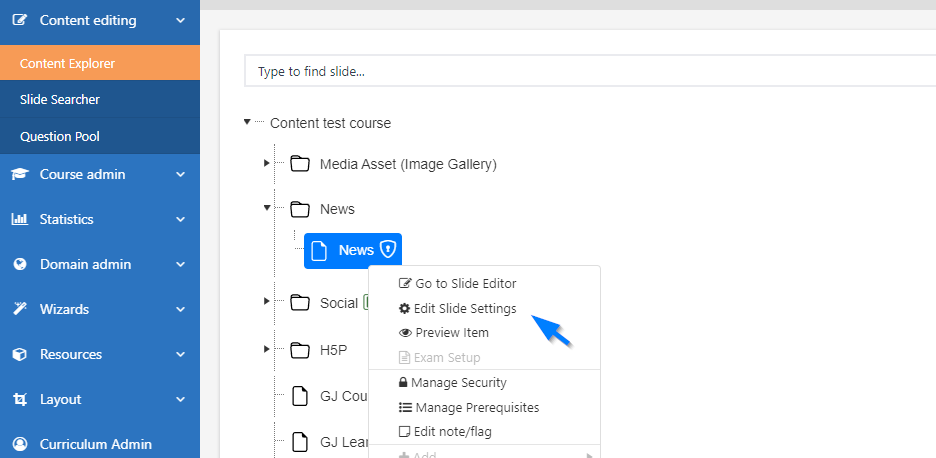
3. On the Main tab, under Options, click Manage security.

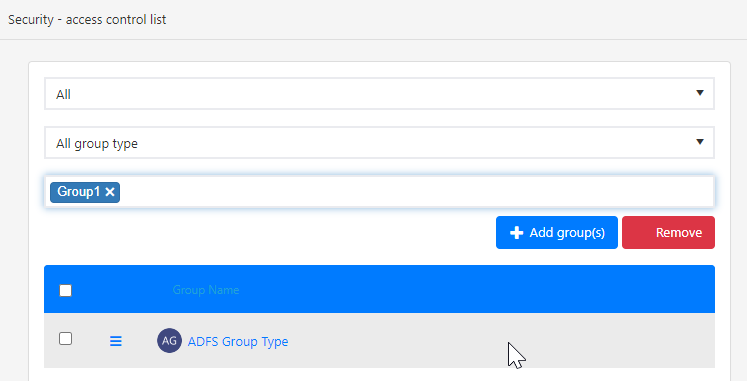
4. Select a group to add to your access list by using the Search group bar. Once a group is selected, click Add group. Adding a group to your list means you’re granting its enrolled members sole access to your chosen page. Once added, click Save.
Control Panel
- In the Control Panel, go to Course View, and click Organize Content.

2. Using the tree view, right click on the page/slide you wish to set an access control list, and then select Edit page settings.

3. Once on the page, go to the Security tab. Select a group to add to your access list by using the Search group bar. Click Add group and finish the process by saving.
