The information that you can see on each tab in the Solution Admin can be modified so that users only see the features that make sense for their role.
Main
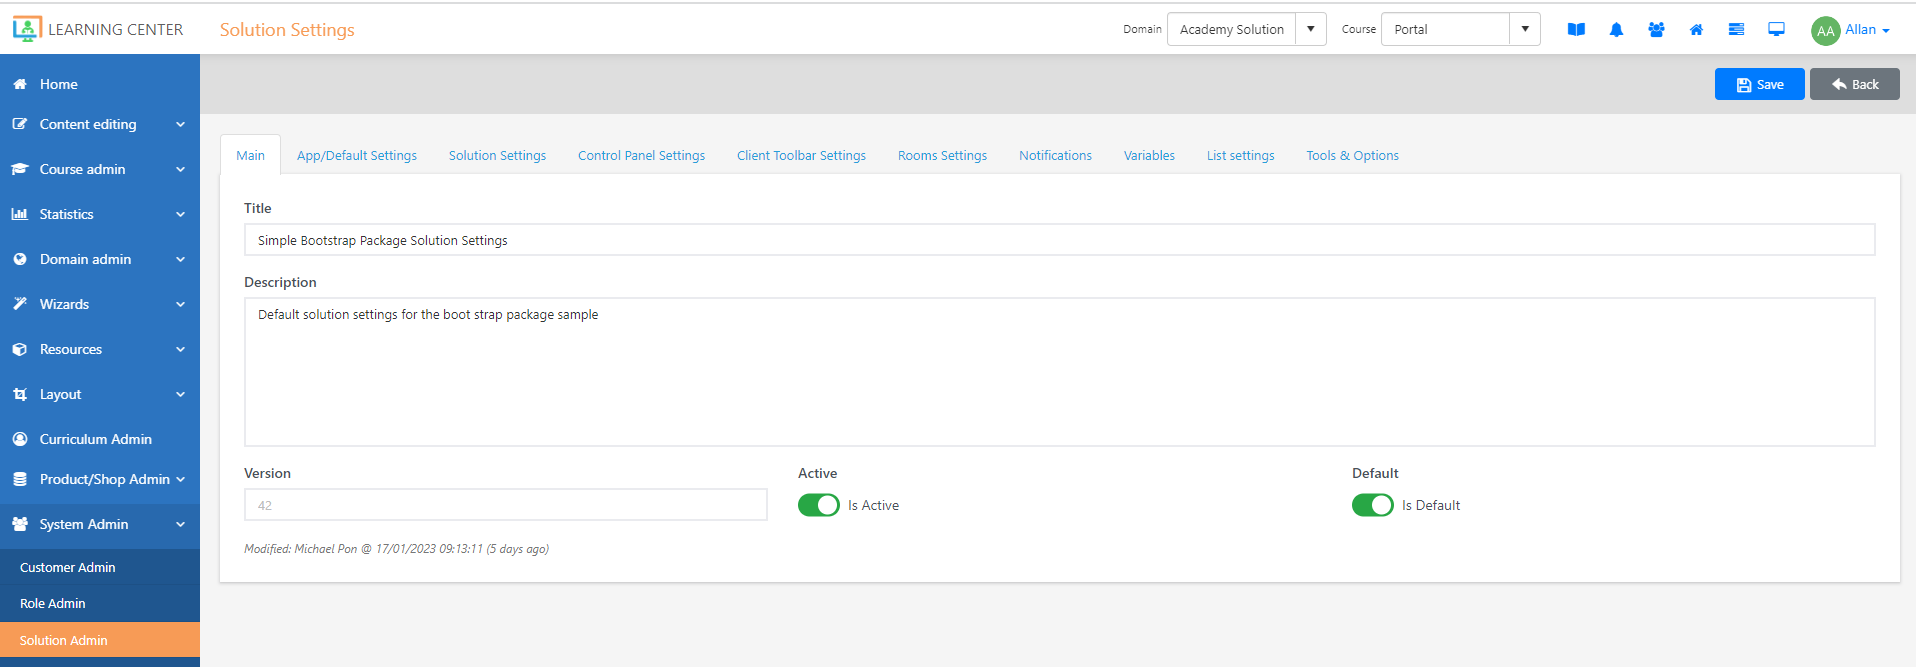
The Main tab contains the basic information about your solution. (e.g., Title and description) Also, this is where you set your solution as active and make it as default.
Note
The Version field is read-only, and its value is populated incrementally every time you update your solution.
App/Default Settings
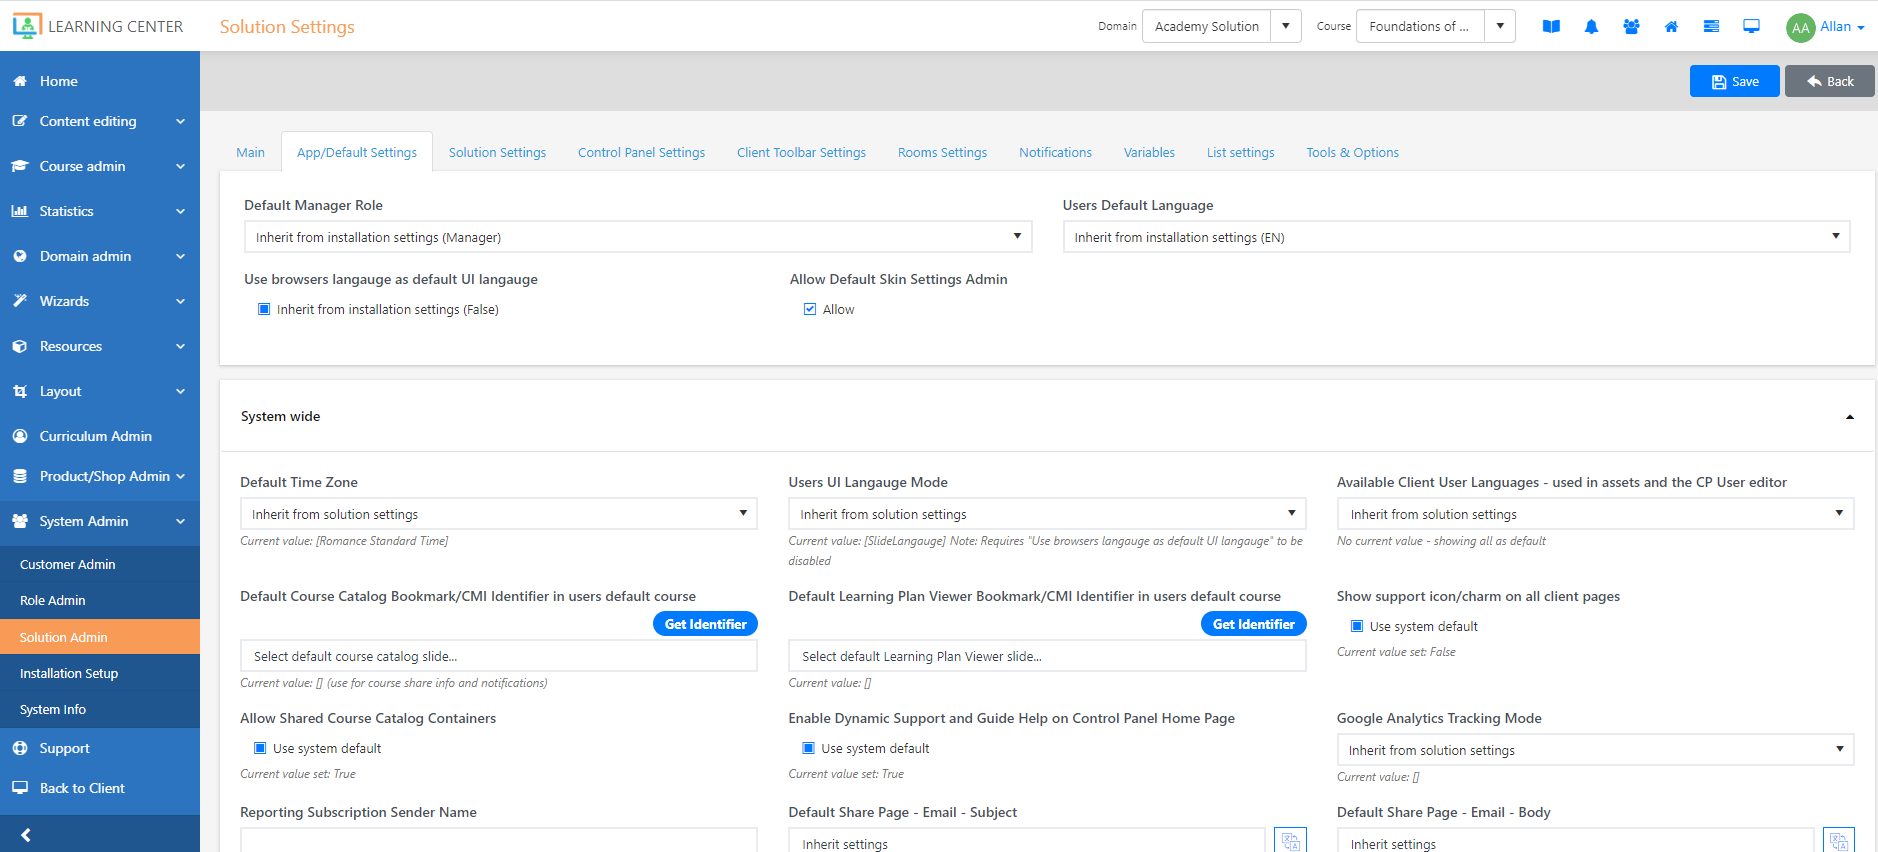
On this tab, you can show/hide the default settings that are set up in the Control Panel. For example, you can choose whether you want to display the background image and icon selector in the Course, Learning Objective, and Learning Plan editors.
Solution Settings
This tab is where you can choose the roles and modules that you want to give your customers and domains access to. You just need to select the roles in the System Roles Settings section and the relevant modules in the System Module Settings section.
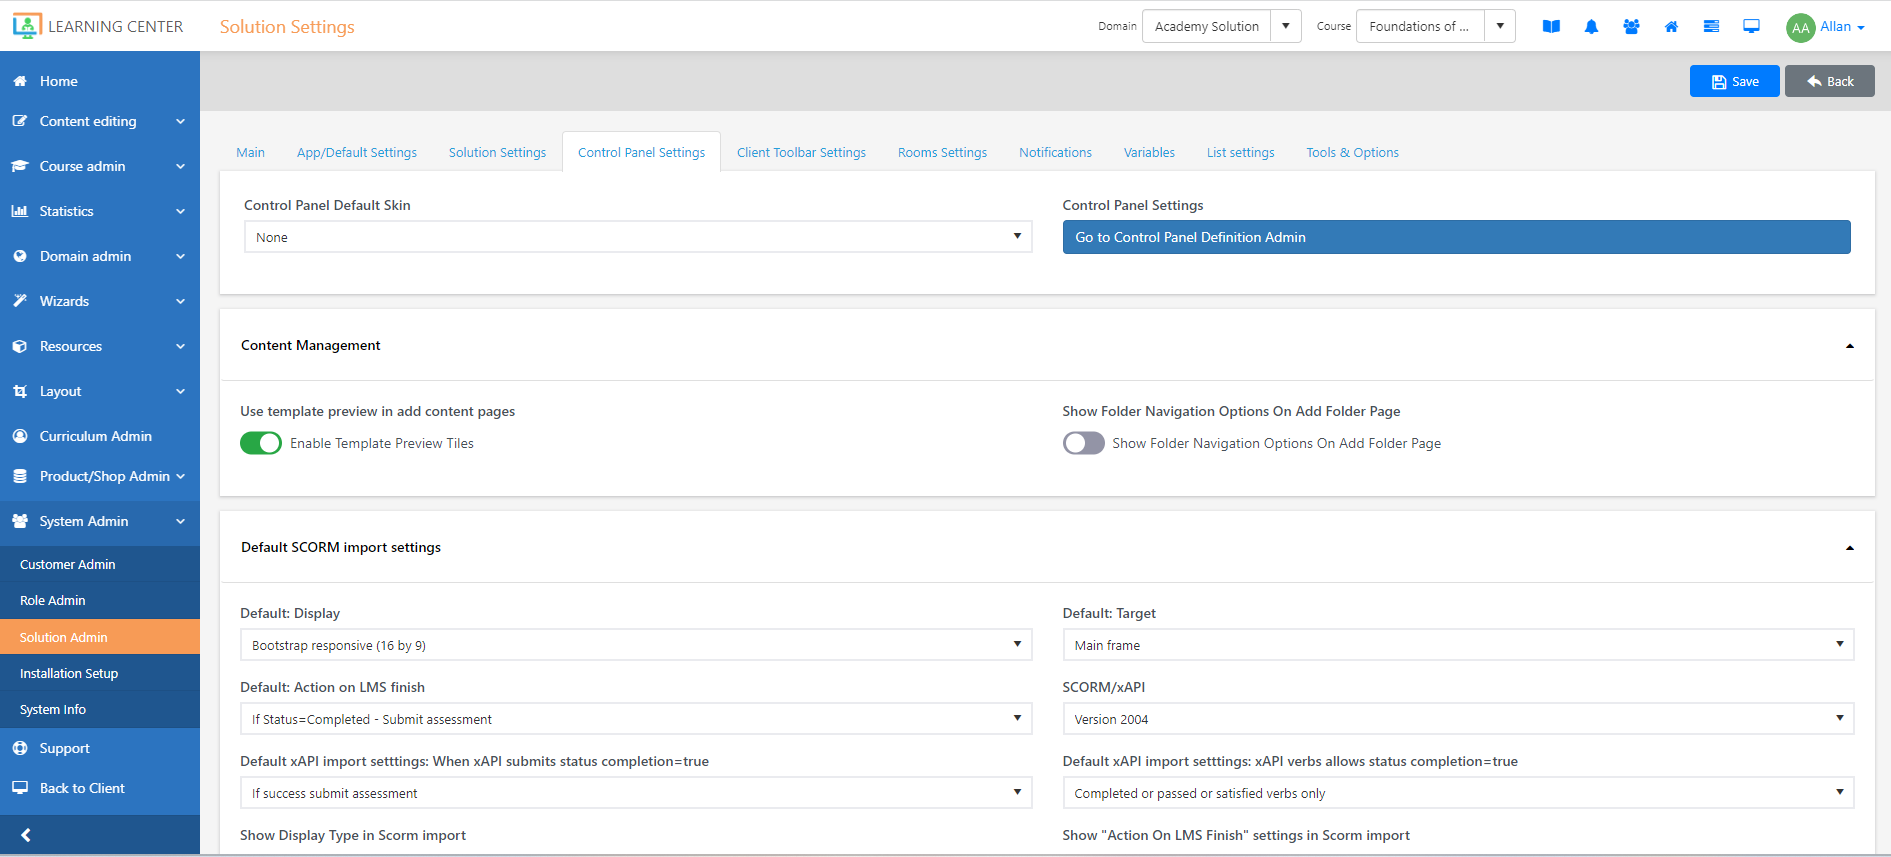
Control Panel Settings
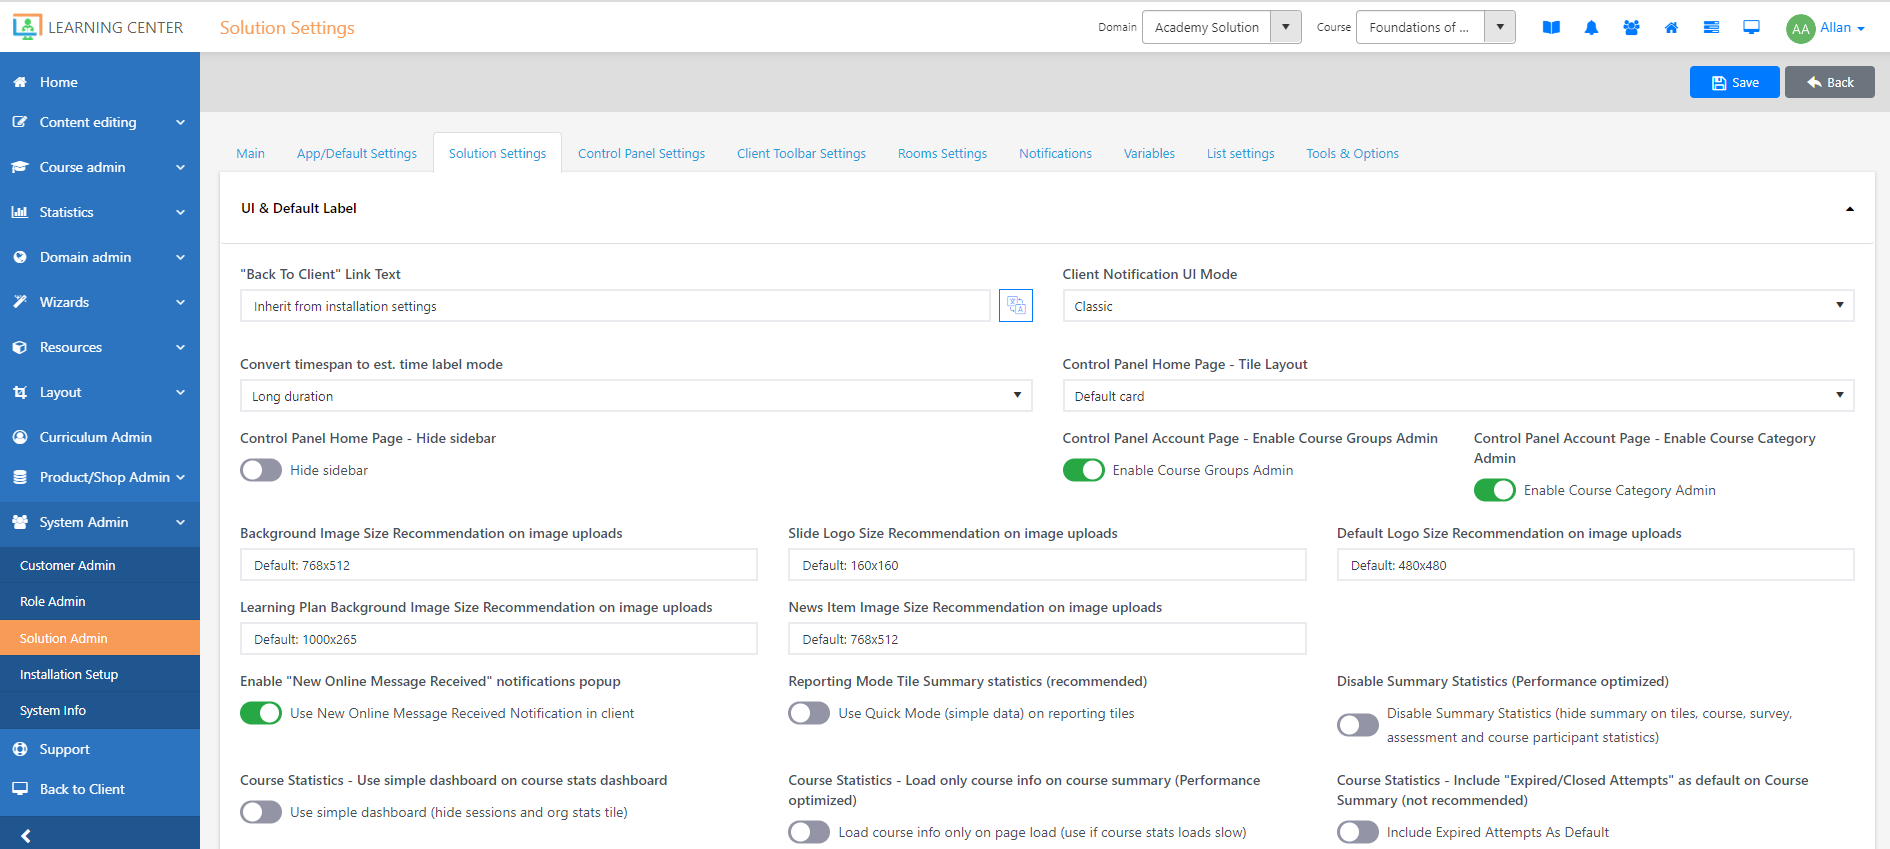
On this tab, you can customize how you want the Control Panel to appear in your solution. For example, you can choose its default skin in the Control Panel Default Skin dropdown and set up the UI labels.
Client Toolbar Settings
On this tab, you can modify the appearance and functionality of the Client Edit settings which enable users to edit directly from the client view.
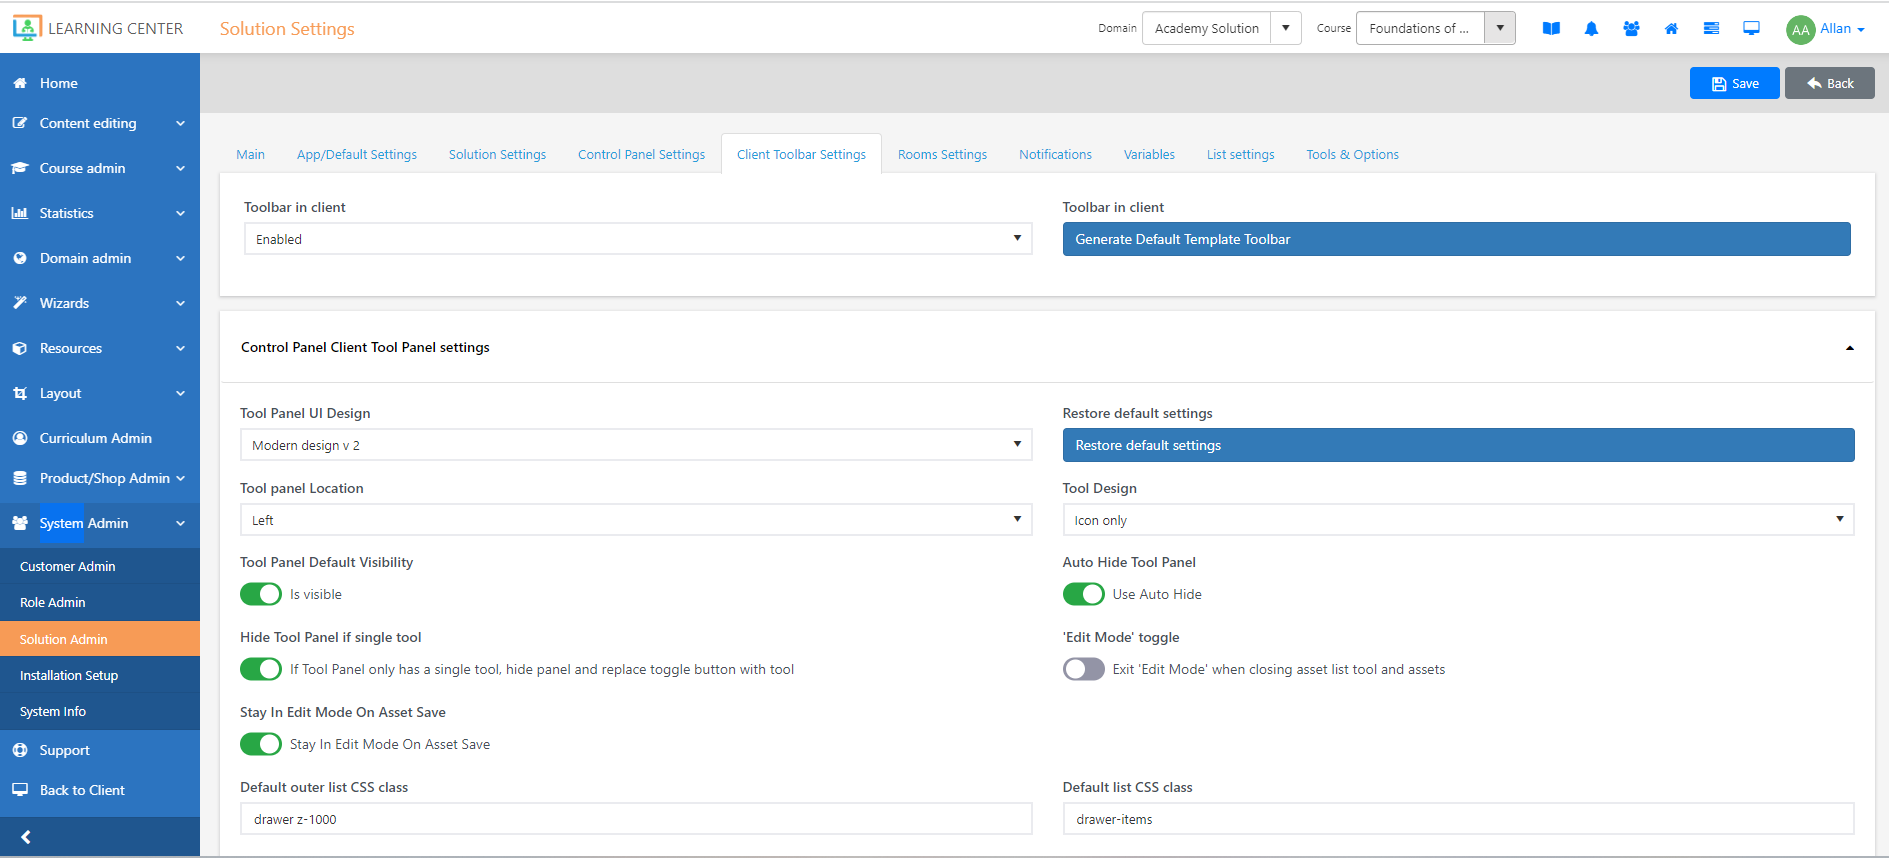
The following are some of the customizations that you can make on this tab:
- Customize the appearance of the page
To give the page a fresh look, you can choose among the client editing interfaces, for example, Modern Design Style Sheet, and specify how you want the menu to look like on the page.
- Allow inline editing
To save time, you can enable inline editing so that users can directly edit the assets that are displayed on the page without being redirected to the asset editor.
- Modify the options that users see
The options that users see are fully customizable. For example, you can choose an icon for the button in the Icon Css field, and specify its order on the menu in the Sort # field.
- Localize the labels
To enable users to see the labels in Client Edit mode in their preferred language, you can translate them into language versions in the fields with the Language icon.
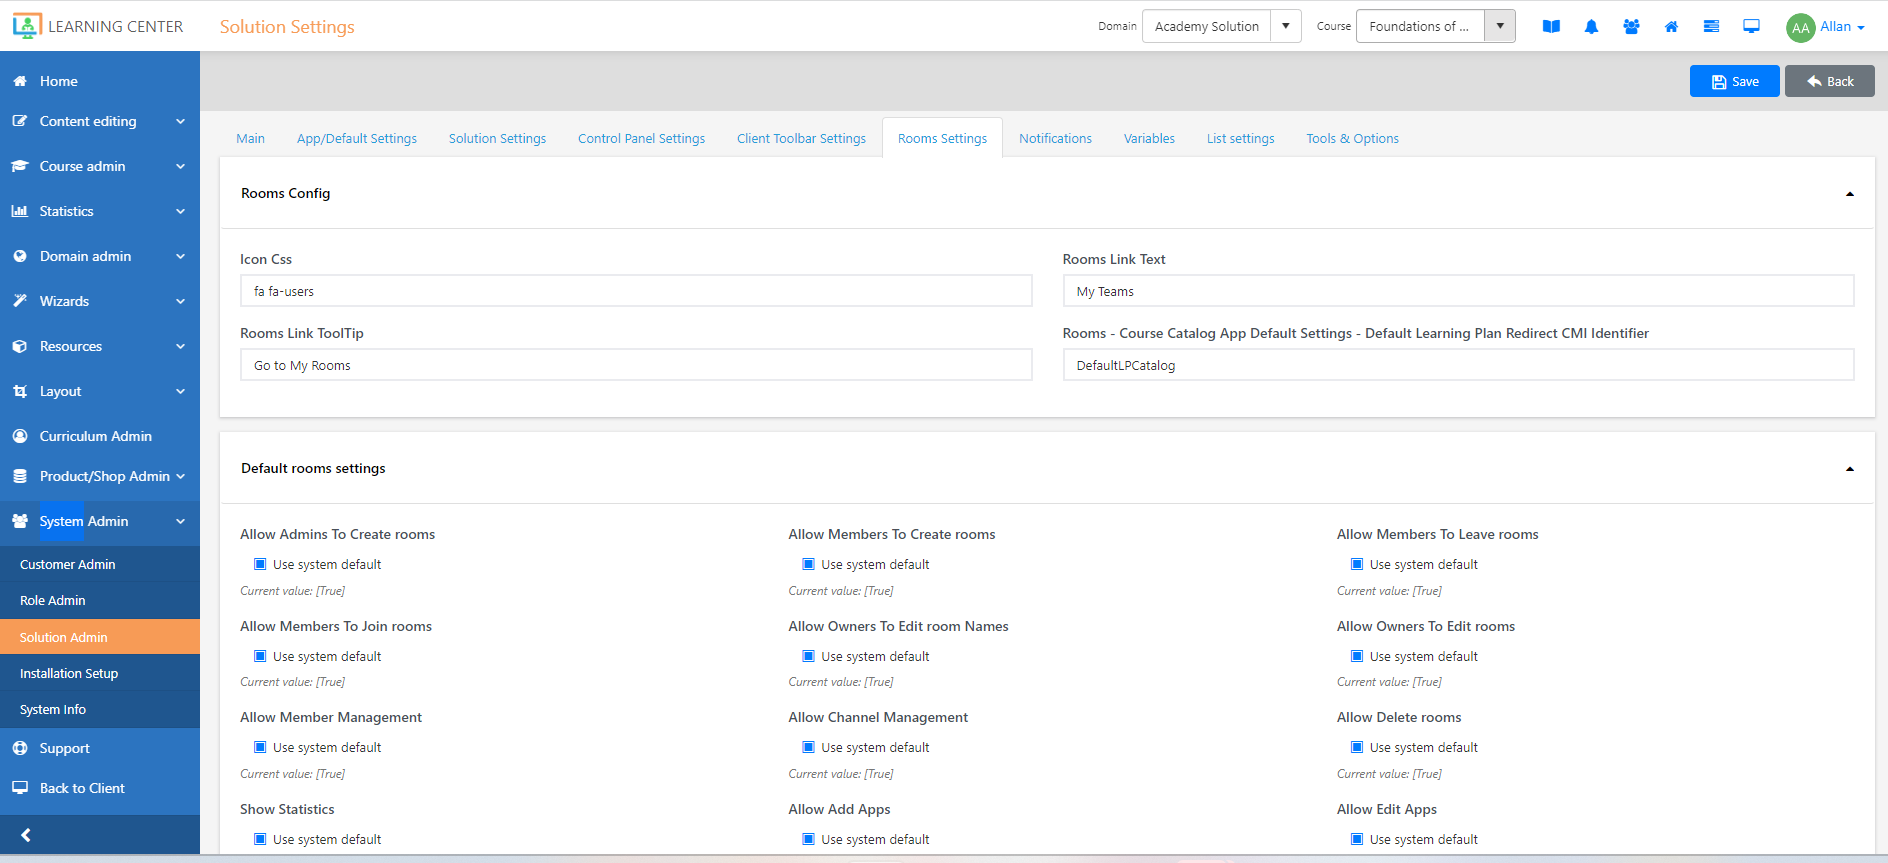
Rooms Settings
This contains the relevant settings for creating and editing Rooms. On this tab, you can specify how you want Rooms to be displayed, and you can set up the different features that your users can access, for example, if you want to enable admins and members to create Rooms.
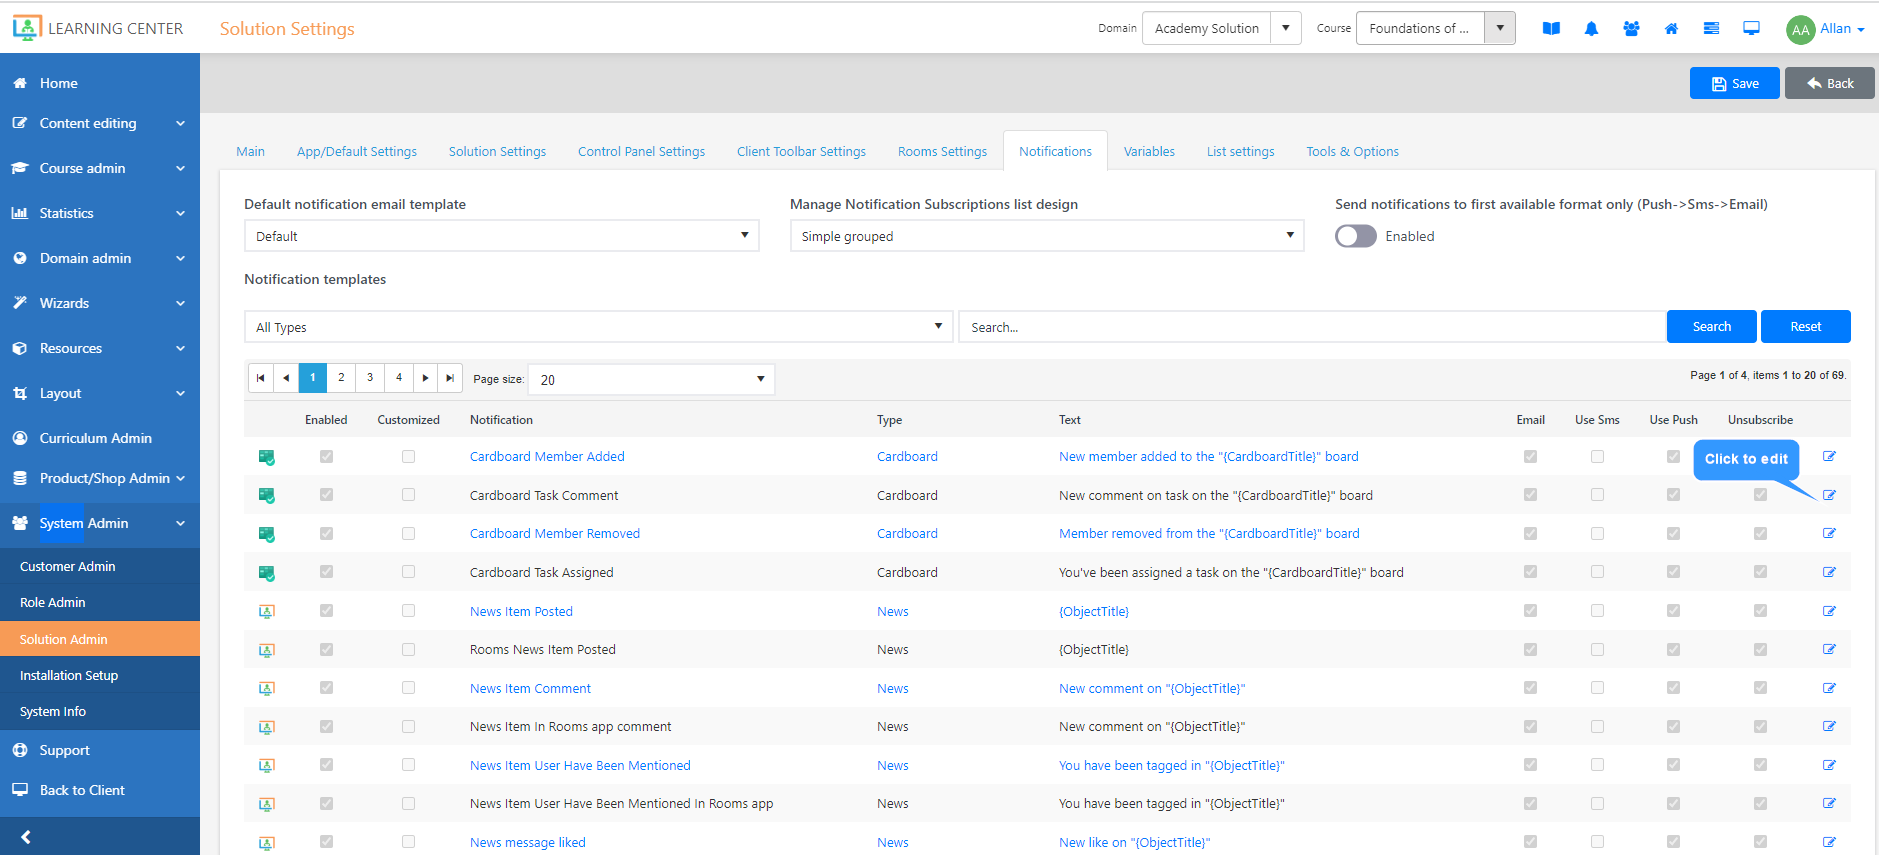
Notifications
This tab contains the list of notifications that are organized by type. Here, you can customize their notification settings. This includes choosing how you want to be notified and whether you want to enable push notifications.
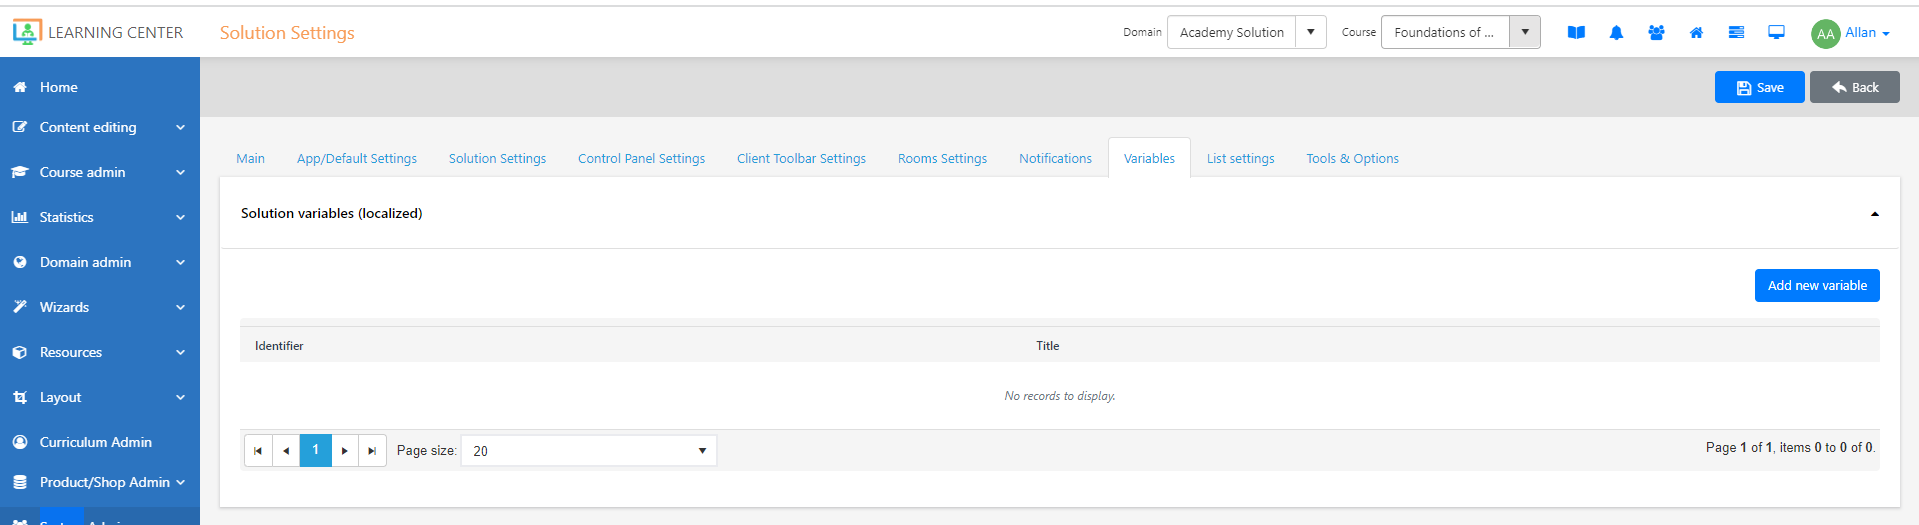
Variables
This is where you can create variables for your solution which are used to label and store data in memory. On this tab, you have the option to translate the different variables into language versions. You can use variables to specify values that you can use on your different pages, for example, welcome text with the user's name.
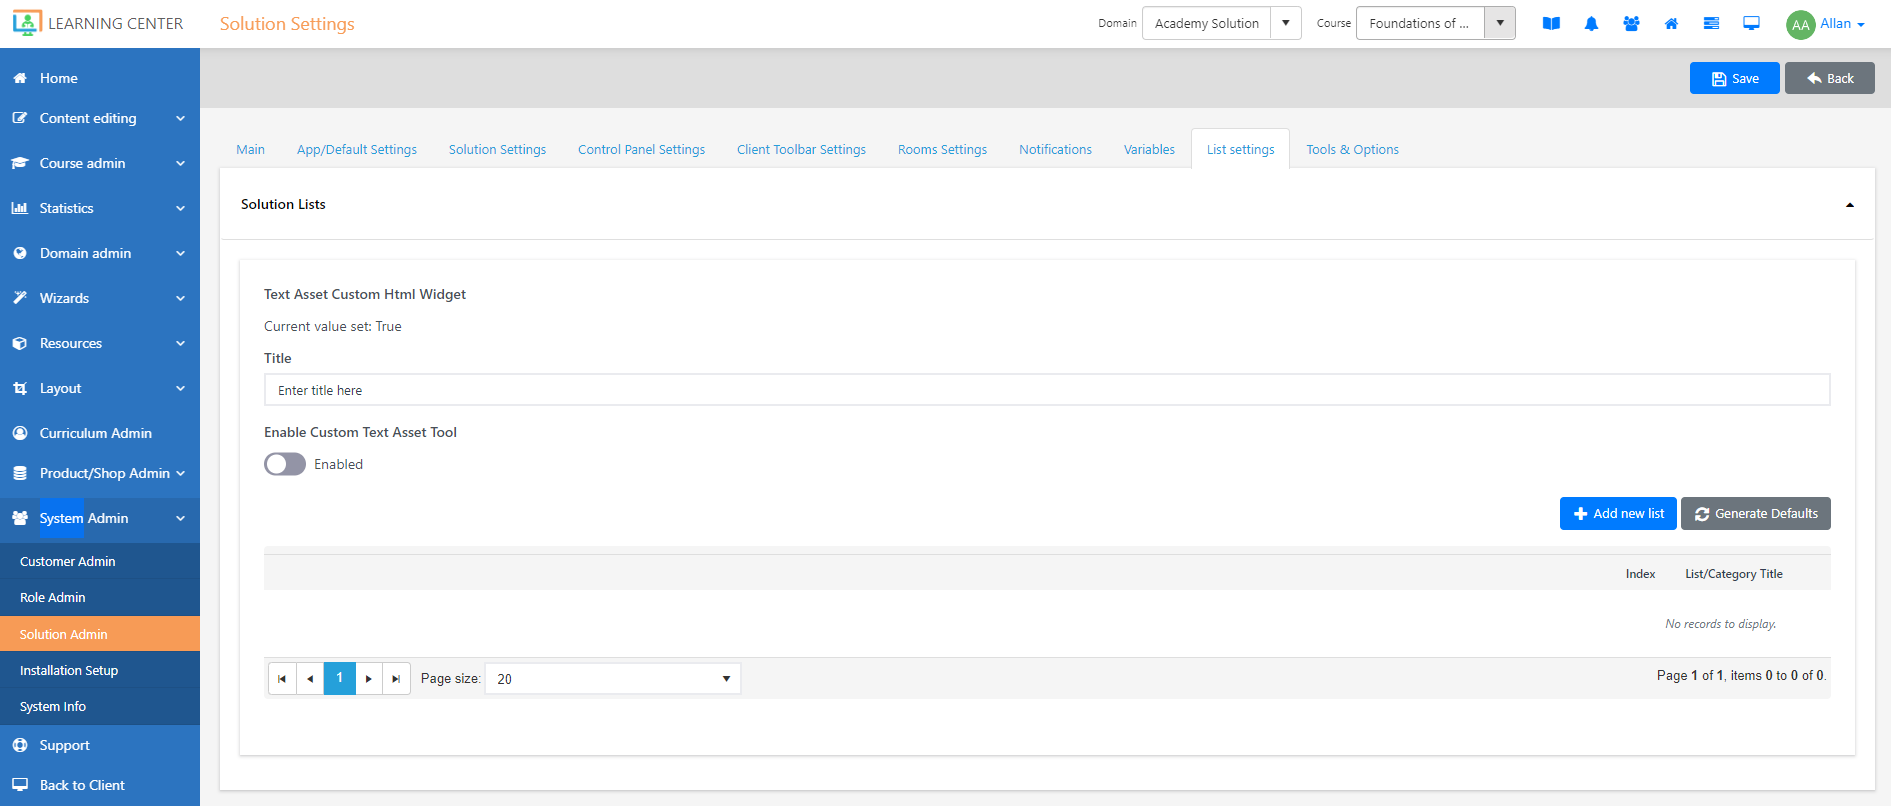
List Settings
This tab provides you the settings for creating a list that contains the templates for adding content to your site. When you create a list, ensure that the item you add in it should have a ready-made HTML code.
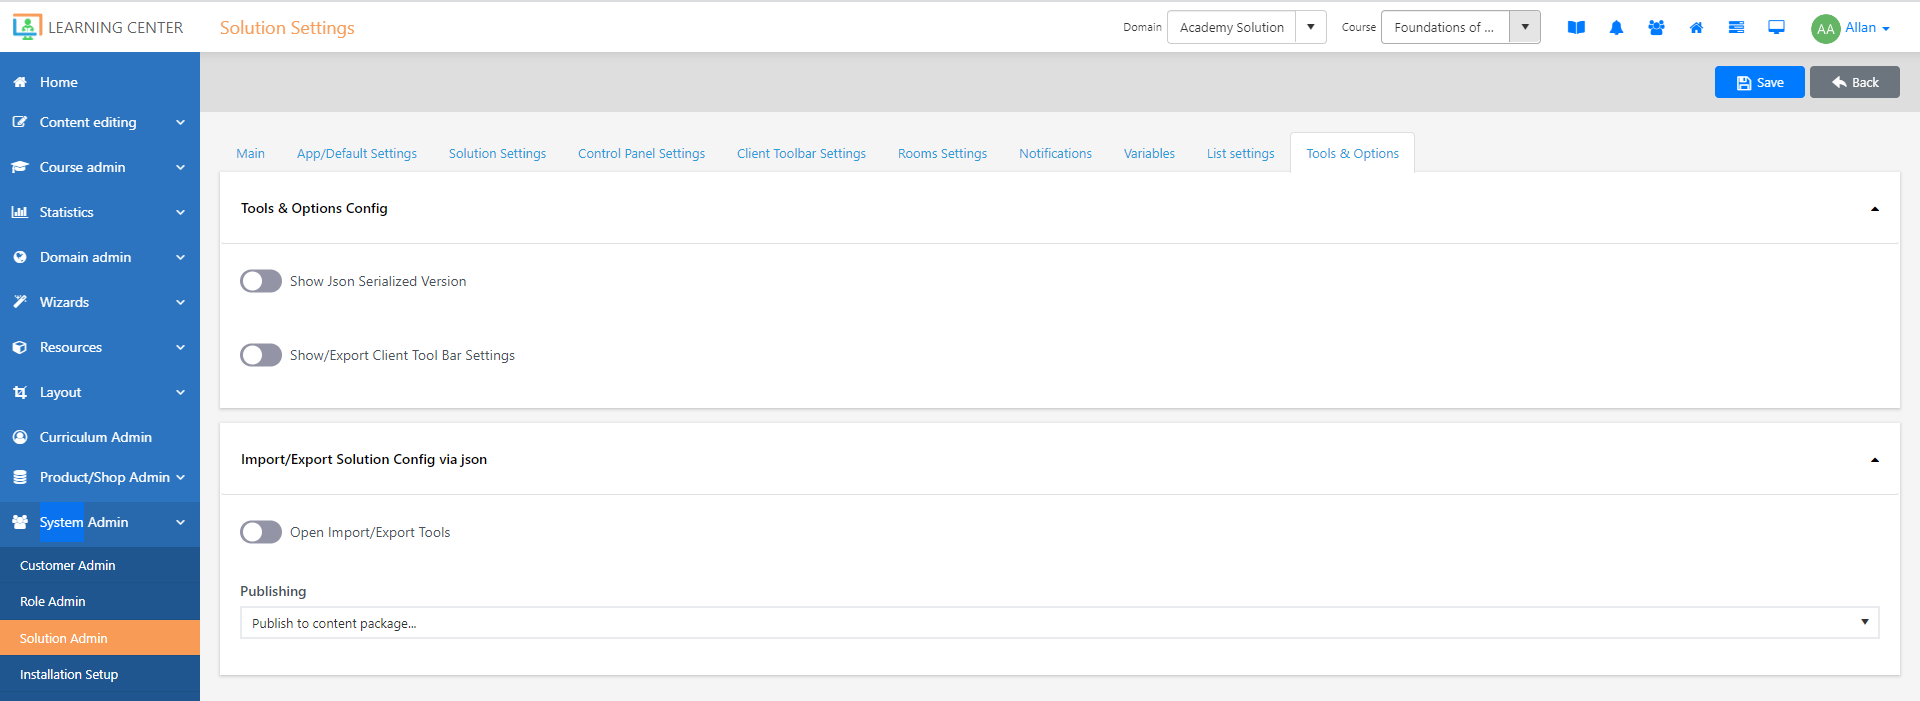
Tools and Options
On this tab, you can view the settings of the solution in JSON format which you can import or export.