Create a skin
Updated 3 years ago /
2 min read
You can create a skin for a course to determine the way it looks on a web page.
Note
A skin in a subdomain is a copy of the parent domain skin and you can modify it without this affecting the settings in the parent domain skin.
To create a skin for a course:
- In Full Admin, under Layout, click Skin Admin.
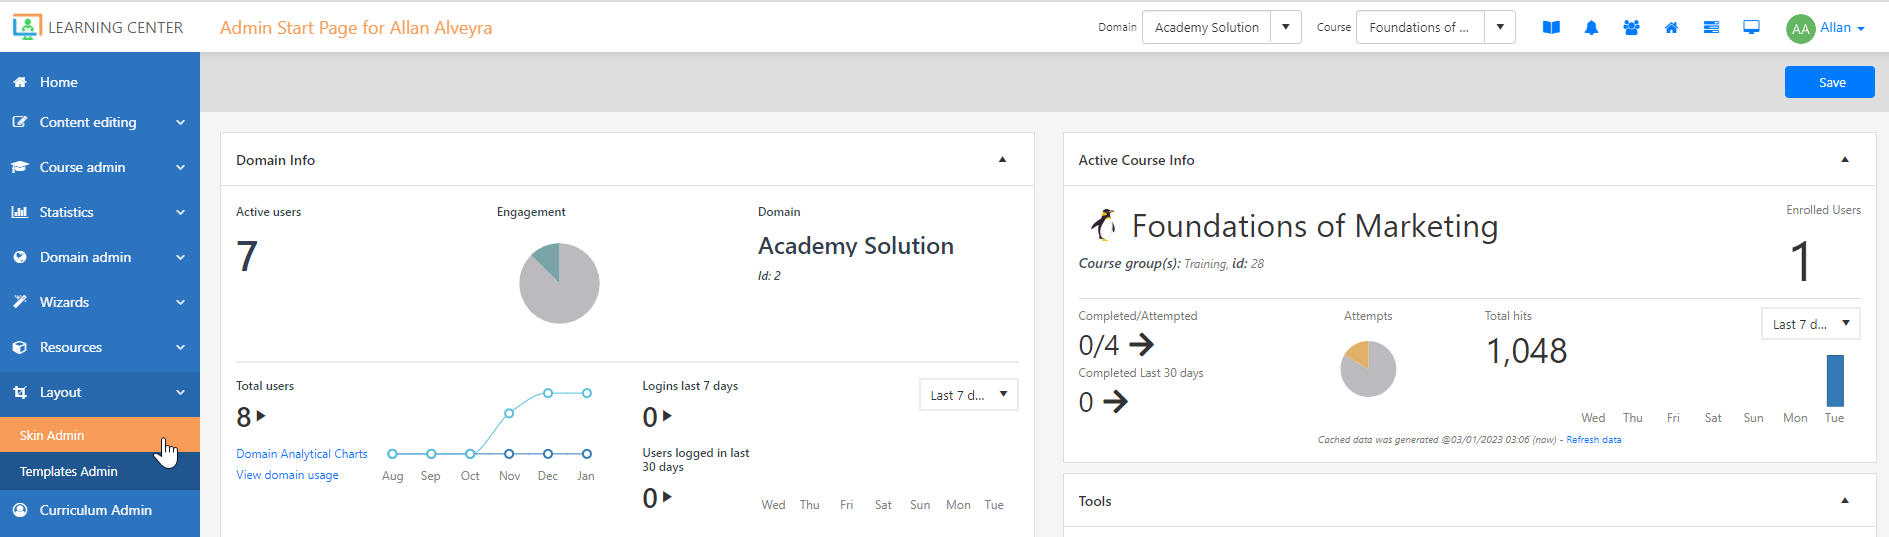
- On the Skin Admin page, click Add New Skin.

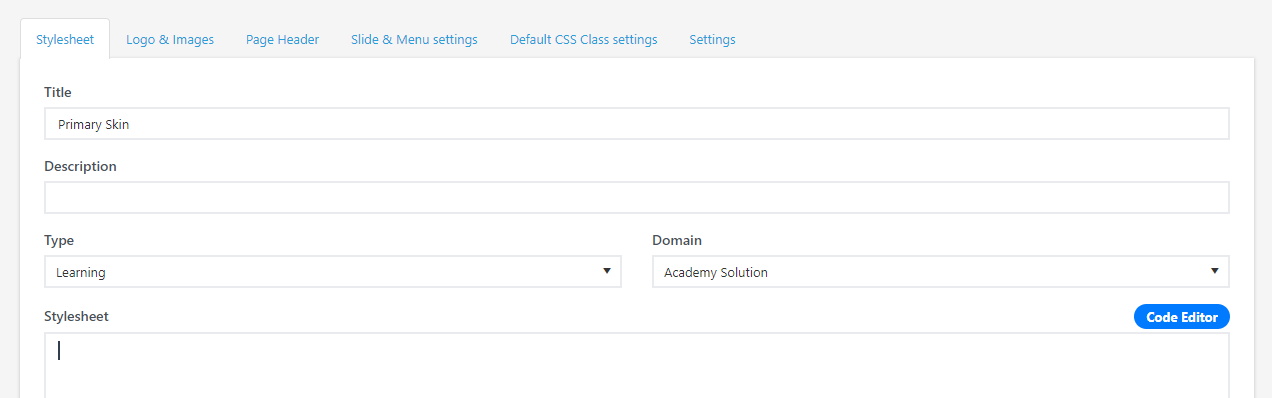
- In the Skin Editor, on the Stylesheet tab, give your skin a name and choose the Domain and the Type of the skin. Edit the styles in the stylesheet.
- On the Logo & Images tab, upload a logo and any icons you want to use.
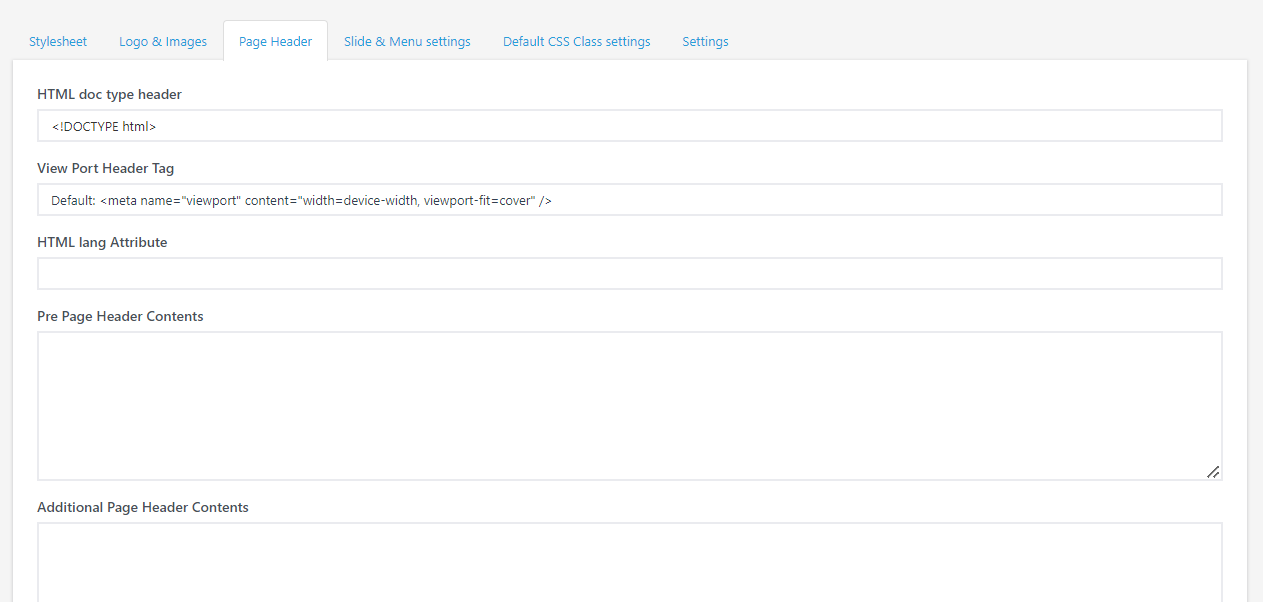
- On the Page Header tab, you can specify additional scripts, CSS, and meta elements that are customized to your preferences.
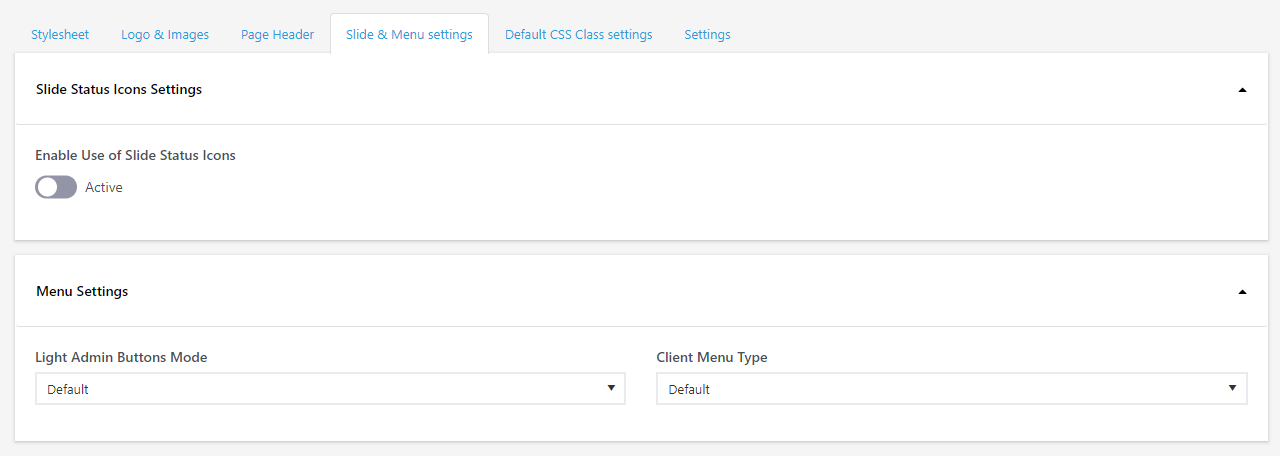
- On the Slide & Menu Settings tab, specify how you want the Control Panel buttons and different client menus to be displayed.
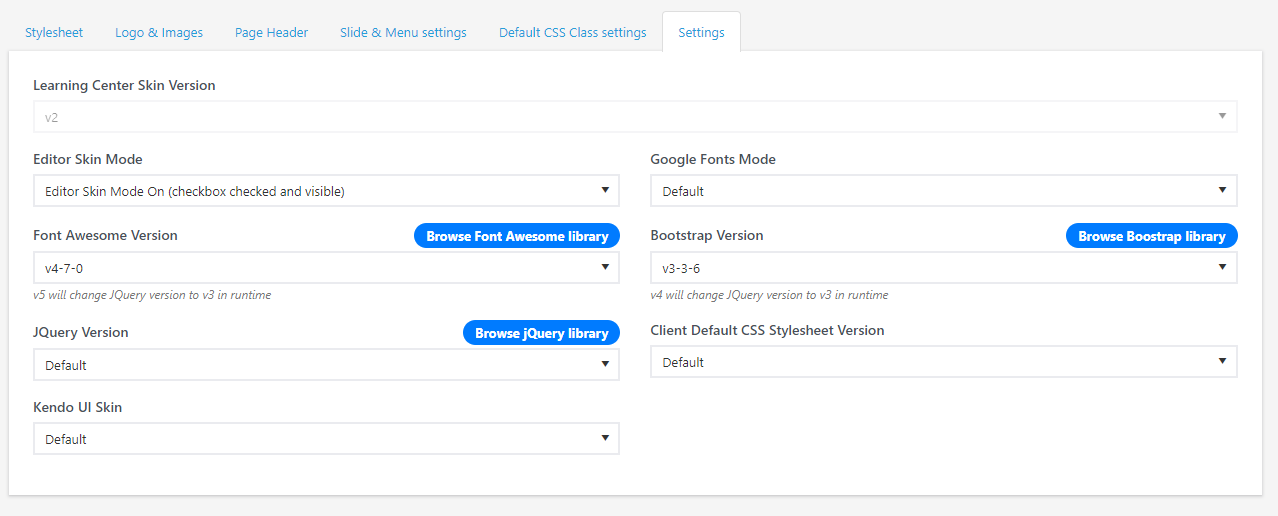
- On the Settings tab, you can select different skins and libraries from different resources such as Fonts, CSS and etc.
- Click Save.